DIY MTM computer speakers…


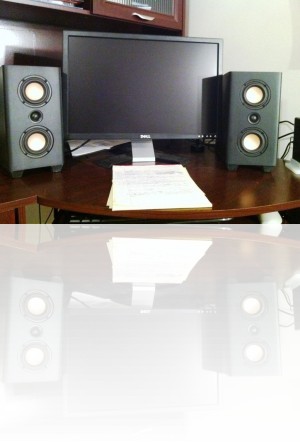
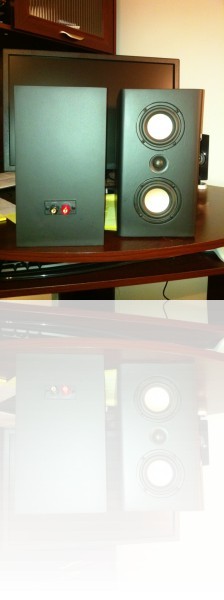


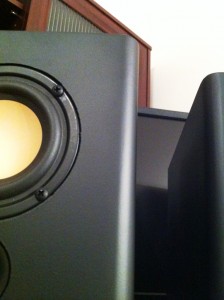


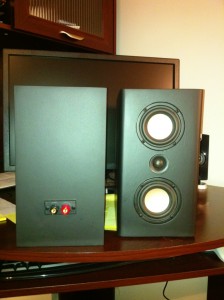
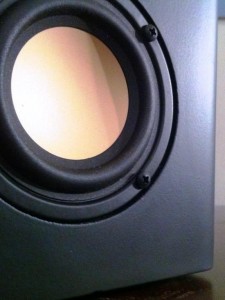
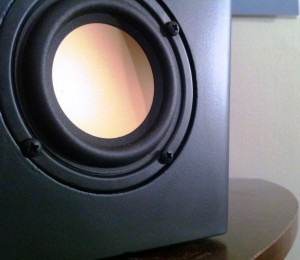
The hurricanes sort of put a halt to the finishing process of my speakers, but I finally got them finished this past weekend. I’m really happy with the way that they turned out. They are very stealth looking in the flat black, but the orangy drivers really make them pop, so a good contrast between the two. The gallery above shows some wip painting pictures and then the finished product. I haven’t quite arranged the desk for them yet, so the final placement is just temporary at the moment.
I’ll run through my finishing process in a moment, but first my thoughts on how they sound. In short, awesome! The first word that comes to mind is clear. They are super clear, you can hear absolutely everything going on in the music. Those little tweeters are amazing! The woofers are crossed over pretty high, somewhere a little above 100, so you need to run them with a sub. I’m still working on the best placement and sub level, but they sound great already. I still can’t get over how clear everything sounds. It feels like I was listening to my old speakers through a diving helmet!
Now for my finishing process. After everything was constructed I sealed up all the cut MDF edges with plain white Elmer’s school glue. It took about three coats before they stopped soaking it up. Next, I coated the entire box in a 50/50 mix of wood glue and water (I used Titebond, but shouldn’t really matter). I did two coats of this until there was a really good hard “shell” over the whole box. This step is to get the MDF ready for paint. Some people will gasp at using a water mixture on bare MDF, but it seems to work fine for me, so I can’t argue with the results (I was skeptical too!). I’ve also heard of people using shellac for this step too, with success, it’s up to you.
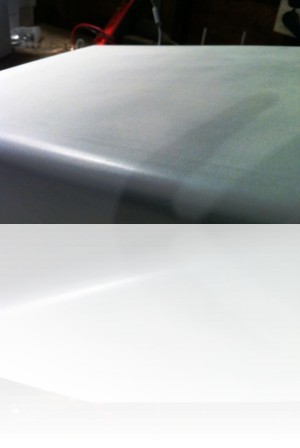
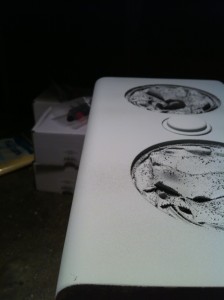
Finally, we’re ready for sanding. I started with a quick power sand with 60 grit to knock down some of the high spots. The glue painting step left some brush marks (not nearly as bad as I was thinking though) so this got rid of them. Then I hit them with a couple coats of high build automobile primer. I should note at this point that I do not have any sort of air compressor setup, so all of this is being done by Rustoleum rattle can. I managed to get two thick coats out of a can of paint, so I stopped there. 24 hours later…You can see some pictures of how they looked at this point, pretty ugly! There were some MDF fuzzies coming through the paint and some seams showing up. This is to be expected though, paint really doesn’t cover anything up, it actually accentuates any flaws in the underlying material! Back to sanding.
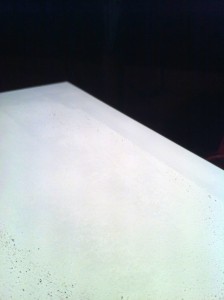
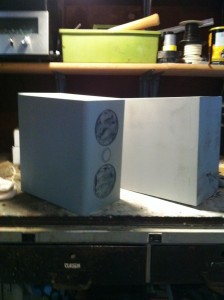
I hand sanded with 100 (everything is hand sanded from now on) which did a good job of getting rid of most of the fuzzies, then shot another can of primer on (2 more coats). 24 hours later…Hand sanded again at 220. At this point they were starting to look pretty good, but there were still some seams and little imperfections. Most people use a body filler for fixing these, but I didn’t have any on hand, so I used drywall compound (spackle). Again, people will scoff at this because it’s water based, but has worked for me in the past, so I’m all for it. 24 hours later…sand the spackle smooth. You can now see a couple pictures at this point, much better! Very smooth now and almost ready for paint. Another can of primer and 24 hours later I sanded to 400. Looking very nice now, ready for some paint!
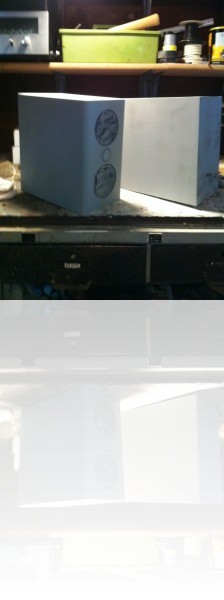
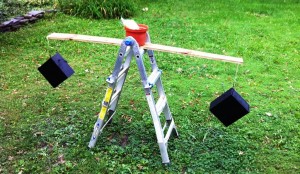
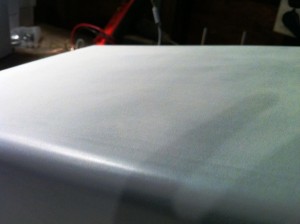
I’m using Rustoleum flat black paint. The paint setup, as you can see from the picture, was a bit interesting, but it worked out OK for me. I got about 2.5 coats of paint per can, so the fronts and tops got a little more than the sides and back. After the first can I let it dry 24 hours, then scuffed it perfectly smooth with some steel wool, cleaned it up with some tack cloth (be careful with hand oils at this point) and started the real painting. I put coats of paint on every 15 minutes for an entire afternoon/evening, so I would say there are probably 12-15 coats on there. The color came out very even, no streaks or stripes. There is a little bit of texture to it that you can see in the pictures. This is due to the quality of the spray cans probably, but I don’t mind it too much. If you were going for completely flat you could do some color wet sanding at this point. I don’t really see any need for this as nobody is going to be inspecting them that closely. As you can see from the pictures I didn’t go crazy with the backs. Nobody is going to see those anyway, so I figured I was just wasting my time. I concentrated on the fronts and tops and they came out very nice and even.
Overall I am very happy with them. They blow my old cheap speakers out of the water and I think make the desk look great. I may just do a sub next, we’ll see!


[…] it’s so flat it’s really easy to get a nicely painted surface with it. I’ve painted MDF before and I’m always amazed with how nicely it turns […]
[…] construction process was fairly straight forward, and pretty much the same as my previous set. Everything was made of 1/2″ MDF, except the two sides, which were 3/4″ MDF because […]