IBM Model F restore/conversion…
A number of months ago my parents were cleaning out their basement for the first time in a looong time. Of course I had some things down there from high school and college, so I went over to help with the process. Among the random bits of stuff down there, I found an old IBM Portable PC 5155. The 5155 was one of IBMs first “portable” computers. It was basically a PC/XT built into a slightly lighter weight, luggage style case, with a small, built-in display. Not exactly portable by today’s standards, it weighed 30 pounds, it was a fairly big success in it’s day.
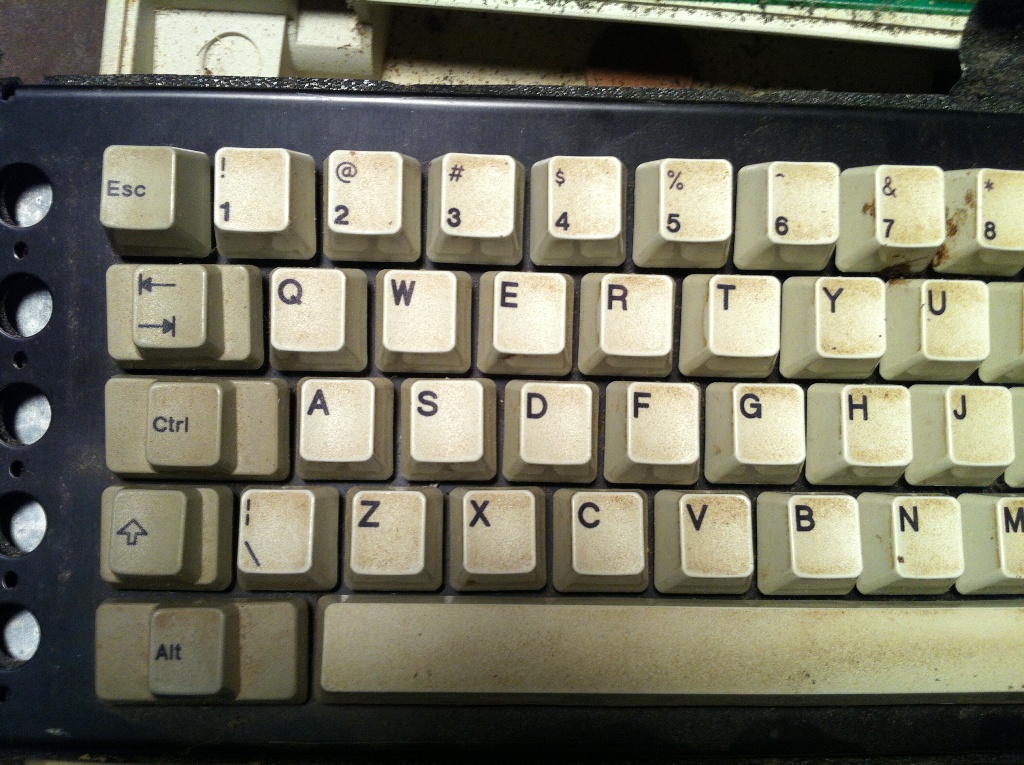
Although it was pretty cool to see how computers have changed over the past 30 years (the 5155 was released in 1984), I didn’t really need this behemoth sitting around collecting dust. However, along with the built-in display, the 5155 also had a keyboard that clipped to the front and could detach when needed. The keyboard used was a “lightweight” version of the great IBM Model F. The Model F was the first buckling spring keyboard released and was praised for it’s great type feel. It also has a great feedback noise, which may not be a trait everyone wants, but I enjoy. The 5155 version of the keyboard is an 83-key terminal layout, with an aluminum back plate, instead of the steel plate in the XT, to save a bit of weight. The keyboard itself, along with the thick plastic case, still weighs about 5 pounds.
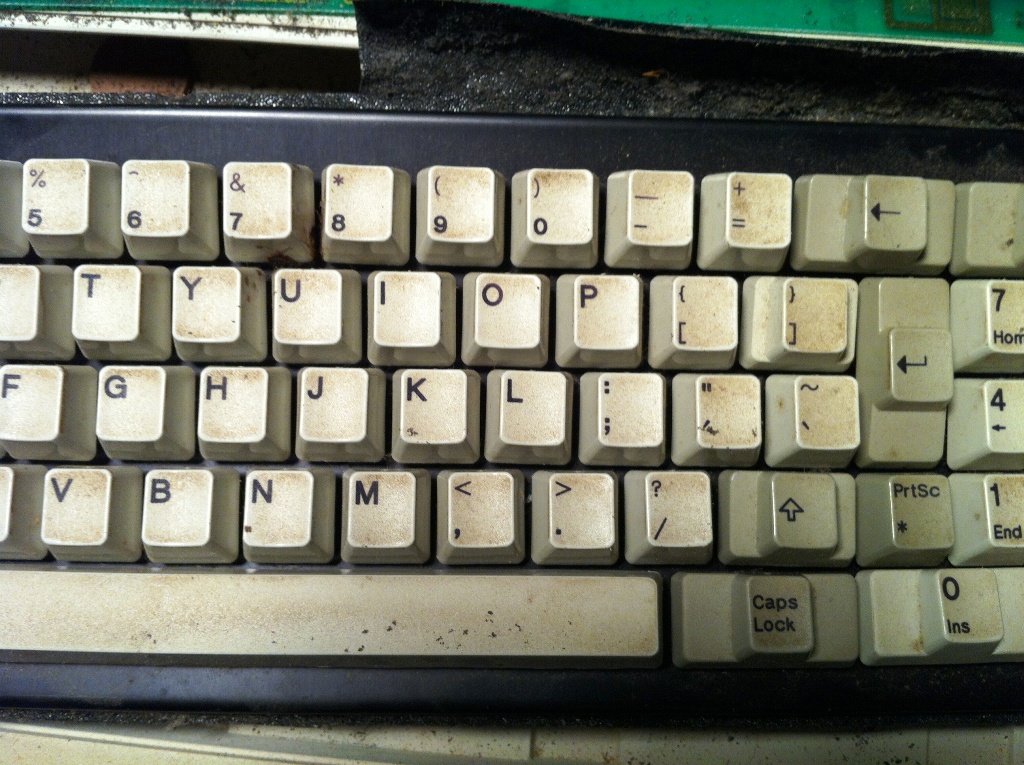
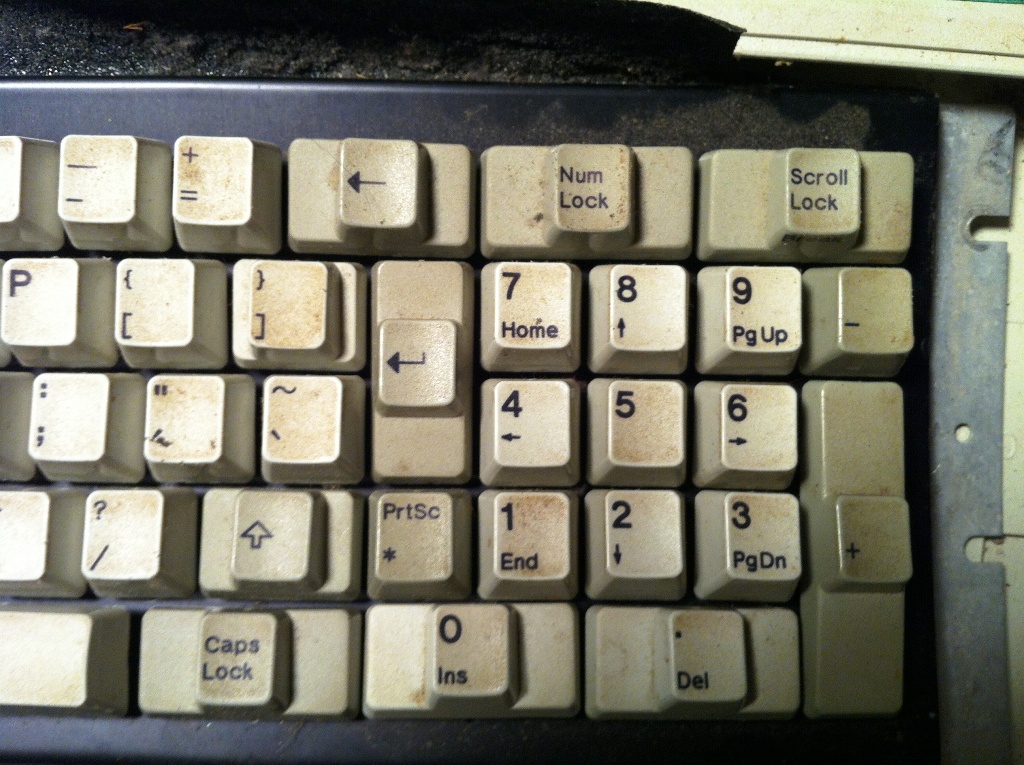
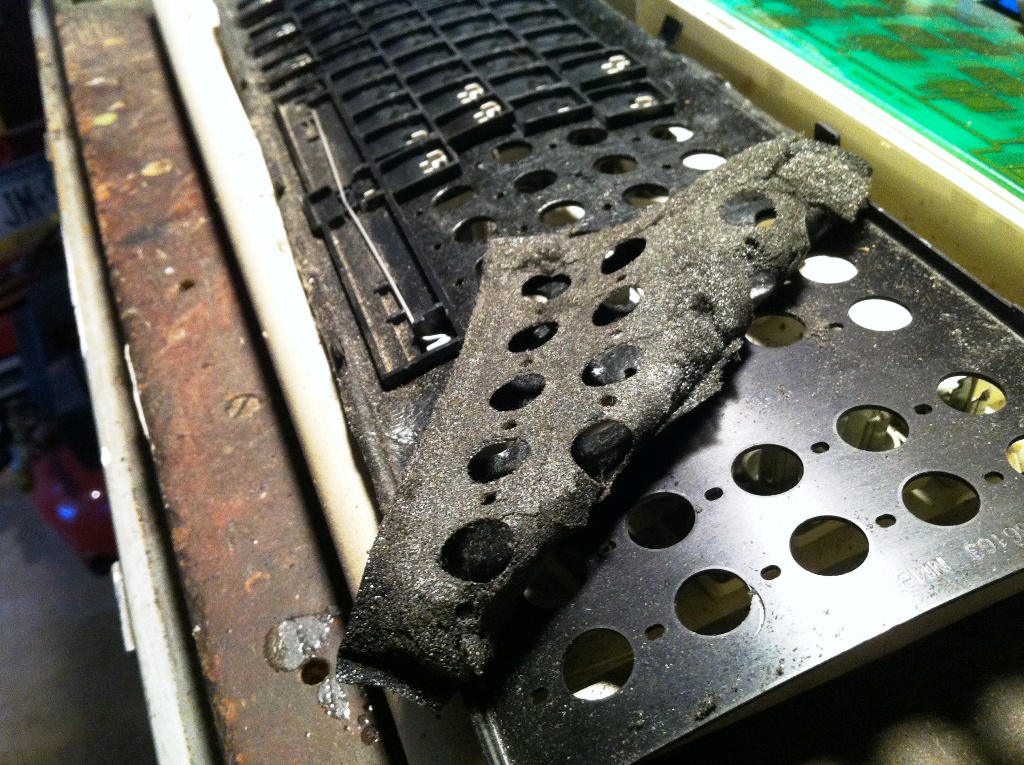
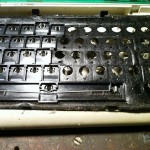
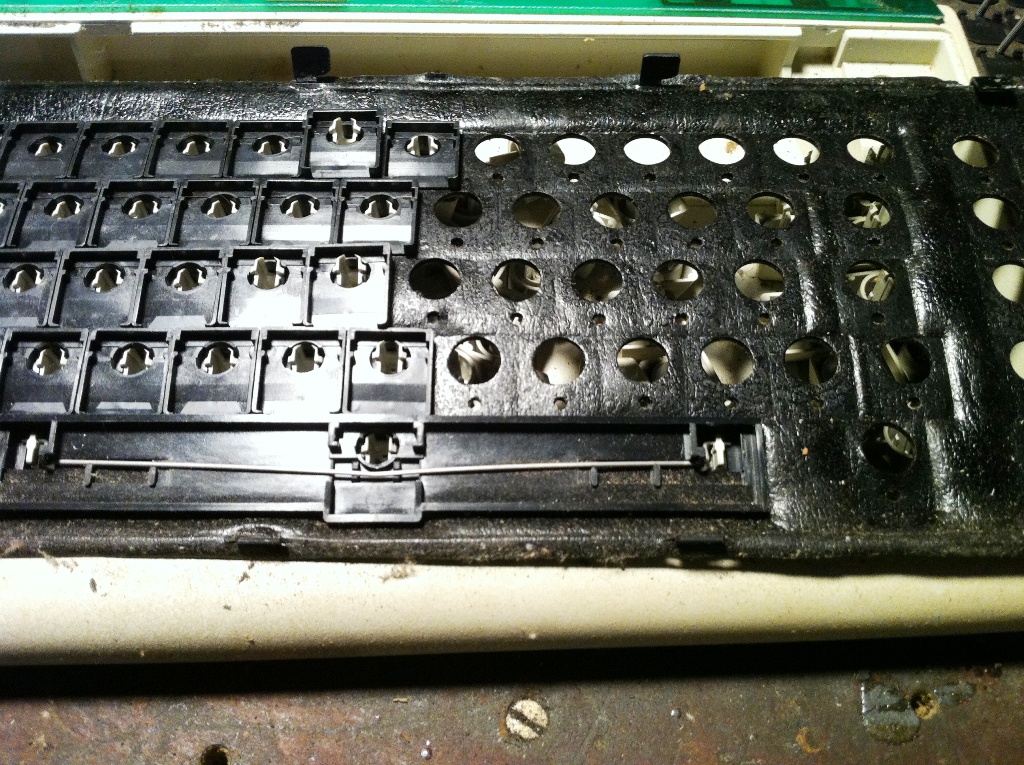
I ended up saving the keyboard from the dumpster with plans of restoring it and about a year later finally got around to looking into it. After tearing everything apart and looking at it, turns out the board was in great shape overall, just needed some basic cleaning and painting. Here are some pictures of the board after some dis-assembly:
-
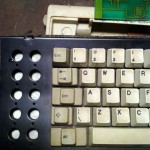
- IBM Model F pre-clean

-
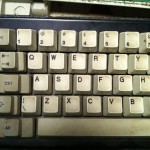
- IBM Model F pre_clean
-
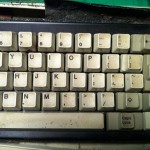
- IBM Model F Pre_clean
-
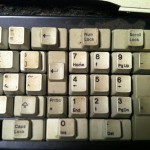
- IBM Model F pre-clean
-
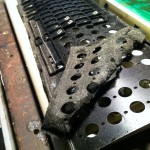
- IBM Model F Foam
-
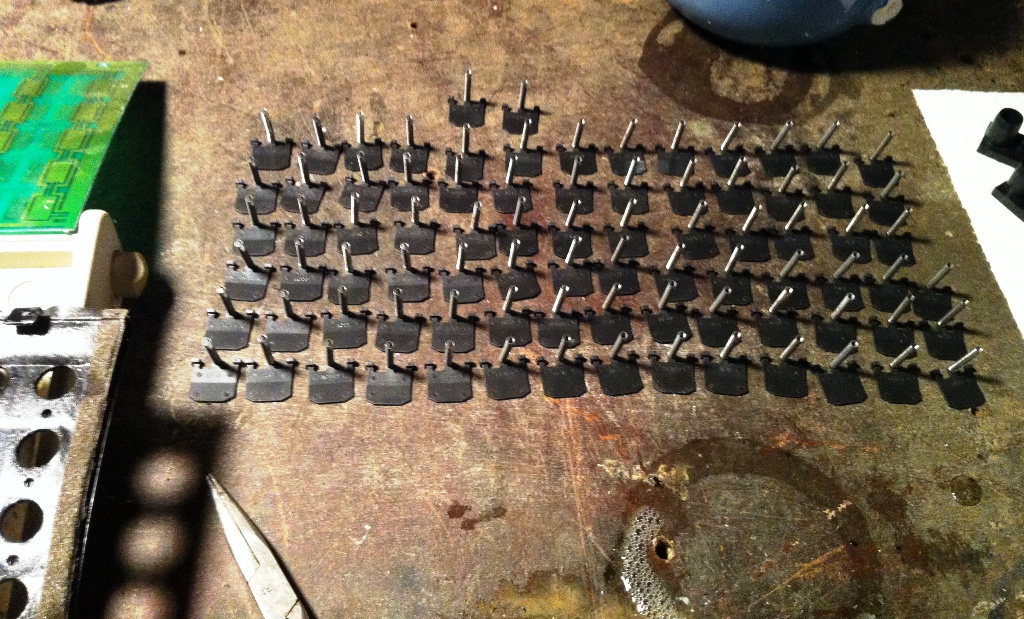
- IBM Model F Internal
-
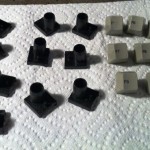
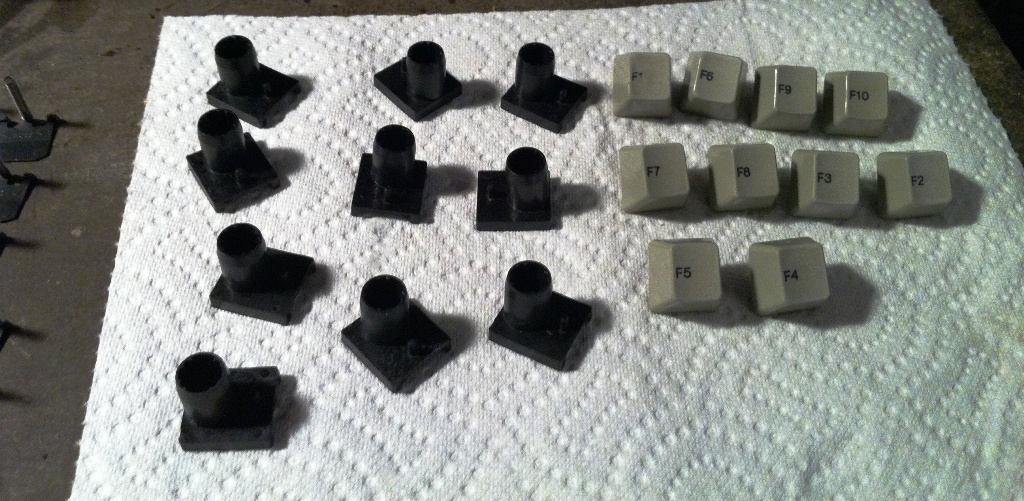
- IBM Model F key parts
-
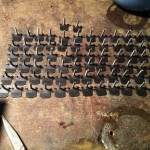
- IBM Model F springs
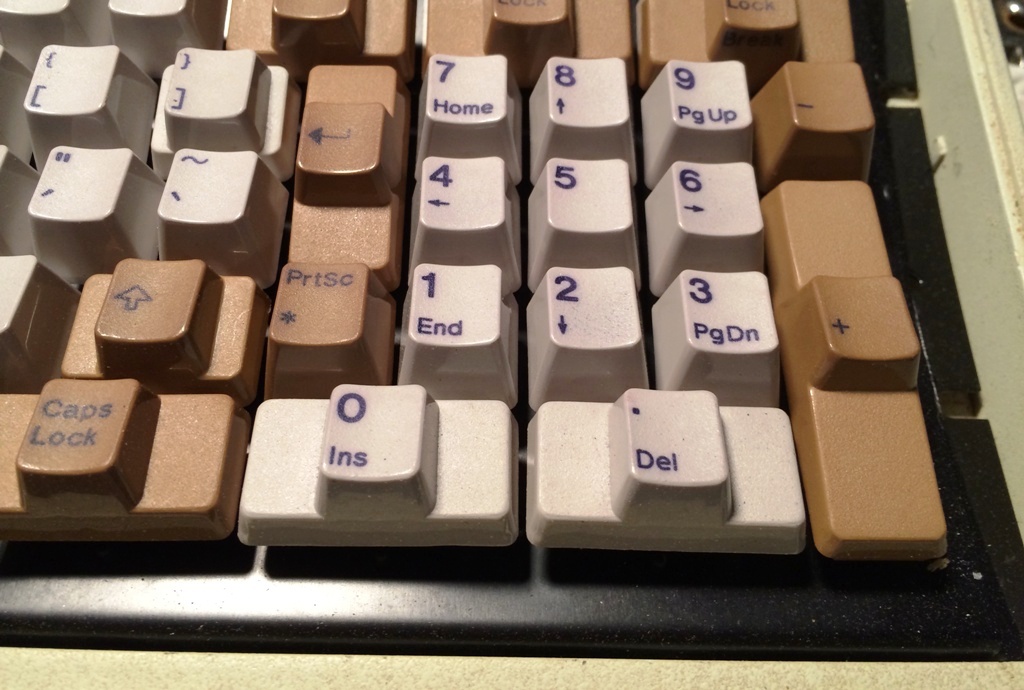
The XT terminal layout is a bit different then a standard keyboard layout nowadays, so it’ll take a little getting used to, but I like it. There’s no Windows key, which I’m totally fine with, but there are also no dedicated arrow keys, which will take some adjusting. I don’t really mind using the num pad for those, but I’m going to keep forgetting the num lock key for a while.
The dis-assembly takes some “finesse.” The actual circuit board is sandwiched between the top plate that you can see and a back plate. It’s really wedged in there tight with some clips built into the two plates. You have to basically bend one of the tabs up (that one will look different than the rest) and then slide the back plate to un-hook it from the other clips. There are a few tutorials out there with a better description then mine, so google it if that doesn’t make sense. After that it’s just a matter of taking all the keys off and separating the three different parts of each key (key cap, black cylinder that holds the key, and the actual spring assembly).
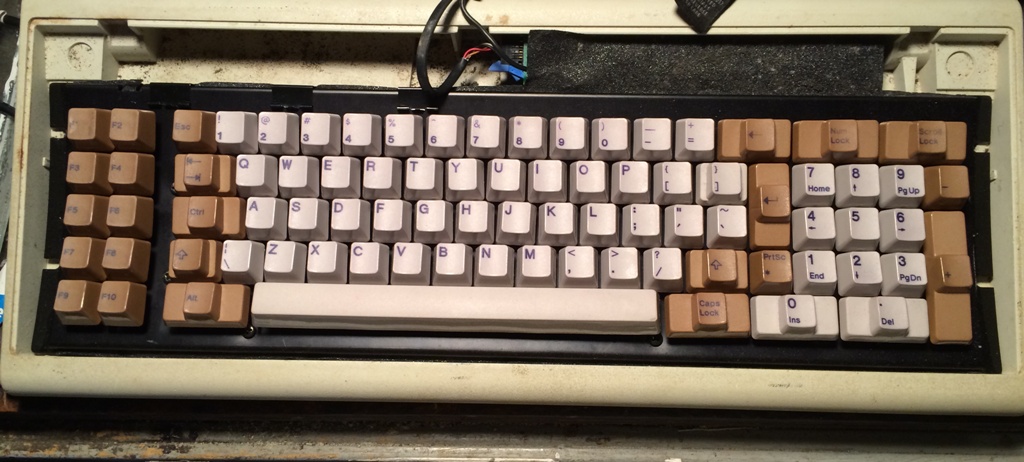
The top plate ended up being in decent shape, just needed a little scrubbing. The aluminum back plate was a little scruffy, so I went ahead and spray painted it black. I also cleaned up all the key caps to get them ready for the dying process.
Speaking of the dying process, I’m not disappointed, because I didn’t go into it with high expectations, but I am a little bewildered. I was originally thinking that I’d like black keys for the dark gray ones (the enter, backspace, etc.) and blue keys for the white ones (normal letters and numbers etc.). I went with the RIT dye powder, because I had read that people had success with it, but I had also read that the colors didn’t come out quite right sometimes. I thought it was worth a shot, so I picked up Black and Evening Blue RIT powder and went to work. After about an hour in boiling water with the black dye the keys were brown! And not dark brown almost black, I mean a light chocolate brown. They actually look fine and I’m happy with the color because it’s nice and even, just not at all what I expected! The evening blue on the other hand didn’t do much of anything. The white keys have a little bit of a pink/purple tint, but that’s about it. All in all, I probably wouldn’t dye them again if I was doing this over again, but it looks fine now.
IBM Model F Dyed Keys
IBM Model F Dyed Keys
For re-assembly I re-used the foam, which was just a little rough, but I didn’t feel like cutting a new piece. I also bolt-modded the board by drilling about 8 holes through all three pieces (front plate, circuit board, and back plate) and bolting them together. This makes taking it apart again a little easier and gives a little stability to it I think. You can see a few of the bolts in the top picture above, nothing real complicated there. Remember during re-assembly that you have to put the space bar on before you bolt everything together. It’s a bit tricky!
Finally, it was time to test it out. The 5155 keyboard has a 6-pin, RJ11 connector, which isn’t exactly common. Obviously no modern computer has anything like that, so I needed to convert it to work with a USB port. Luckily, this is pretty easy with a Teensy board using this guide. After figuring out which which color wire was which (check the picture below for the pin-out), I went ahead and soldered it up and loaded the protocols in.
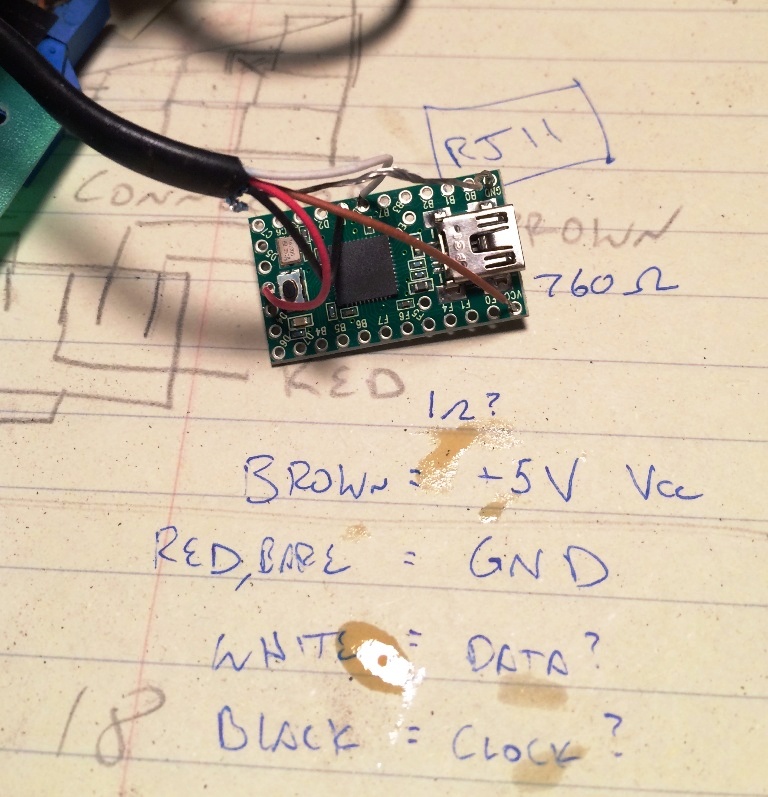
IBM Model F Teensy Mod
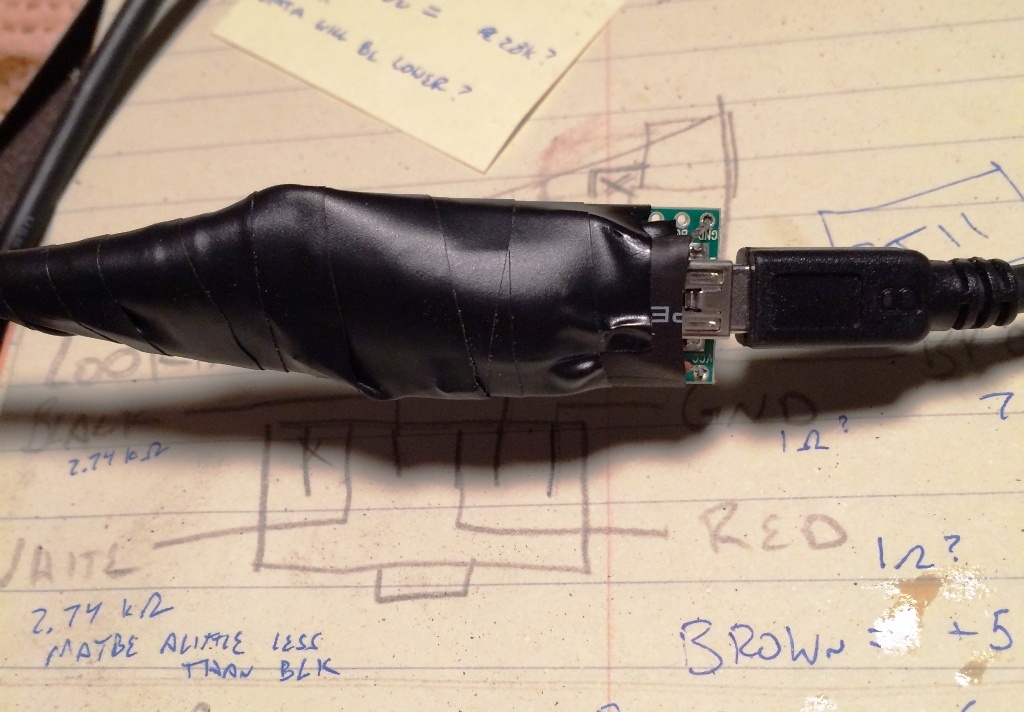
IBM Model F Teensy Mod
I know have a working IBM Model F 83-key terminal keyboard converted to USB! All the keys work exactly like they should, it’s great!
Now that I know everything works correctly and looks decent, I can go ahead and make a case for it. I could use the original plastic case, but that’s a bit boring. It also wouldn’t look to great with the newly dyed keys, so the goal is to make a completely wooden case. Hopefully the next update will be with a completed case and a finished keyboard!


Thanks for that wiring photo! That came in handy.
Wanted to thank you for the wiring aswell. Typing this on my XT Model F Portable right now 🙂
Great, glad to hear it! My model F is still clicking away as well. Good luck with it!
Cheers,
Tim
Wish i saw this 3 months ago, i blew out the controller board trying to do this my self, tying to find pinout put 5v on wrong point… im converting a ibm 5155 with a dead motherboard and dead psu into a modern pc and trying to keep it under 100$… so far im at 25$ as everything has been scrap but a psu i aint got yet.
http://i.imgur.com/sKMpYog.jpg
using a riser card and re arranging the pcb of a psu i can fit a full fize gpu, mini itx motherboard and original 5.25″ drive, but this motherboard im using has 1 expansion slot and no floppy support so might have to look for a different one of similar size some day.
meanwhile guess i need to keep my eyes peald on ebay for a “as is for parts” model F to take its controller board from.
Rockey:
Well, at least Soarer and Xwhatsit made replacement controllers for the Model F, worth looking at instead of scavenging for parts.
Looks lovely, good luck with that project!