Packing Box – Part 2…
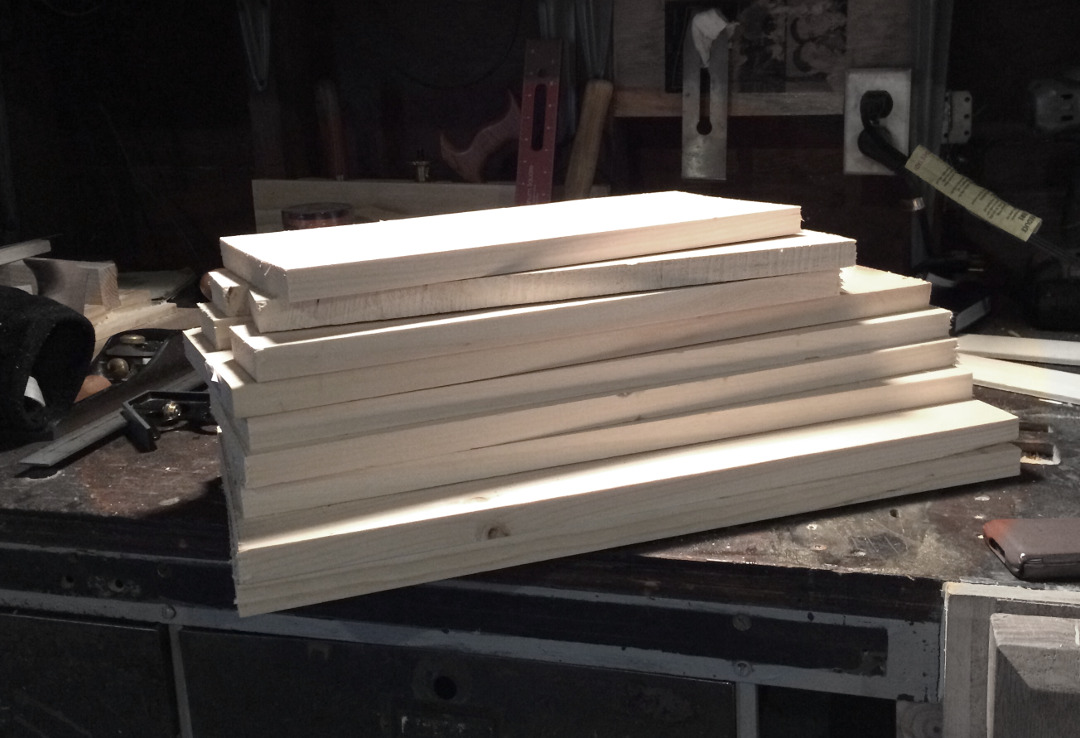
Rough Cut Stock
The cold spell broke just a bit this past weekend (it dropped 6″ of snow instead), so I was able to get into the shop for a little work on the Packing Box on Sunday. The packing box is an interesting project. Let’s be honest, there’s a reason why this was Thomas’s first project as a young joiner’s apprentice, it’s dead simple. It’s 12 pieces of square, straight wood, all the same thickness, with no complicated joinery. If my goal was to simply finish the box, using a table saw and nail gun I’m reasonably sure I could knock one out in about 10 minutes. That, however, is not my goal with this project.
Like Thomas in the text, I’m still learning and practicing a lot of the techniques required to build this box by hand. I think starting from the beginning and practicing a lot of these fundamentals is important and a worthwhile investment of time. I’m not in a hurry to get the box finished for a client like Thomas was, so luckily I have no problems taking this time. My satisfaction in woodworking comes from the actual woodworking anyway, not the finished product.
Not a lot of pictures with this post (may be a bit boring to see a bunch of marks on a board), sorry about that. I spent quite a bit of time breaking down the stock for this Packing Box. Actually, probably a lot more time than was necessary, but it was a good exercise in rough cutting lumber by hand, as well as a reminder to take things slow and enjoy the process.
The original text for the Joiner and Cabinet Maker spends quite a bit of time going through Thomas’ process of laying out his rough cuts. He uses a piece of 1/2″ deal (a fir or pine board), which measures around 9″ wide. Thomas is efficient in his layout, with very little wood going to waste (under the watchful eye of the master). He gives himself 1/4″ extra per board when sawing, which is pretty tight. I’m not nearly that good with a hand saw over these longer cuts, so I ended up giving myself more like >1/2″ lee-way. I chose to try and pick the cleanest sections of my common pine boards, so I was quite a bit less efficient. I was pretty picky about what sections I wanted to use, as well as where my saw cuts wound up (mainly to avoid the knots). I did manage to get all of my pieces rough cut from 2 – 1×10’s however.
This was an interesting exercise for me as I typically don’t go to these extremes when rough cutting. Normally I’ll use a table or miter saw for this part, but following Thomas’s lead, I hand cut everything, so tried to avoid cutting through any nasty sections. I’ll also be hand planing everything to size and fit, so wanted to try and avoid knots altogether, as well as pick the best grain to work with. A few knots were unavoidable, and I have a couple of sections of reversing grain, but all in all I think it’s workable.
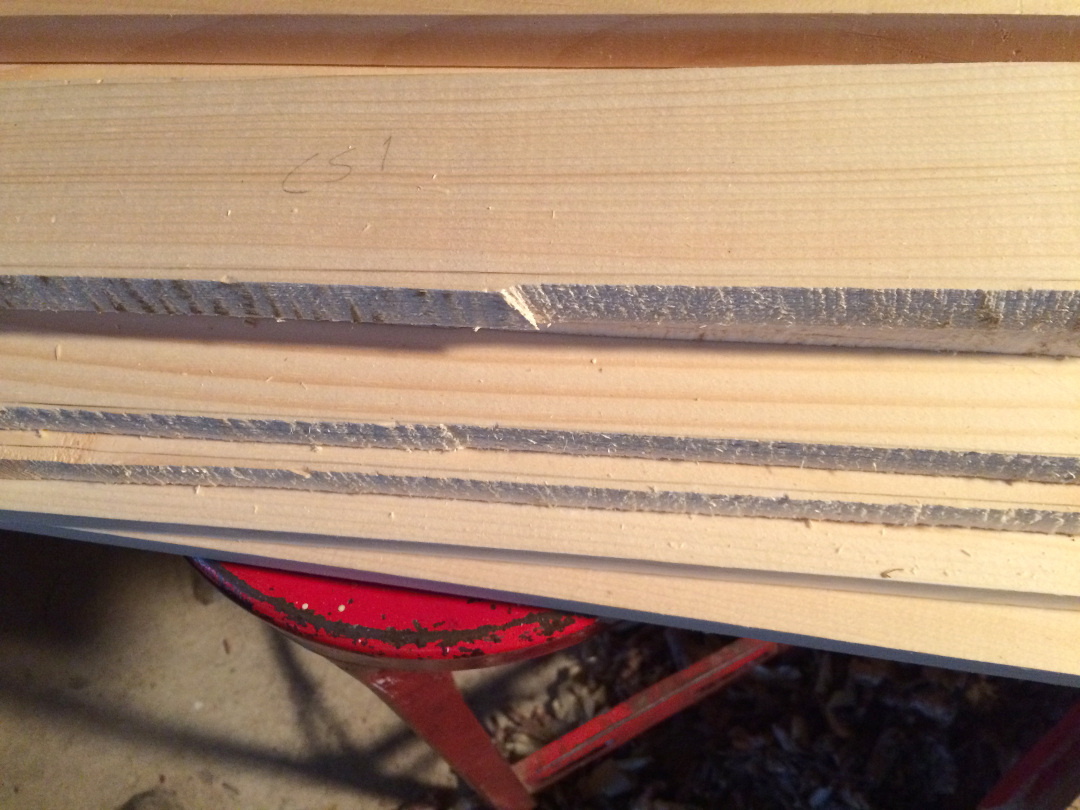
Rough Saw Cuts
After rough sawing, the next step is to work on sizing the pieces to their final dimensions. Most of the pieces will be kept a little oversize, then planed to fit once the box is constructed, but the two ends need to be correct dimensions to begin with, so I started with them. I’ve completed one end already and the next part I’ll describe the process I went through.


[…] Part 2 […]