Walnut Picture Frame – Part 4…
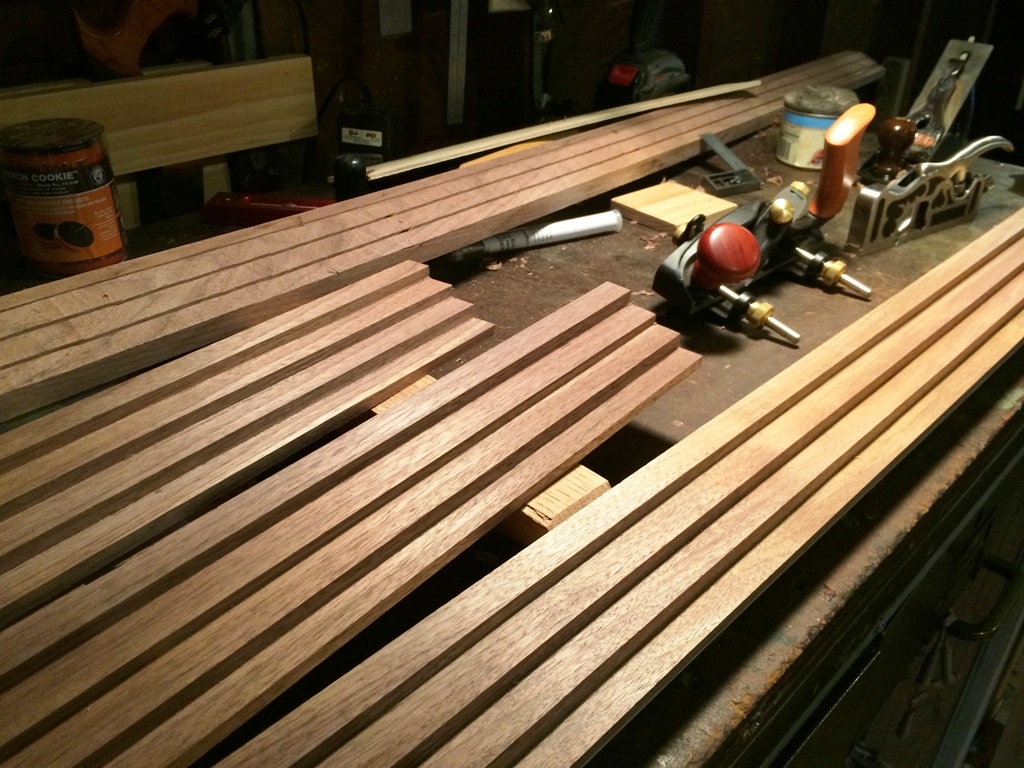
I had to go out of town last week, so am a little behind on the walnut picture frame, but I got some nice work done this weekend. Last time, I left off after shaping the two shorter pieces. I used the same technique with the shoulder and skew rabbet planes to do the longer two.
One Long Piece Done
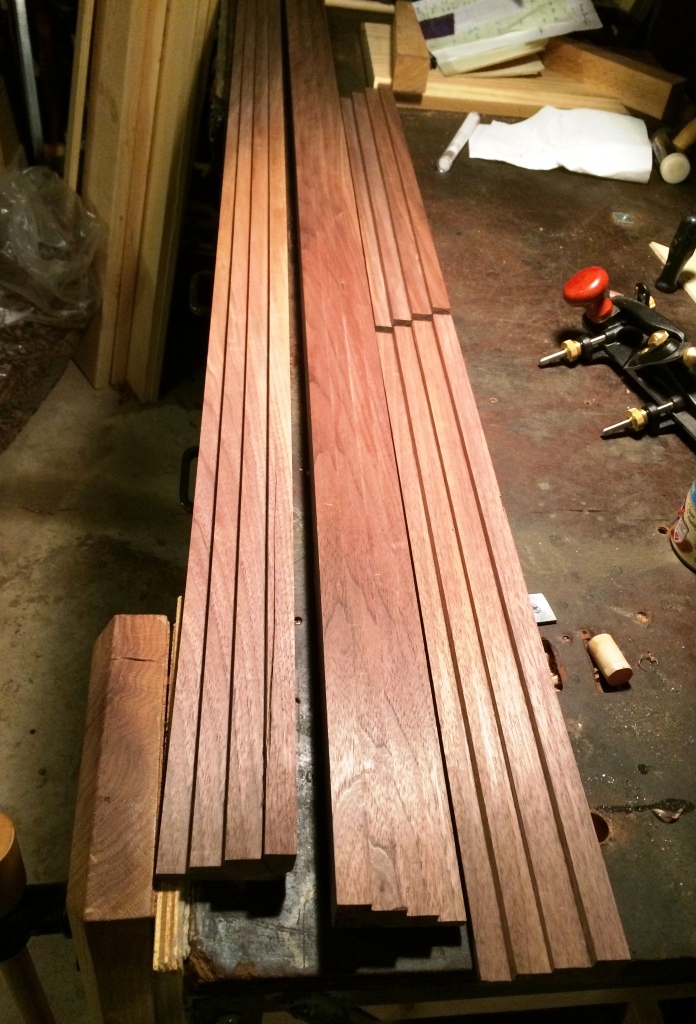
Completed Pieces
Completed Pieces
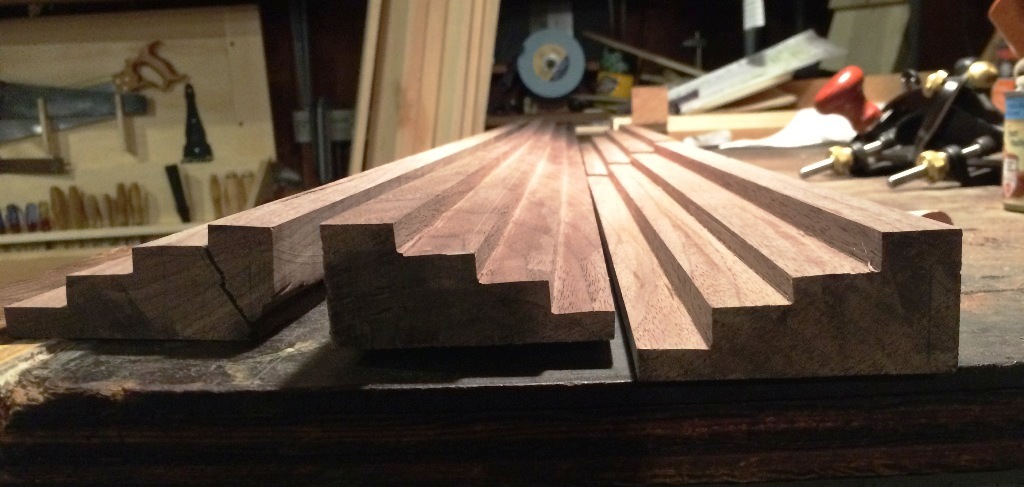
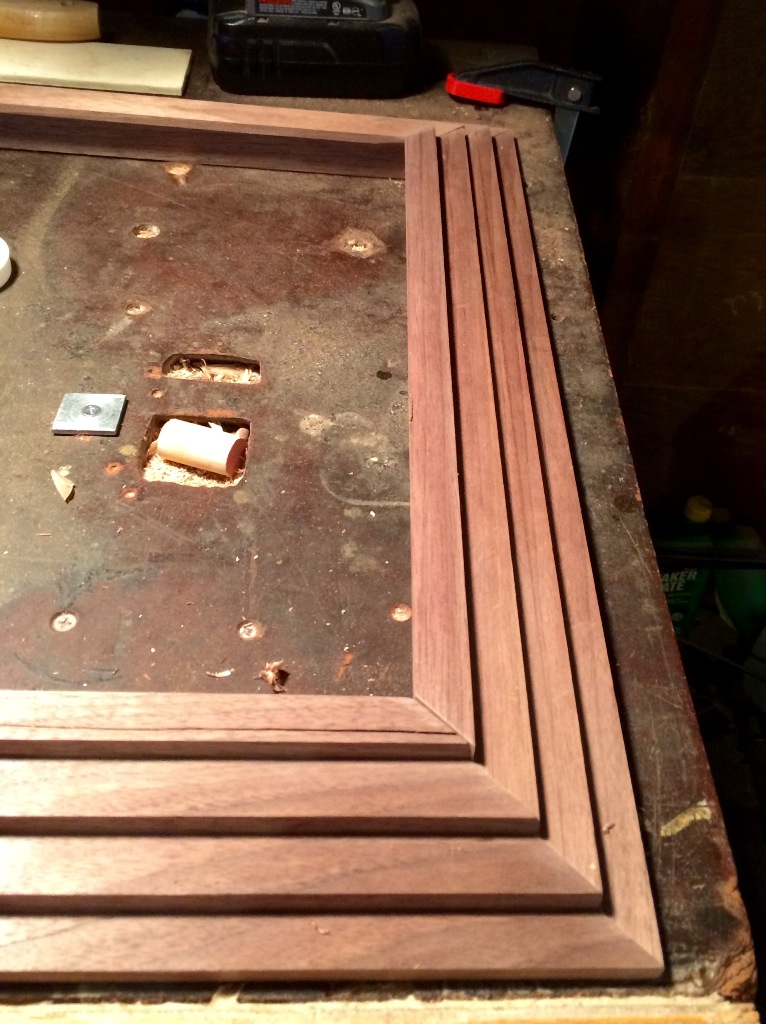
The next step was to cut the rabbet on the inside back of the frame to fit the glass and matte material. It was nice to switch back to doing a normal straight forward rabbet!

Back Rabbet
Completed Profile
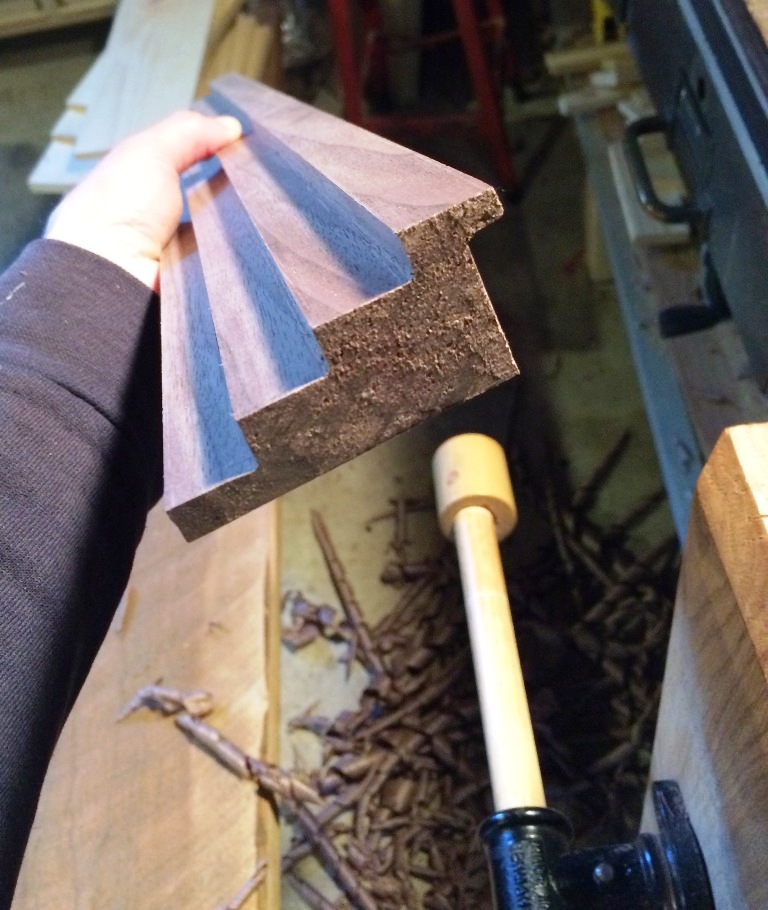
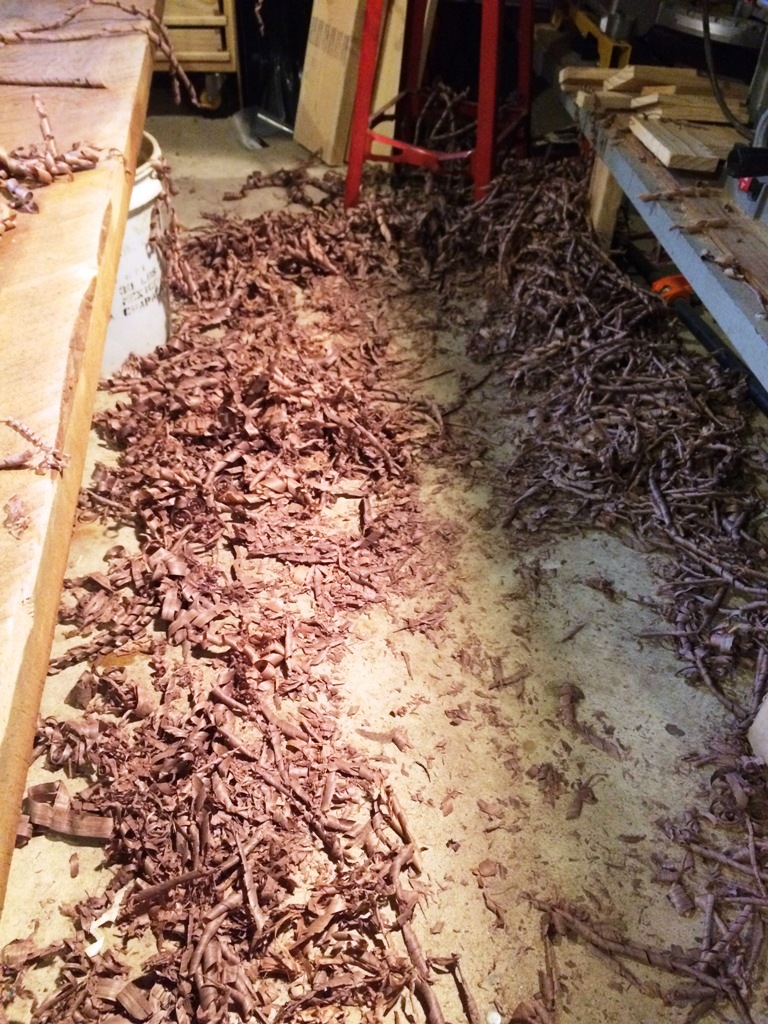
And I love the shavings that the skew rabbet plane makes!
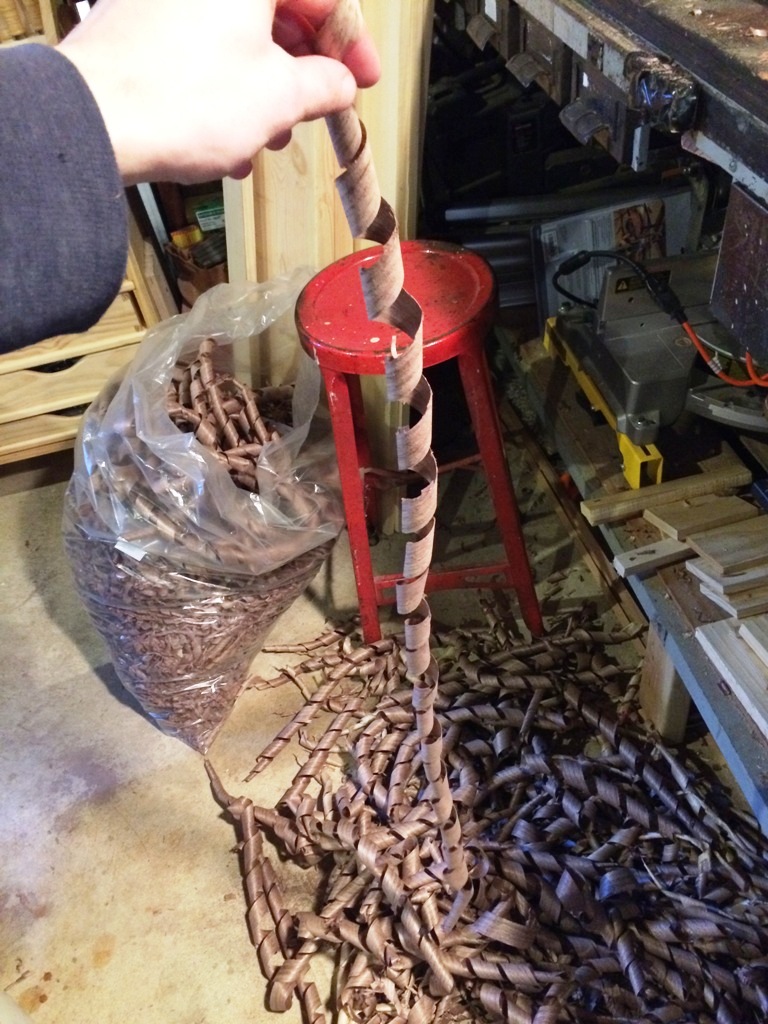
Rabbet Shavings
Rabbet Shavings
Using the inside edge as my reference, I cut the 8 miters with the miter box. They’re probably going to need some trimming to get to exactly 45, but that will have to wait until tomorrow.
Test Frame Fit
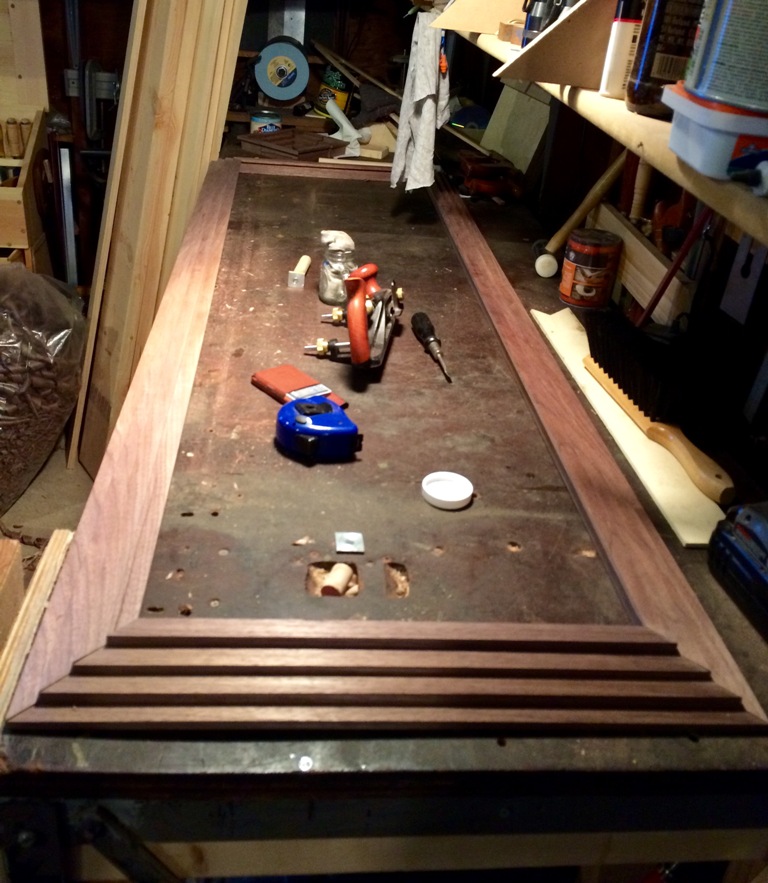
Test Frame Fit
It really is a giant frame! It’s going to be a challenge to glue up, but I made sure to make the inside rabbets a little oversize, just in case the angles are off or the pieces aren’t perfectly straight/square.


Leave a Reply