Stackable Sawbenches – Complete…
Both sawbenches are completed now and they came out great!
-

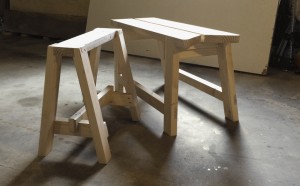
- Sawbenches Complete Stacked
-
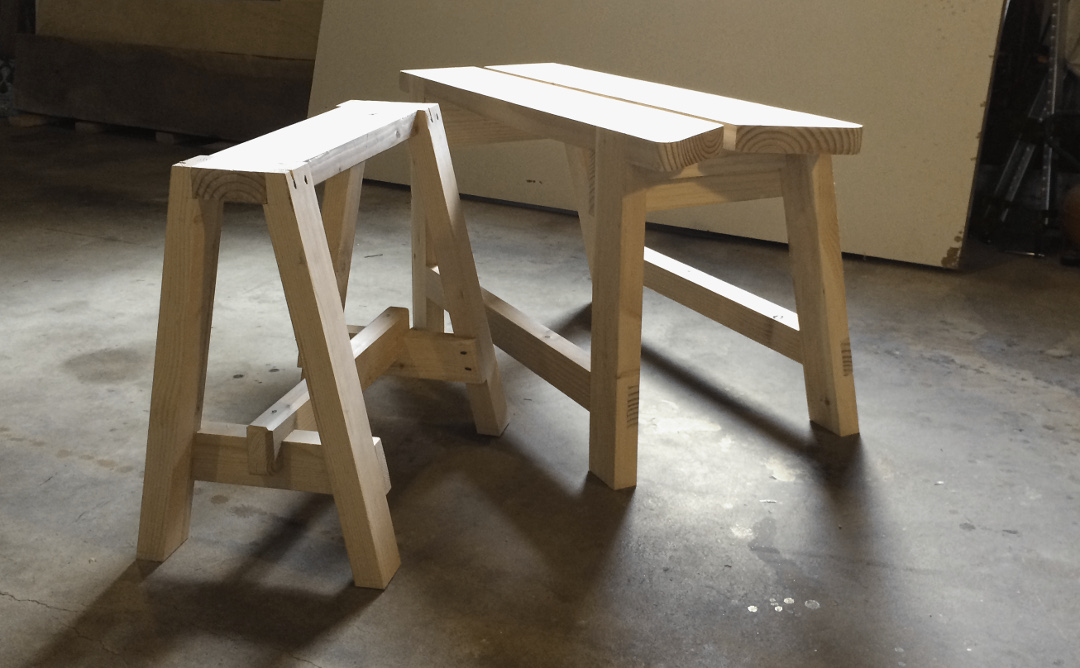
- Sawbenches Complete
-

- Sawbenches Complete Stacked
-
- Sawbenches Complete Stacked

-
- Sawbenches Complete
-
- Sawbenches Complete

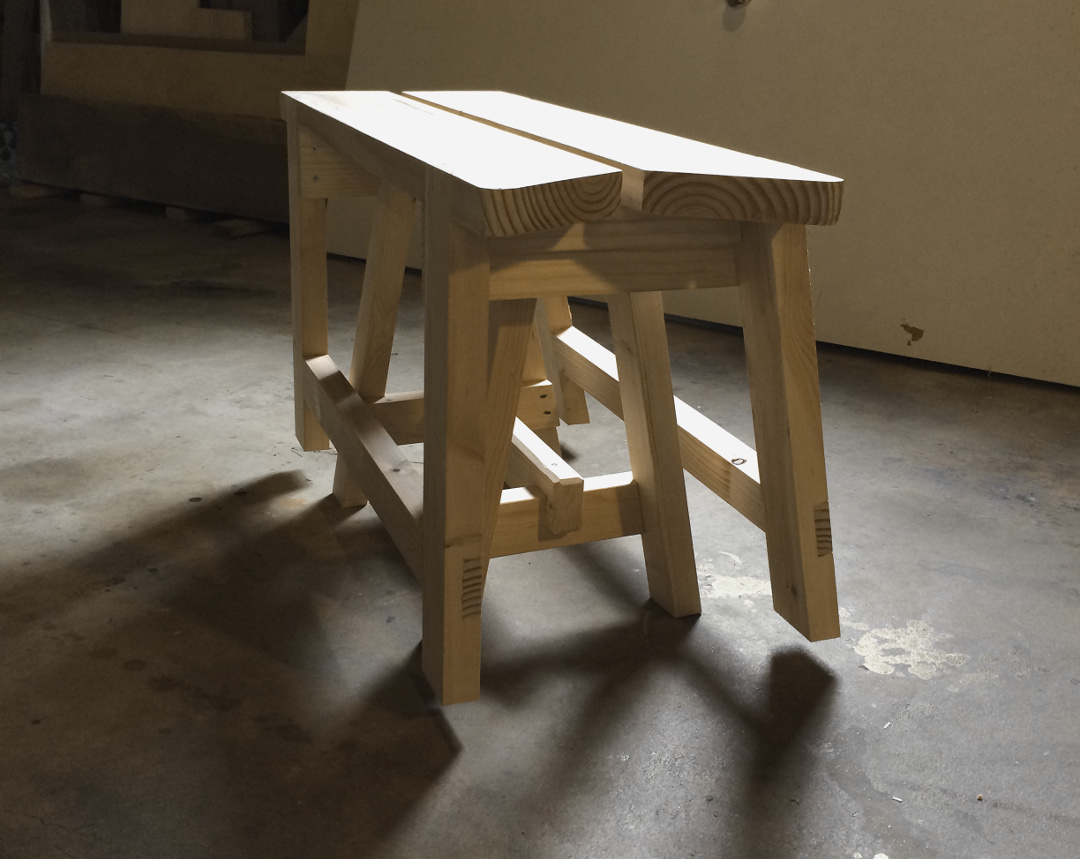
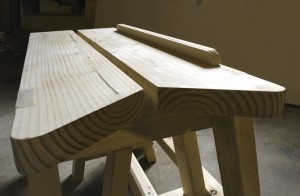
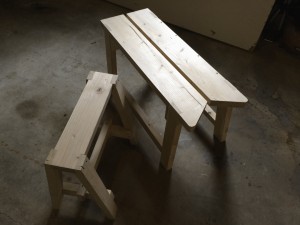
The smaller of the two is what I call the $7.17 sawbench and the full build can be seen here. This is based on Chris Schwarz’s $5.87 sawbench. The larger of the two is what I call the Sawyer’s Bench and the full build can be seen here. This design is based on the sawyer’s bench from Tom Fidgen’s Unplugged Woodshop book.
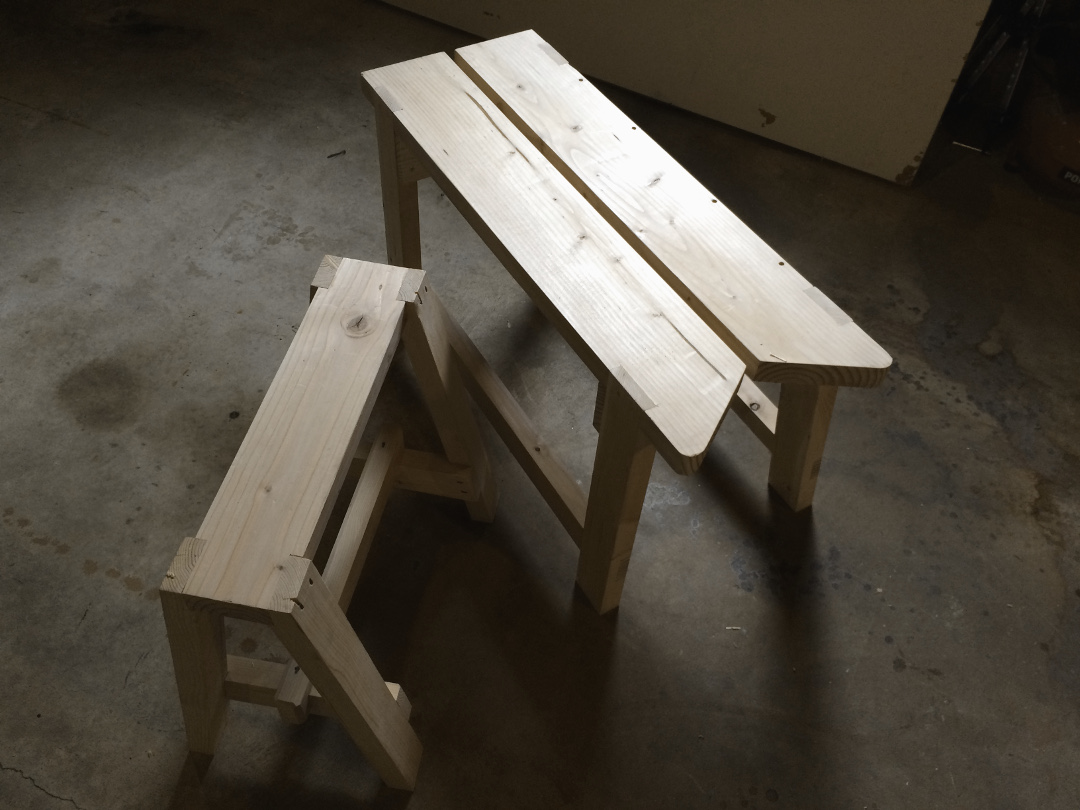
They are completely different designs, but I think compliment each other nicely. The $7.17 sawbench is sort of a bare bones, quick, basic bench, but perfectly acceptable to use. It’s light and easy to move around, while still offering a decent working surface. The sawyer’s bench has more, what I’ll call “premium” features, with the removable reference fence, ripping notch and slot, and perpendicular legs on one side. It’s quite a bit bigger, with a much larger worktop, which is very stable for larger pieces.
I’ve used both a number of times already and don’t really have a favorite, but some tasks are more suited to one or the other. With the smaller top surface, the little guy is obviously less stable and larger sawing tasks aren’t quite so easy. For longer rip cuts, I also have to be careful not to clip the legs with the saw. For most sawing tasks the larger of the two excels. The fence makes holding work for crosscutting easier and longer rip cuts are easily done either through the ripping slot or on the side with perpendicular legs. That being said, it’s big and heavy and harder to maneuver around it (stepping over the little one is easy, the big one requires a little more flexibility).
So, for quick small tasks, grabbing the little guy is easy and efficient. For larger tasks, or longer cuts, I pull out the bigger one. And of course, when breaking down long stock, both are used, with the smaller one offering support on one side, while I saw next to the larger one.
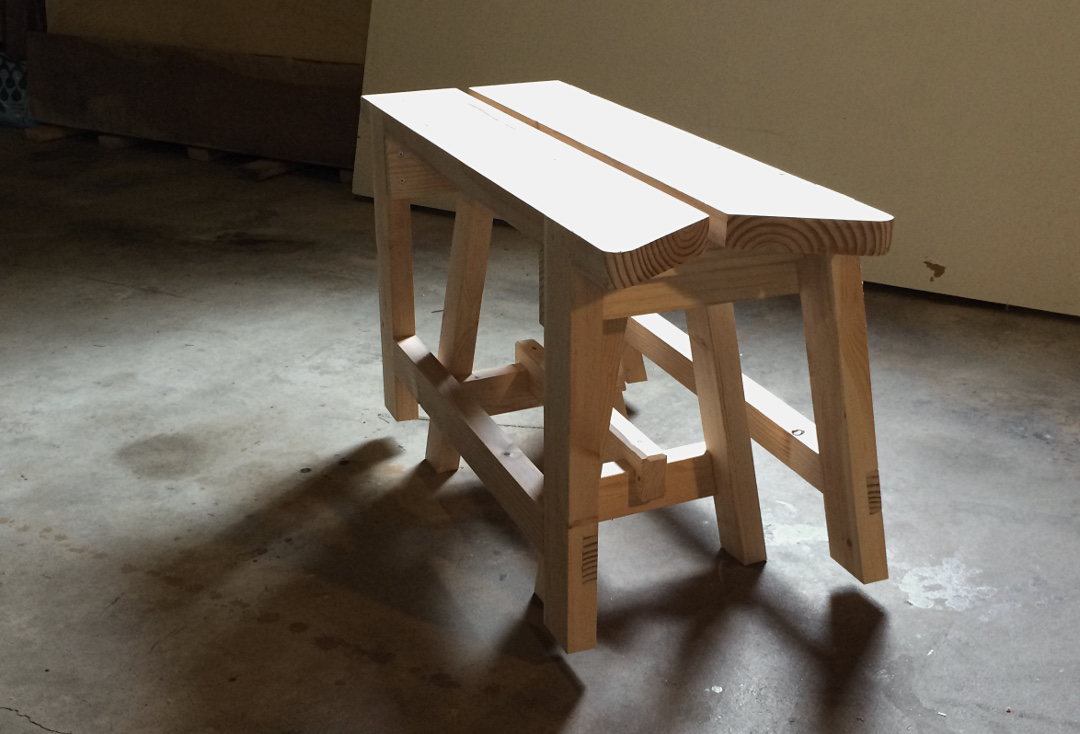
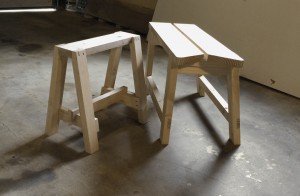
While stacked (which is how they stay a majority of the time), I was worried about the top bench’s legs not being on the ground and it being unstable. I thought about adding fold down leg extenders to stabilize it a bit and I may still do that. However, turns out, it’s not such a big deal. Because the smaller sawbench’s top is fairly narrow, the top bench does wobble a bit while stacked, but it’s plenty stable enough to sit on and use as a normal bench. If I’m careful, there’s also no problem using it as a step stool.
So, all in all, a really successful project that adds some needed pieces of equipment to the shop. I’m very pleased!


Leave a Reply