Packing Box – Part 4…
In the last post I dimensioned all my stock for the packing box. There wasn’t a lot to show for my efforts there, but this update should be a little more interesting.
With the end and side pieces sized, we can jump right in to making a box. The end pieces are the same length and will determine the final internal width of the box. The side pieces are over-sized at the moment, so I mark out the final desired internal length on the inside of the side pieces as a guide to line up the end pieces.
Packing Box Sizing
With the end pieces clamped in their final position I then can drill the pilot holes for my nails. I’m using 4d cut nails (just like Thomas), but I don’t have a birdcage awl like he used, so I’m using a 3/32″ pilot hole (with a hand crank dill) instead.
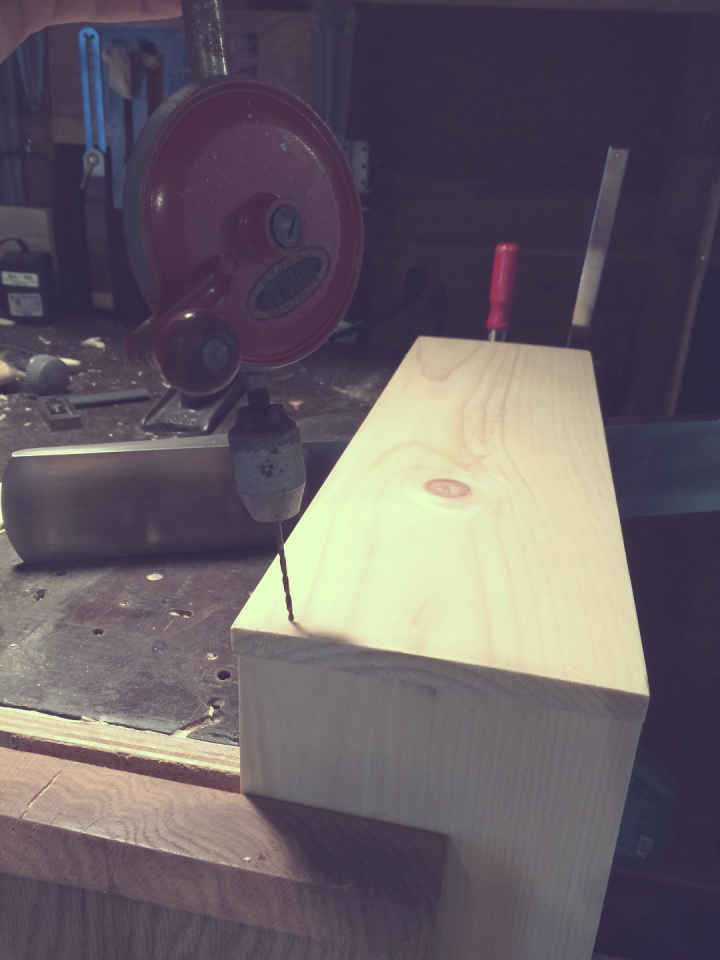
Packing Box Drilling
Notice the angle on the holes. Since I won’t be using glue this will help the pieces from pulling apart later.
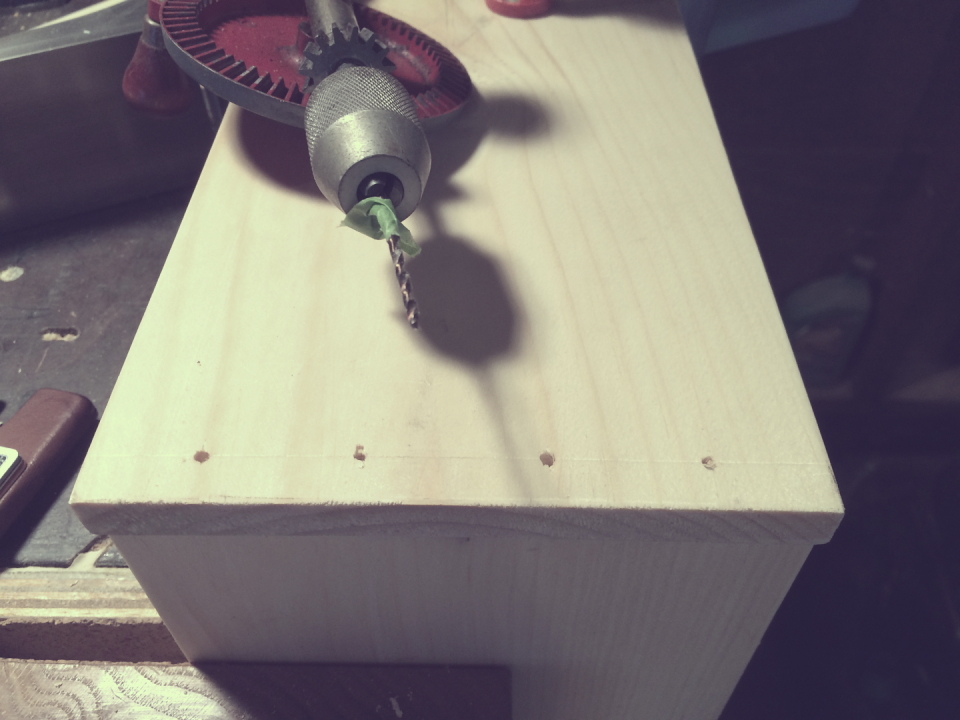
Packing Box Drilling
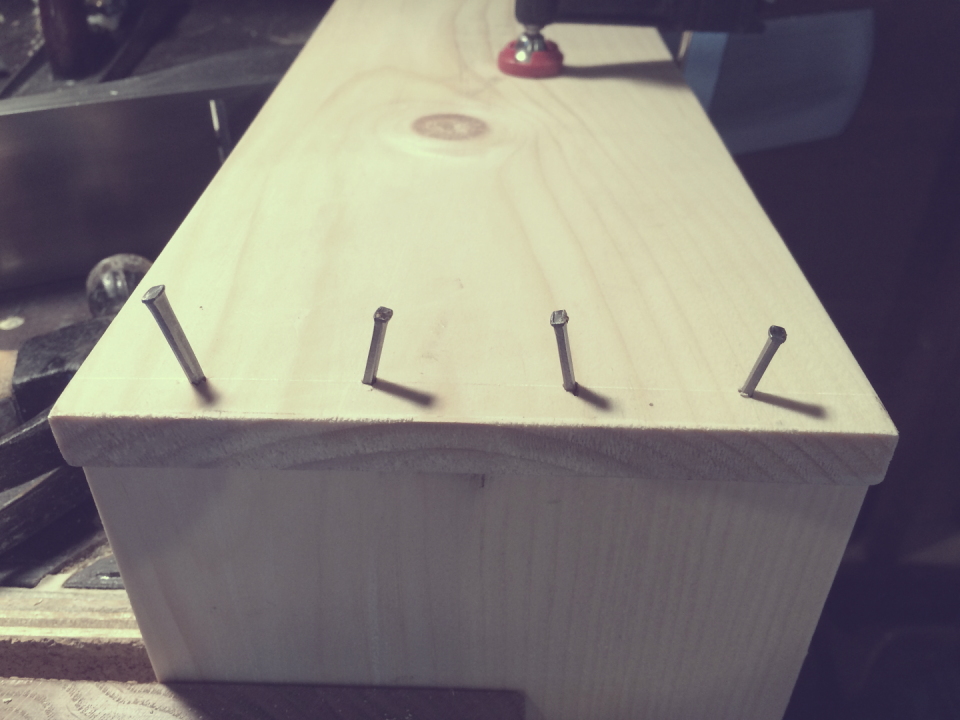
Packing Box Nails
The nails I’m using are from The Tremont Nail Company and are fantastic. I drive them home with a regular old hammer and nail set. I’d like to grind my nail set to have a square head, but haven’t gotten around to that yet. I just have to make do with a normal circular nail set for now.
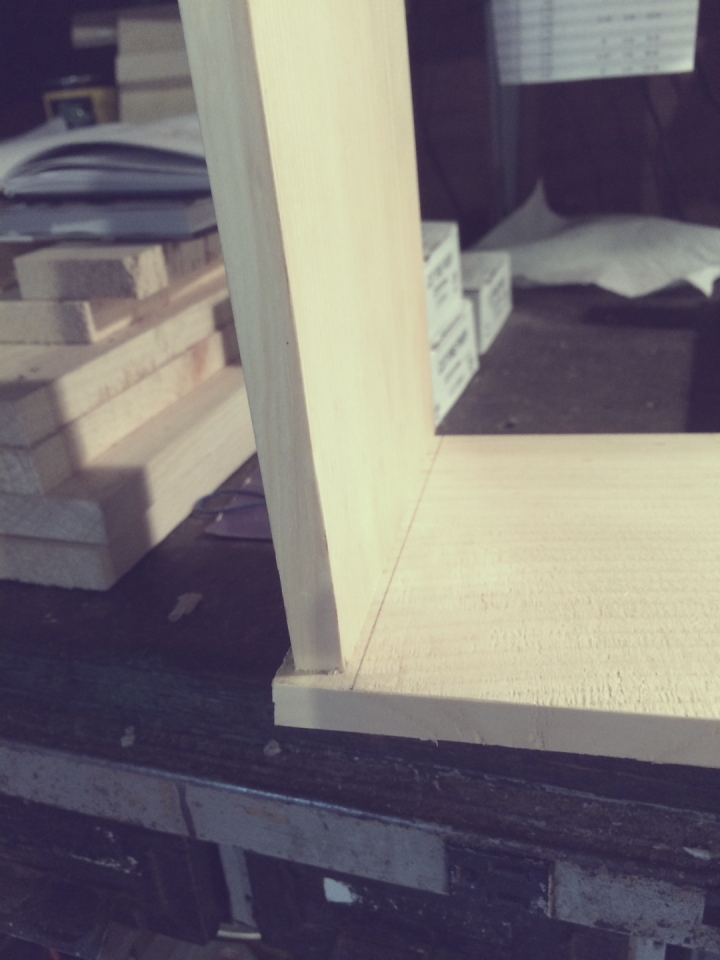
After nailing all four corners I use a smoothing plane (good old Stanley No 4) to flush up the sides.
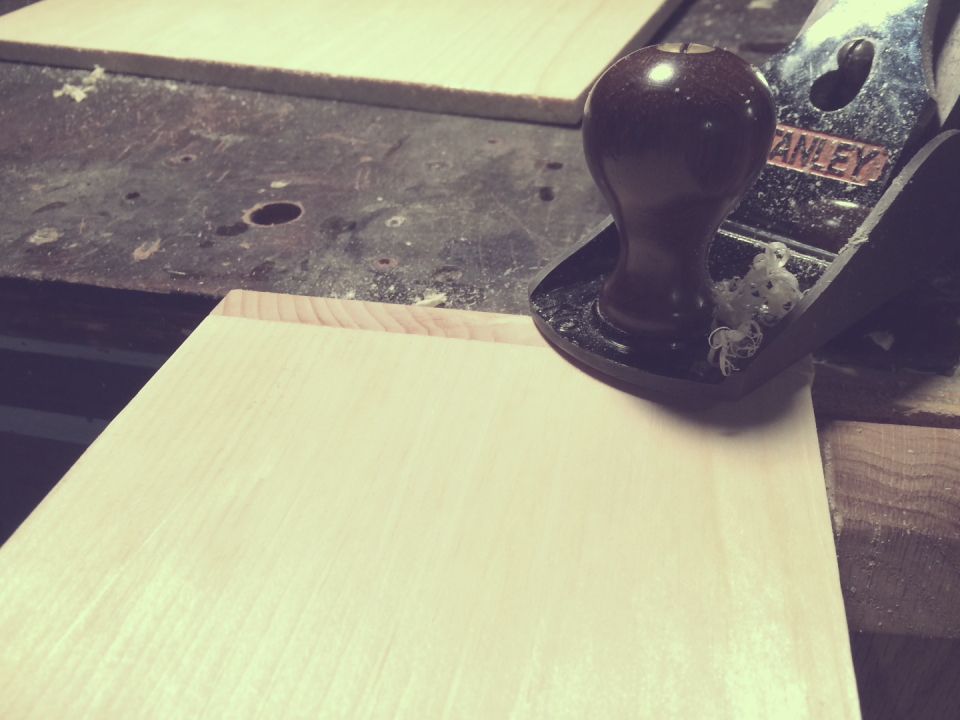
Packing Box Flush Trim
Just like that I have something that’s getting close to a box!
The final step for the night was to glue up the pieces for the top and bottom panels. Thomas only has a few hours to complete his box, so he doesn’t glue these panels. I need the paneling practice, so I’ll be gluing them, but it’s not really necessary as there will be cross stretchers added to keep them in place.
Shannon, over at the Renaissance Woodworker, just did a nice video about his panel construction technique, and I’ll be doing roughly the same thing here. I haven’t done any milling on the top and bottom pieces yet because this will be done when they are glued up together. All I did was mark the grain direction (sorry for the bad picture).
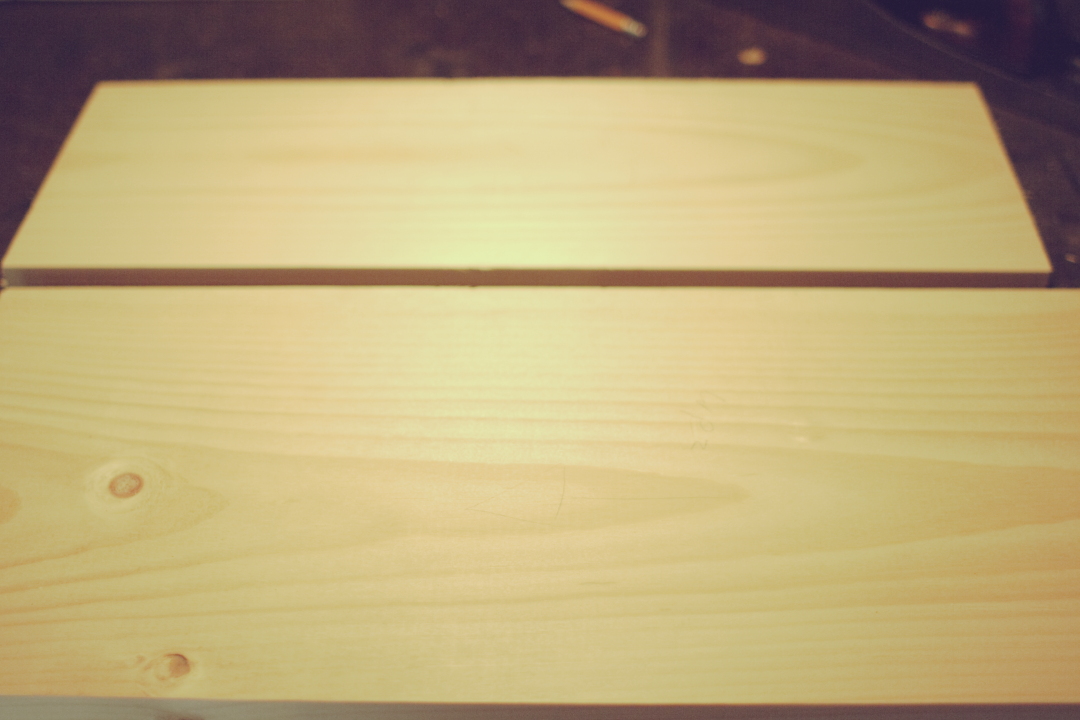
Panel Glue Up
Then I match planed the two edges to be glued.
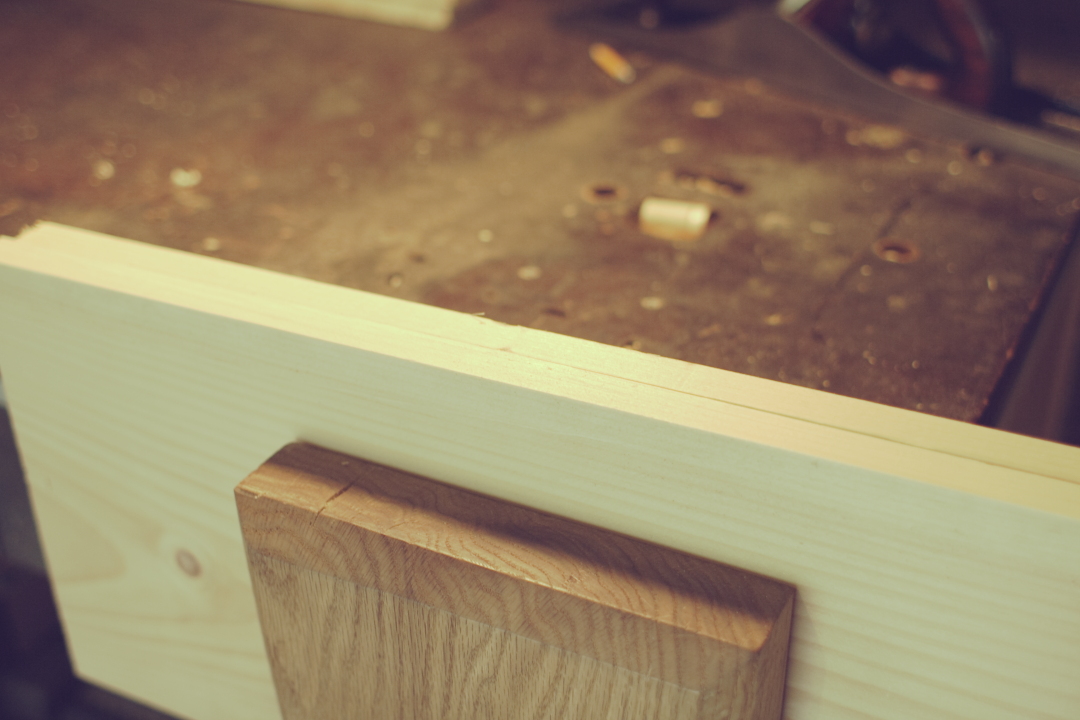
Match Planing
I used the Millers Falls No 22 jointer plane for this and kept going until I got two full width, full length shavings.
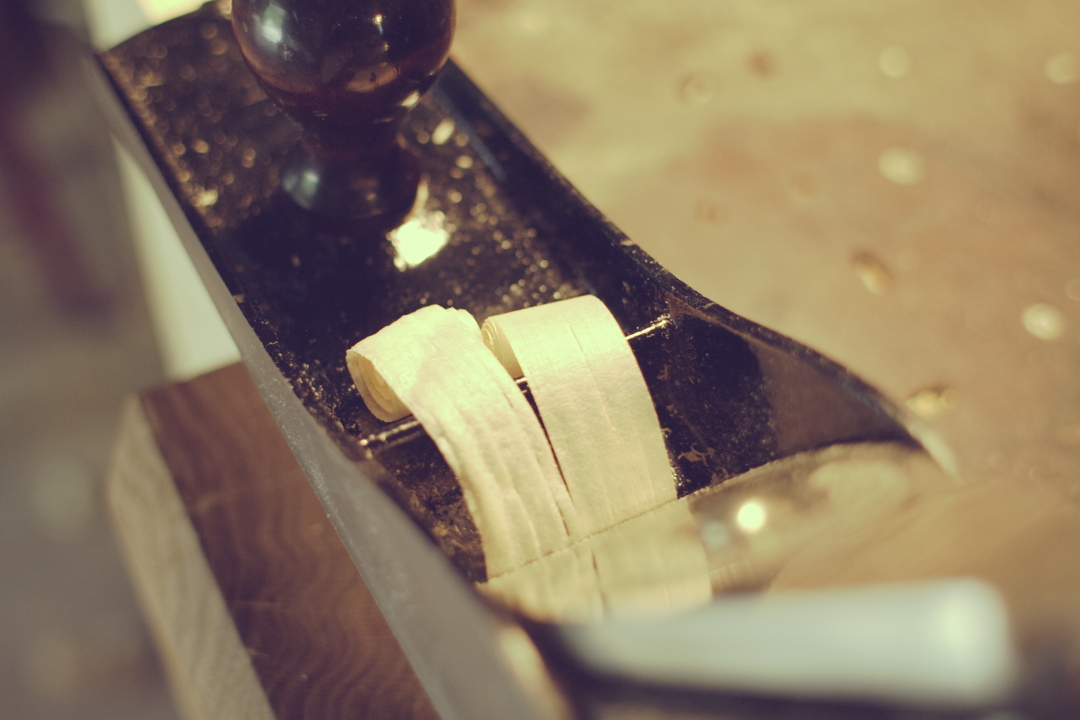
Match Planing
Because these edges will be mated together (folded up like a book) t’s not necessary to have these edges be perfectly square to the faces. Any angle should be cancelled out by the other edge and I’ll be flattening out the faces once they’re glued up anyway.
After unfolding the two pieces and checking for a nice tight joint, I glued everything up.
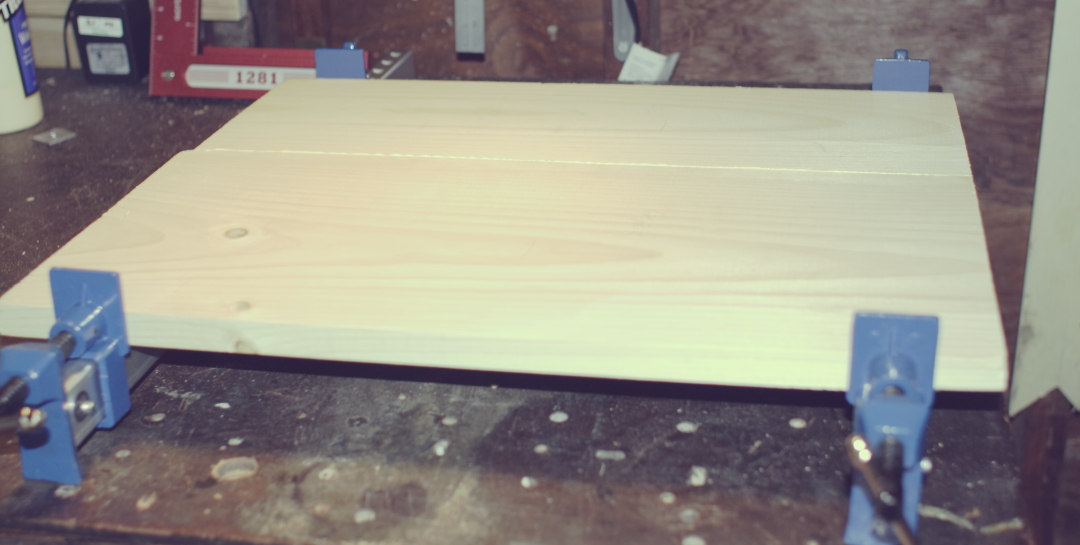
Panel Glue Up
I did end up adding two more clamps to the panel in the middle after that picture was taken. This gave a nice even glue squeeze out along the length of the joint.
Panel Glue Up
I just repeated this same procedure for the other panel and these will sit until tomorrow when I can flatten the faces. Stay tuned!


Leave a Reply