Re-foaming Speakers…


Re-foaming the Bose 301 Series
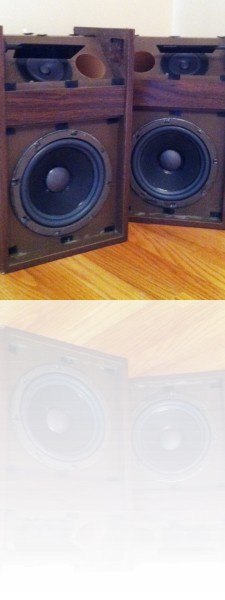
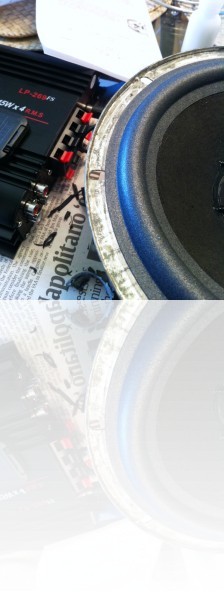
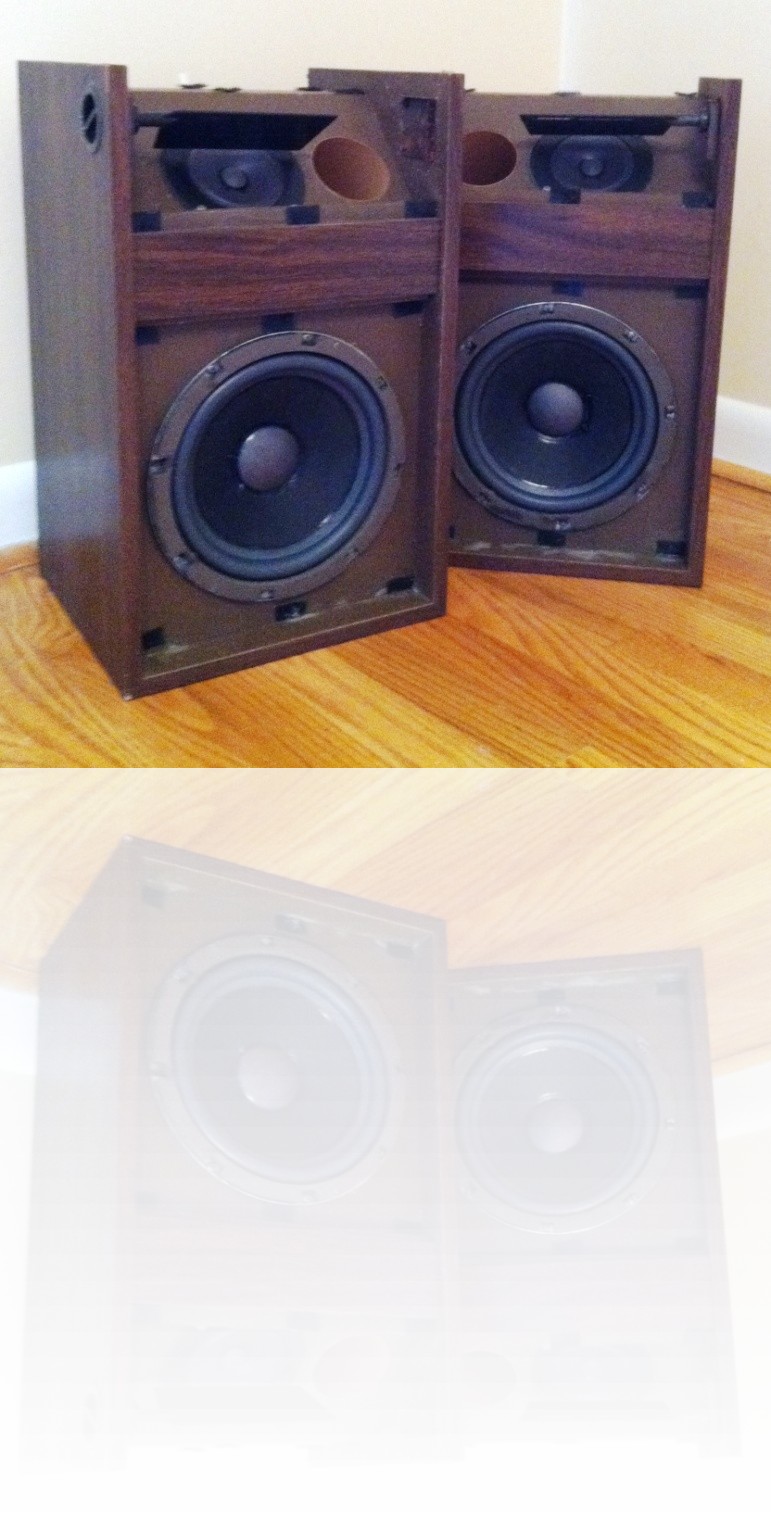
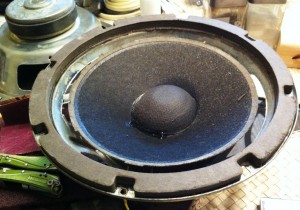
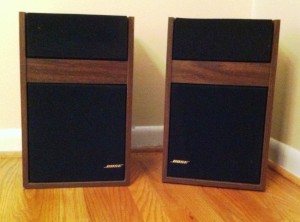
Since getting into the DIY speaker hobby a few months ago I’ve built two speaker systems and am really happy with both of them. I don’t necessarily need another set of speakers anywhere in the house, but I was given a vintage set of Bose 301 speakers recently. I’m normally not a huge fan of Bose, mainly because they are way too expensive and I feel that you can get the same, if not better, sound quality from cheaper alternatives. That being said, I don’t find anything wrong with the sound produced from most Bose products. Which is why I decided to fix these speakers up to see if I could put them to use somewhere. This set is going on 40 years old now, but they have survived remarkably well, except for the obvious need of re-foaming.
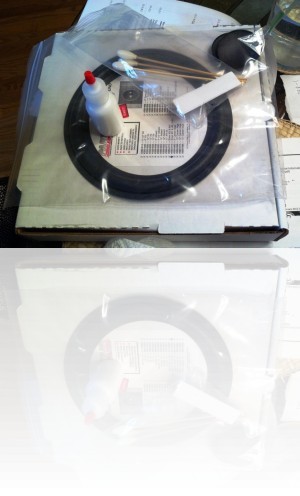
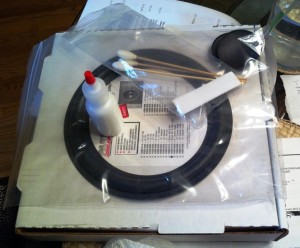
Manufacturers in the 70’s used some fairly cheap rubber material for their speaker surrounds and most of these have dried up and rotted away through the years. A lot of people end up just giving these older systems away because of this, “They look horrible, must be broken!” That’s not necessarily the case. The foam is probably one of the cheapest elements of your speaker and is pretty simple to replace with a little patience. I picked up a re-foaming kit from Parts Express for about $20 with everything that you need.
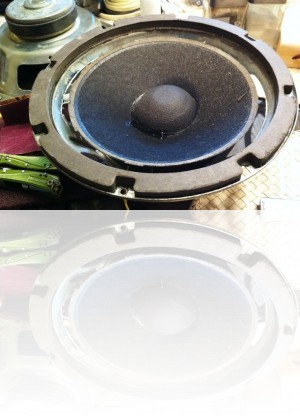
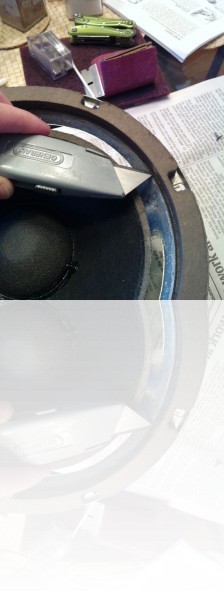
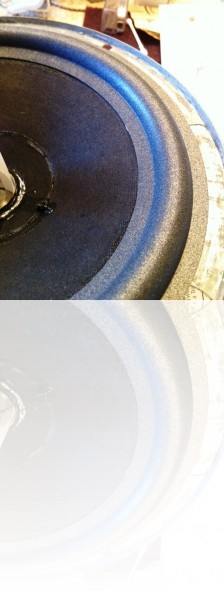
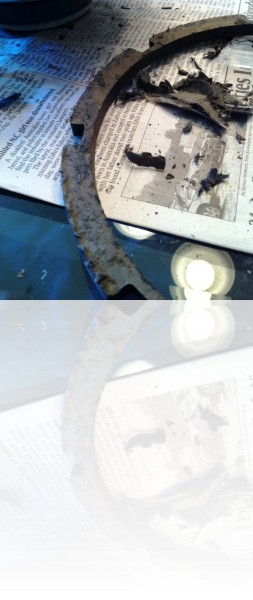
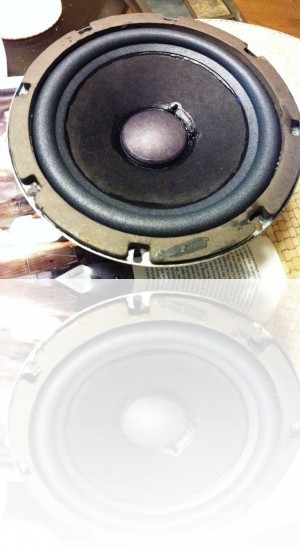
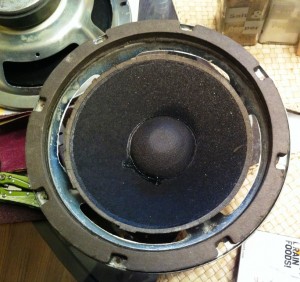
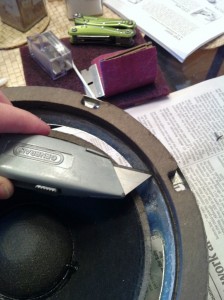
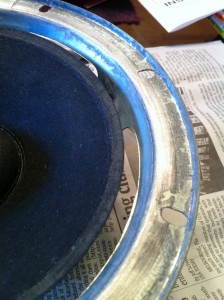
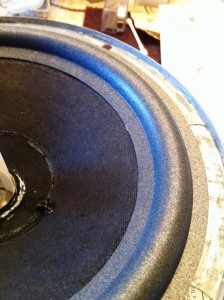
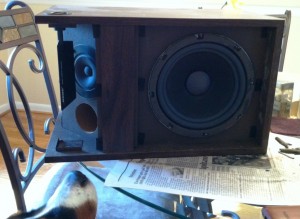
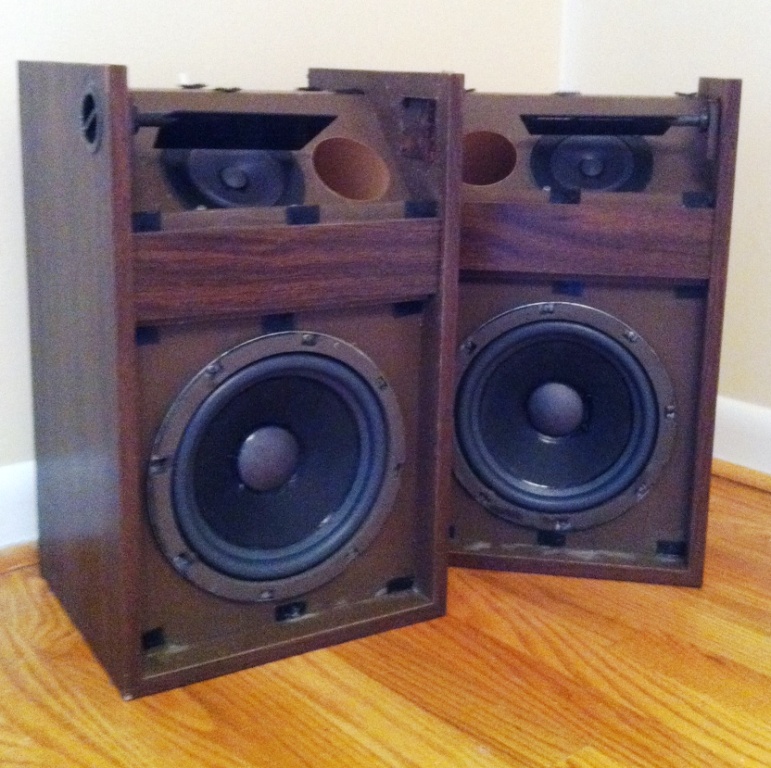
The first step is to remove the old surround material. As you can see in the pictures (which are in the gallery above in order of construction), mine was pretty much gone already, but you’ll most likely be able to just brush it away with your fingers. The next step is to remove the gasket around the exterior top of the speaker if yours comes with one. This is by far the most time consuming and annoying part of the whole process! Using a razor knife, work your way around underneath the gasket to slowly pry it away from the metal basket. If it is a paper gasket, like the 301s, then be careful not to rip it because we’re going to use it again. Take your time and don’t cut yourself! I’ve heard that a little heat can help with this step, so try passing a hair dryer lightly over the gasket to melt the glue underneath.
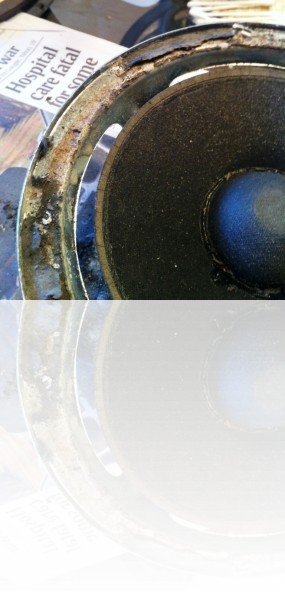
When the gasket finally comes off you’ll be left with a mess on the metal cage. Go ahead and scrape all of this mess away trying to get the metal surface as smooth as possible. We are going to be gluing the new surround to this, so it should be clean of old debris.
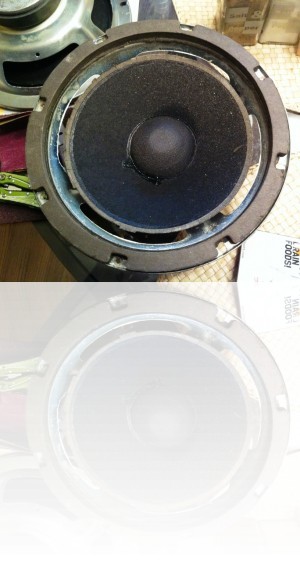
Now we can turn our attention to the cone. The inside rim of the surround gets glued to the outside rim of the cone, so go ahead and scrape away the old surround material from the outside rim of the cone. Again, it doesn’t have to be perfect, but should be a pretty smooth surface for the new surround to be glued to. I used my fingernail mostly, but for the stubborn parts I resorted to the razor knife again. Be careful not to cut the cone!
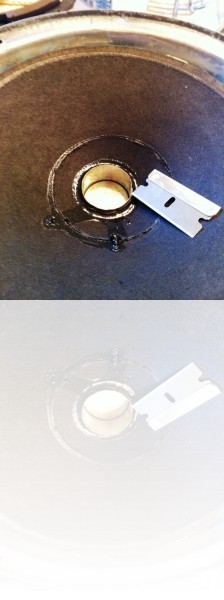
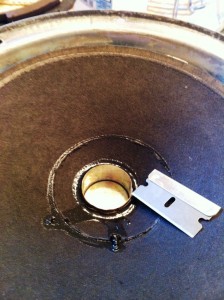
The next step is to get the voice coil and cone all set up in the right position. To do that we need to remove the old dust cap from the center of the cone, which is just there to protect the voice coil from getting debris in it. My kit came with a new dust cap, so I went ahead and destroyed the old ones, but you can cut around the edge and re-use the old ones (leave a bit of glue left in one spot and just fold the dust cap up out of the way). Be careful doing this step as well because you don’t want to cut through the cone.
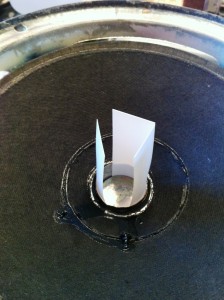
There needs to be a small gap in between the cone/voice coil former and the pole so that the cone can freely move in and out when the music hits. If the cone is off-center you’ll get the voice coil former rubbing against the pole and hear this awful buzzing sound, along with probably destroying your driver. To space it out evenly you can insert shims between the two while you are gluing the new surround in place. The PE kit came with shims, but you can also use paper stacked to the correct thickness. Go ahead and insert the shims down the sides of the voice coil former around the gap to center the cone.
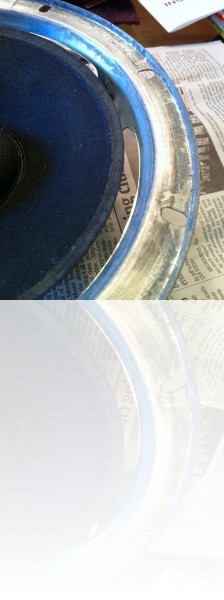
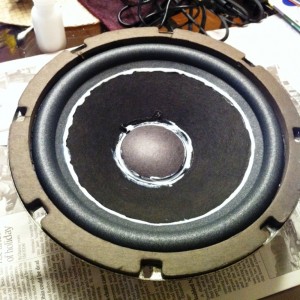
Now you can go ahead and glue the inside of the new surround to the outside of the cone. Just go ahead and center the new surround and run some glue around the edge. It’s a good idea to coat both surfaces with glue first, then let them sit for a few minutes to get tacky, then put the surfaces together and apply a little pressure to create a good seal. Wait about an hour and then you’re ready to glue the outside of the surround to the metal cage.
But first, in older speakers it’s common for the spider (the normally cloth folded/rippled thing that you can see through the metal cage if you look underneath of the cone) to collapse a little bit. The surround material is there to help the spider out, so when the surround goes away the spider has a tendency to collapse. These two things are there to suspend the cone in a neutral position, so it’s free to move both in and out. Before you glue the outside of the new surround on, push the cone out a little bit until the spider is flat, not sunken in. The shims that we inserted earlier should be able to hold the cone in that position for gluing. Go ahead and glue the outside of the surround to the metal cage once the cone is in the correct position.
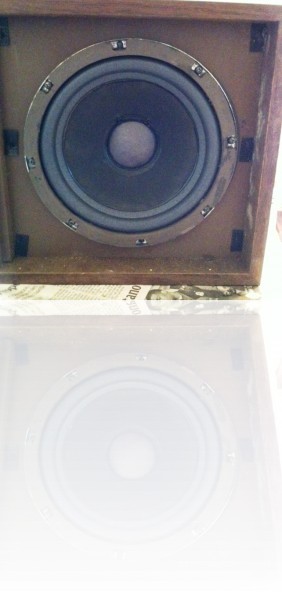
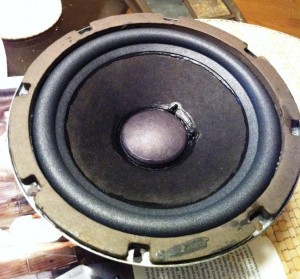
After an hour or so you can now glue the gasket back on using the same technique. This will help seal the new surround in place and also protect it from getting damaged. I flipped the speaker over so it was face down to apply some pressure to the gasket while it was drying overnight, but you can also clamp it with a few hand clamps. Let it fully dry, at least over night before you move to the next step.
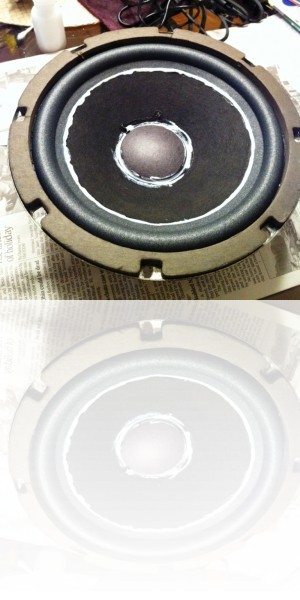
The next step is to remove the shims and glue in the new dust cap. This is pretty straight forward, but be careful not to get anything in the voice coil when doing this! Wait about an hour and then you’re pretty much done! I did a little tidying up of the glue and made the lines a little more even, but that’s really not necessary. If you’ll see the drivers, then you may want to do that, but mine are going to be covered with a grill, so no real need.
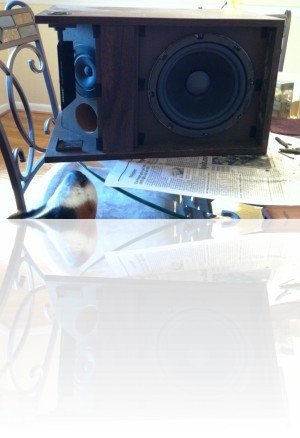
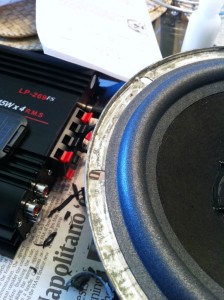
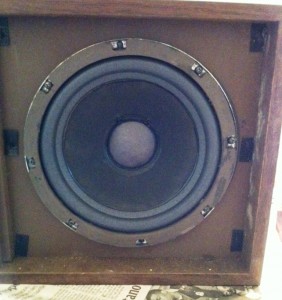
You can now mount them back in their boxes and test them out! Mine sound really great and you can’t beat the price! With a $20 kit and a little elbow grease I’ve got speakers that sound as if they cost 10 times as much!


Leave a Reply