On Sharpening Saws – Part 2…
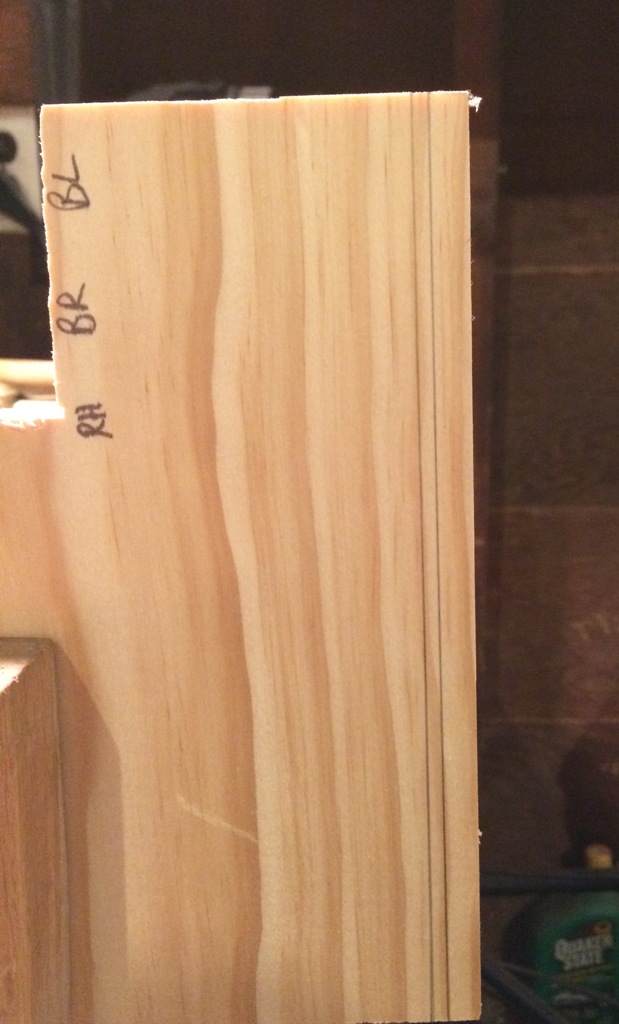
Re-sawing the 8/4 walnut for the large picture frame I’m working on just reinforced the fact that I need to sharpen my saws. Before I re-saw the longer of the two walnut pieces I’m going to sharpen one of my vintage Disston D-8 hand saws to see how it compares. With my novice saw sharpening skills I’m really going to be testing Mike Siemsen’s statement that a “Poorly sharpened saw will still cut better than a dull one!”
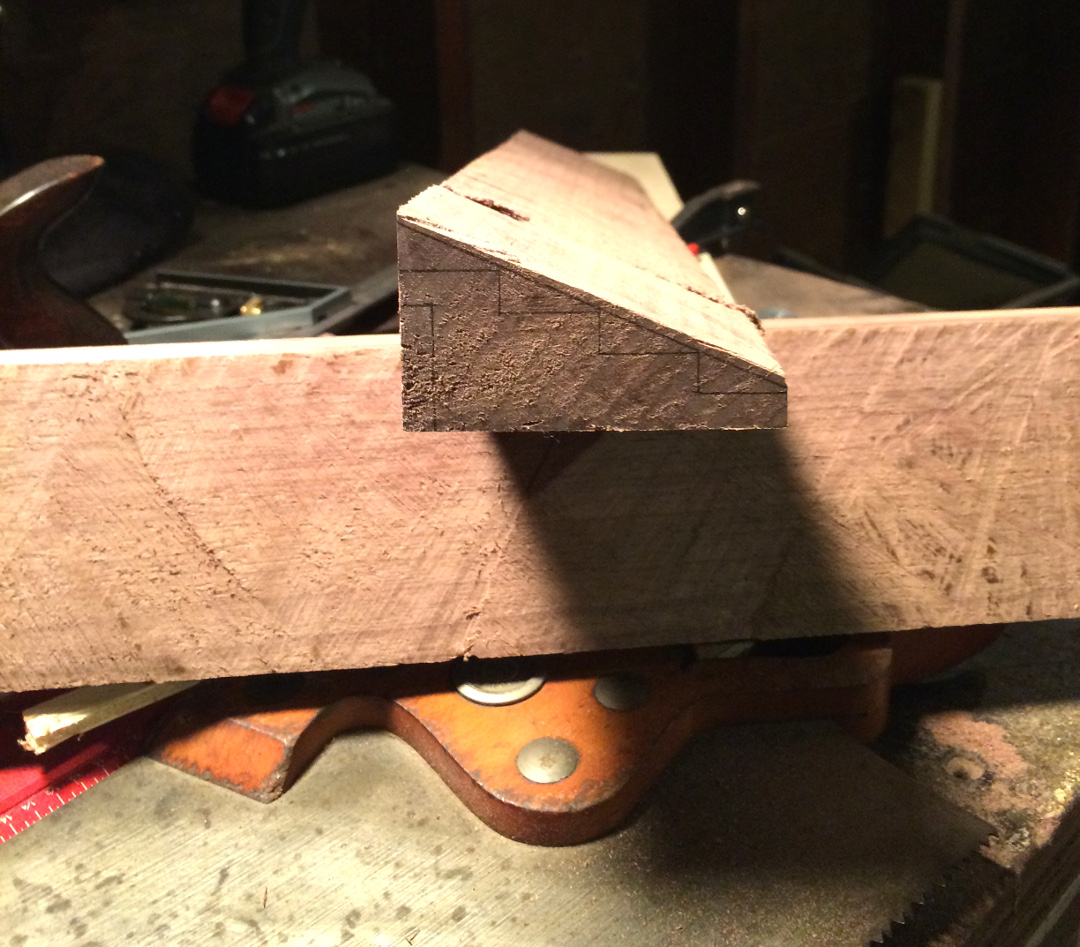
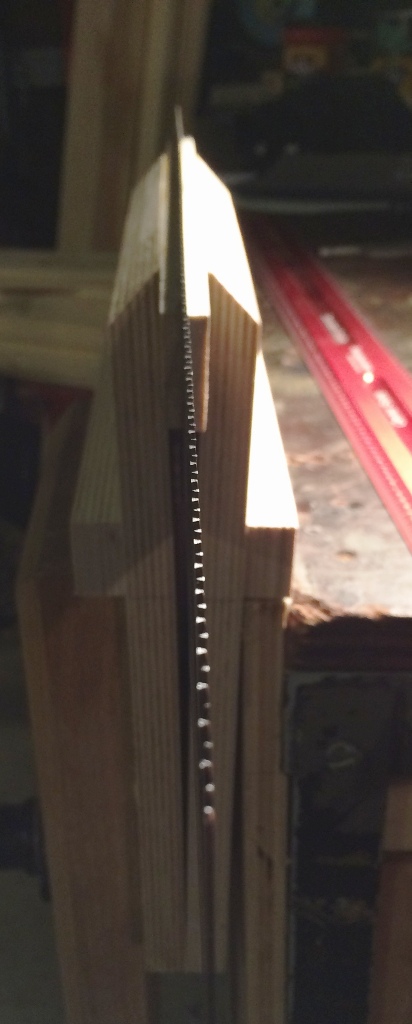
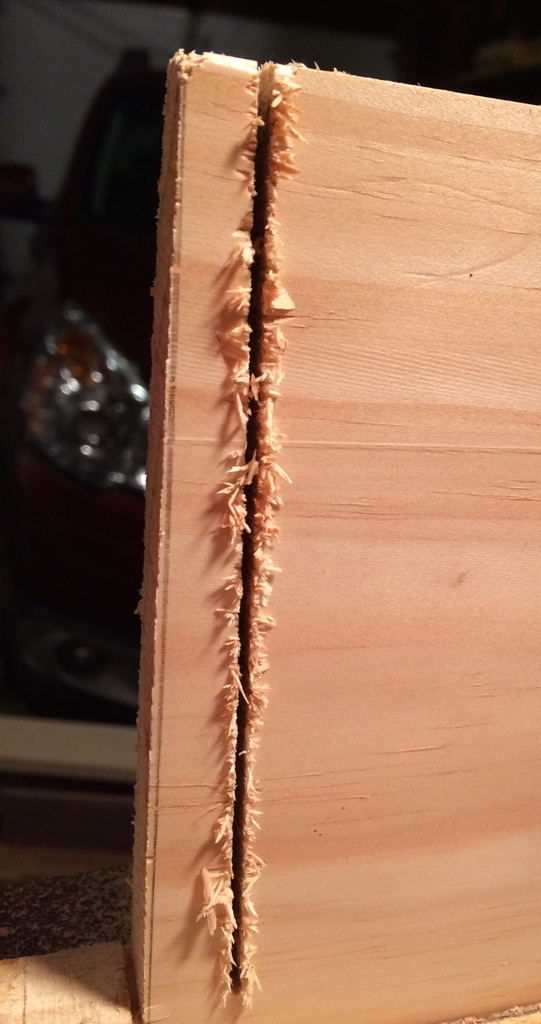
Small Piece Ripped
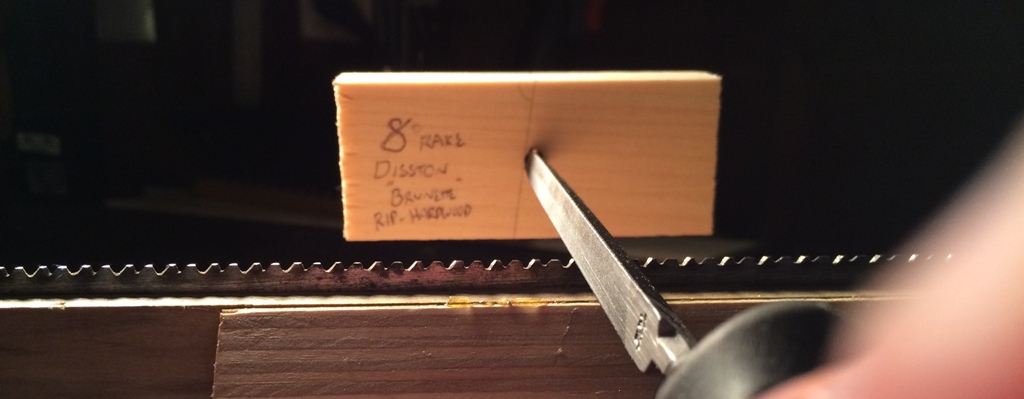
I’m going to start with the darker handled of the two Disston D-8 saws, which I named the Brunette last time. My idea is to sharpen this Brunette for hardwood sawing and the other Disston, the Blonde, for softwood. I’ve no idea if the small changes in geometry will even be noticeable, but it’s worth trying just in case. Both of these saws will be filed rip, with no Fleam, or as close to 0 degrees of fleam as I can get. From all my research, the Brunette tuned for hardwoods should have slightly more Rake, taking a less aggressive cut, but making for slightly easier starting and sawing. The Set should also be slightly less on the Brunette saw, which, in theory, should give a narrower kerf, and hence an easier, more precise cut.
MATERIALS
There are all sorts of fancy saw sharpening tools out there, and if you’ll be doing a lot of it I would say you should probably invest in some good tools, but for the average sharpener like me you can probably get by with just a few tools for less than $100. Here are some of the things that you’ll need:
- Mill Bastard File – I’m using a Nicholson, but any would work really.
- Triangular file to fit the saws teeth – I have the Lee Valley file set to match a few different saw sizes, but you can just pick them up individually as needed if you’d like. You want to make sure that the saw’s tooth doesn’t go more than half way up the file’s face, that way you’ll be able to use all 3 corners of the file.
- Saw Set – This is probably the most specialized tool of the bunch. I’ll be using the Lee Valley one.
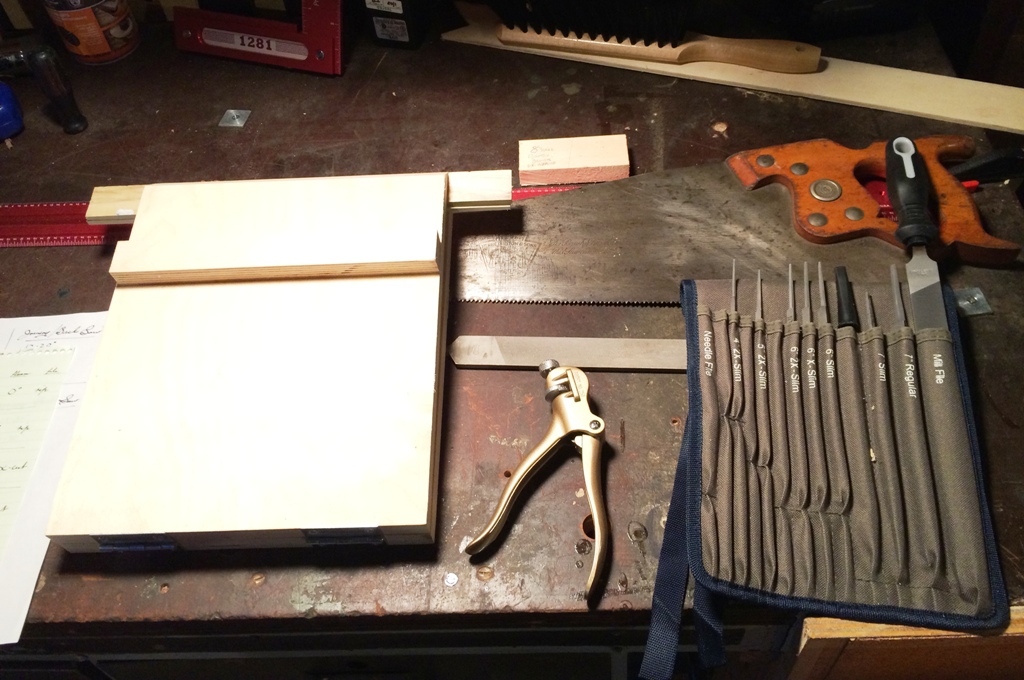
Saw Sharpening Setup
And some things that will make your life easier:
- Saw Vise – Although technically not necessary, you can use a normal vise, but it makes things easier. You can make your own, as I’ve done, or pick up a vintage one for less than $50 normally.
- Protractor or some other way of measuring angles – I’ll be re-shaping my teeth, so need to set the correct angles. You could just follow the existing tooth geometry if the saw is in reasonably good shape.
- Dychem – This is metal working layout fluid, handy for showing you what has been filed and what needs to be filed. I’m just going to use a sharpie.
JOINTING
The first step is to joint the saw, which is the same idea as jointing a board. Basically, I’m just making sure that all the teeth are at the same height and flat across. This is to ensure that all the teeth are making even contact with the wood.
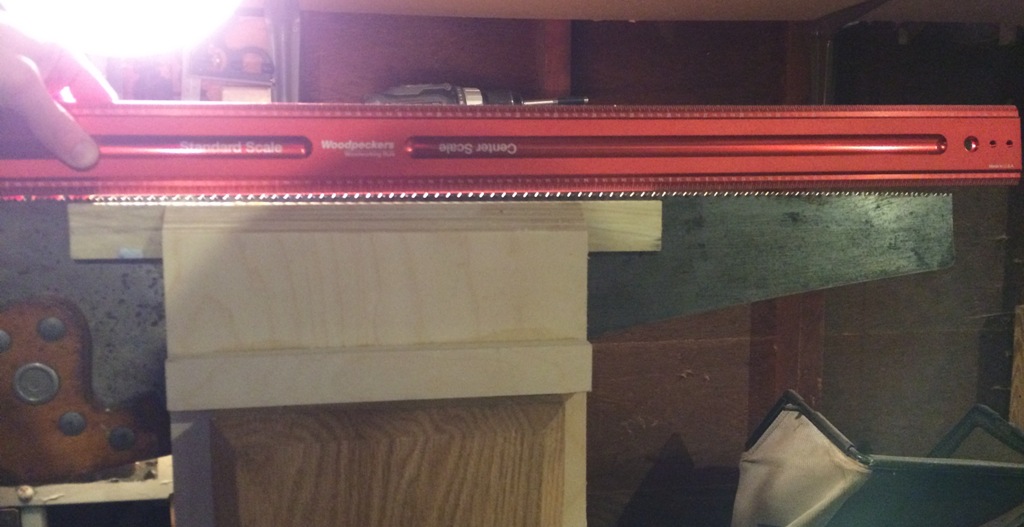
Checking Saw Straightness
I had quite a belly on this one. A small belly is OK on a large hand saw, but this was a bit more than what is recommended.
Checking Saw Straightness
I use the mill bastard file straight across the tops of the teeth until there is a shiny flat spot on the top of every tooth. It’s hard to tell in these pictures, but you can clearly see the flat spots in the profile view. I had to take quite a lot of material off the teeth in the middle of the saw.
Jointed Teeth
Jointed Teeth
Jointed Teeth
After checking to make sure I’m still straight, I can move along to shaping the teeth.
FILING/SHAPING
Now we’re on to filing each tooth to the desired rake angle. I’m not going to go into exactly what rake is, but I encourage you to check out this article describing tooth geometry if you’re interested. Rake is measured from the perpendicular and I’m going with an 8 degree angle, which should be suitable for hardwoods.
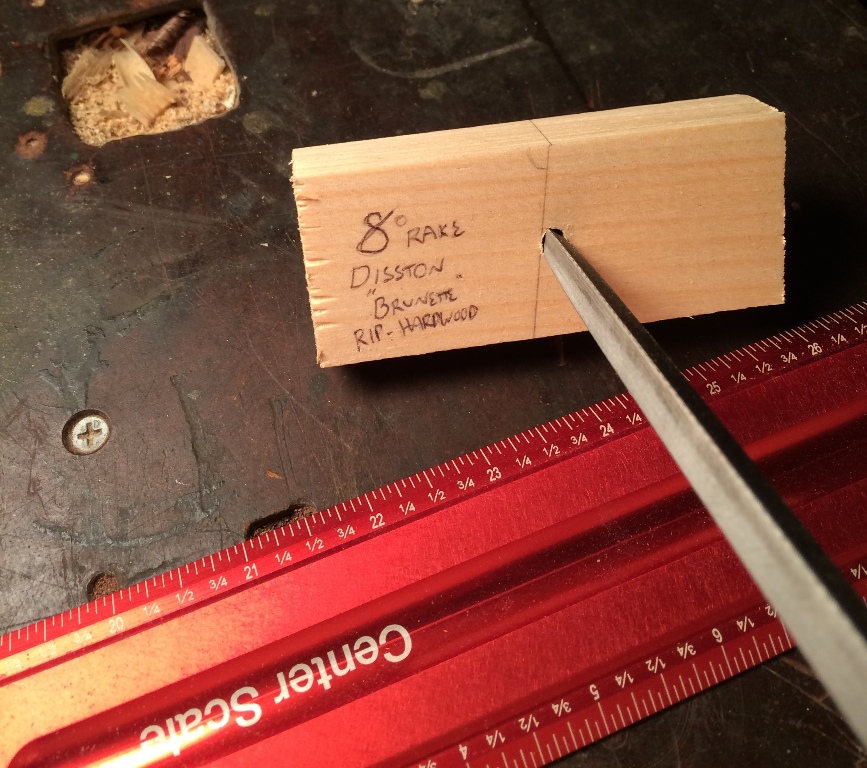
Filing Guide
I’ve marked this little block of wood with an 8 degree line in order to help me keep this angle with the file. If I stick my file in this block perpendicular to the face, and keep the block horizontal, I should be able to keep my 8 degree angle by making sure the block of wood is parallel to the saw’s teeth.
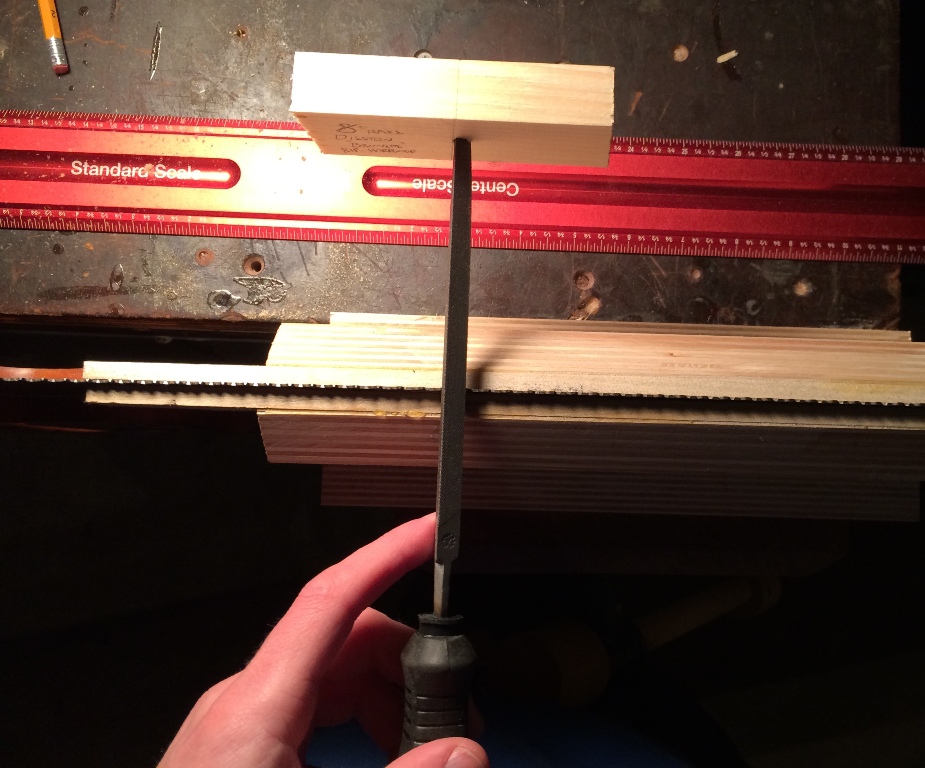
Filing Guide
Filing Guide
The guide is actually backwards in these pictures, which I didn’t notice until I actually started to file, but you get the idea.
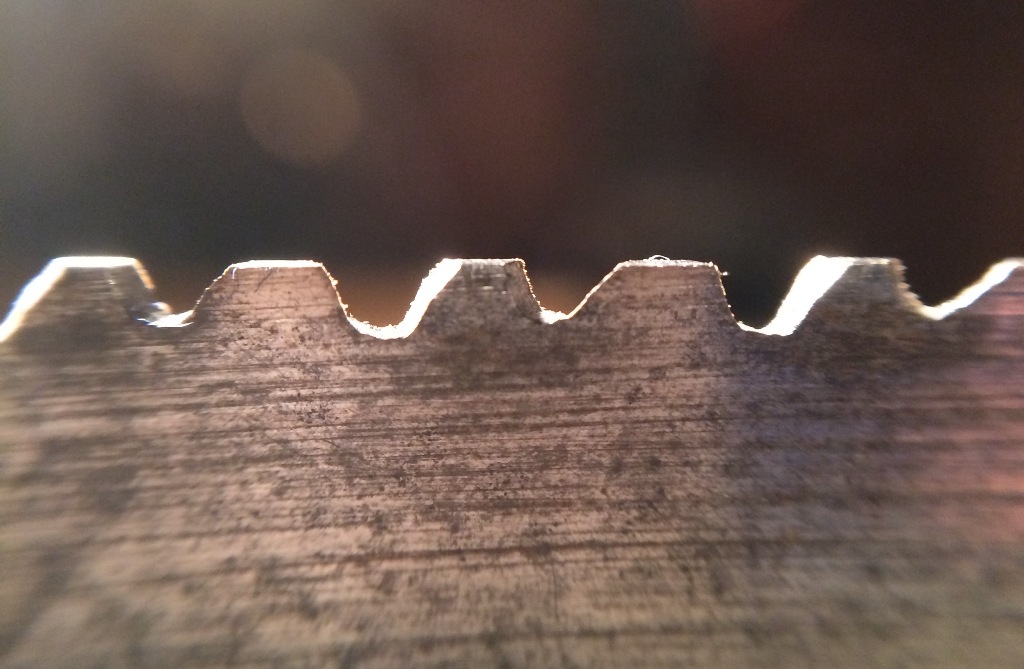
Using the wood as my guide, I file straight across in each gullet until half of the flat on the top of each neighboring tooth is gone.

Sharpened Saw Teeth
I continue working all the way down the saw, shaping each tooth. If one flat is much larger than a neighboring one, I put a little more pressure towards the large flat, taking away more material from that tooth.
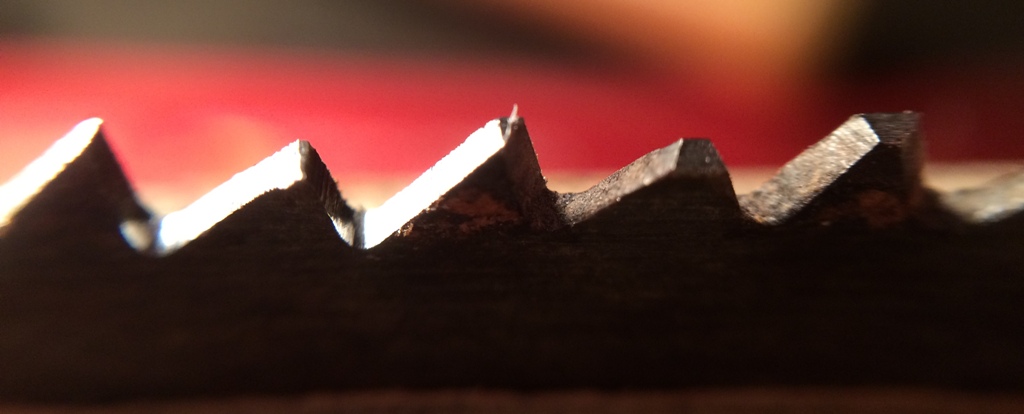
Sharpened Saw Teeth
Once all the teeth are filed to the right shape it’s starting to look like a new saw already!
SET
Now I can move on to setting the teeth. Setting is basically just bending each tooth a tad sideways to make clearance for the blade to pass through. The more set a saw has, the more material that has to be removed, so the more work that has to be done. It’s also harder to cut straight because there is more room to steer the saw, however this also makes it easier to change direction once the kerf is established. For softwoods you need more set in order to clear the saw dust and create a large enough kerf. This saw being tuned for hardwoods, I’m going to try to give it the least amount of set necessary. Set is hard to measure exactly. You can use calipers, which is what I’ll be trying to do, but it really isn’t necessary. Most saw sets come with some sort of gauge, so once you find a setting you like, you can just jot down that setting.
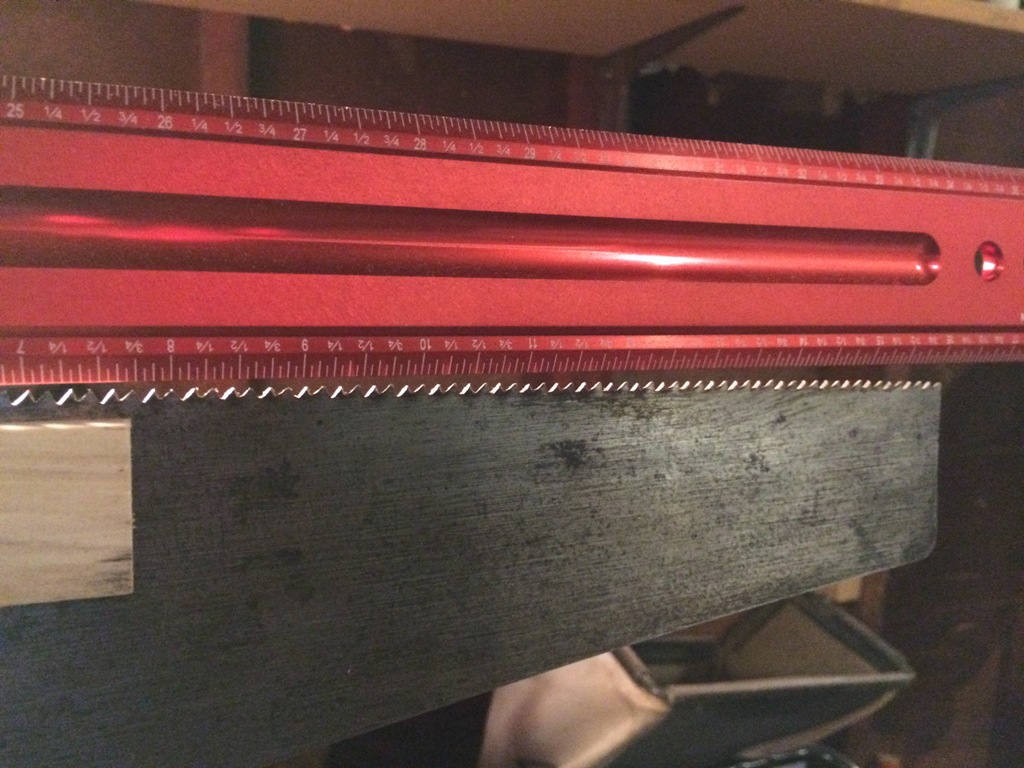
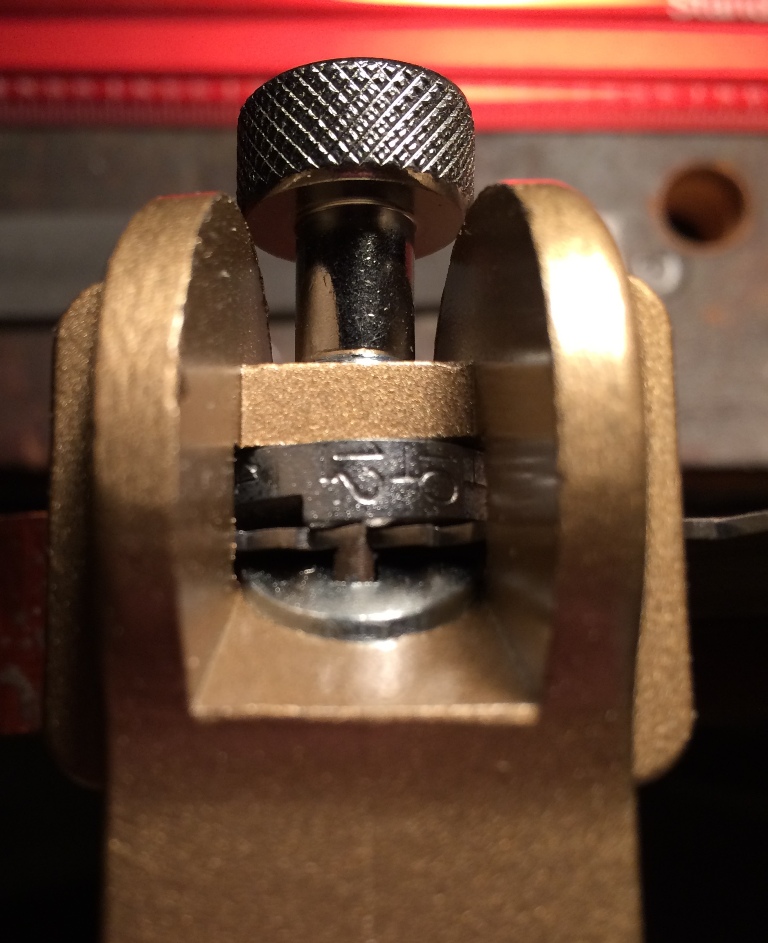
My saw set has a scale and I’m going to start initially at the lowest setting for this saw, which in this case is 12.
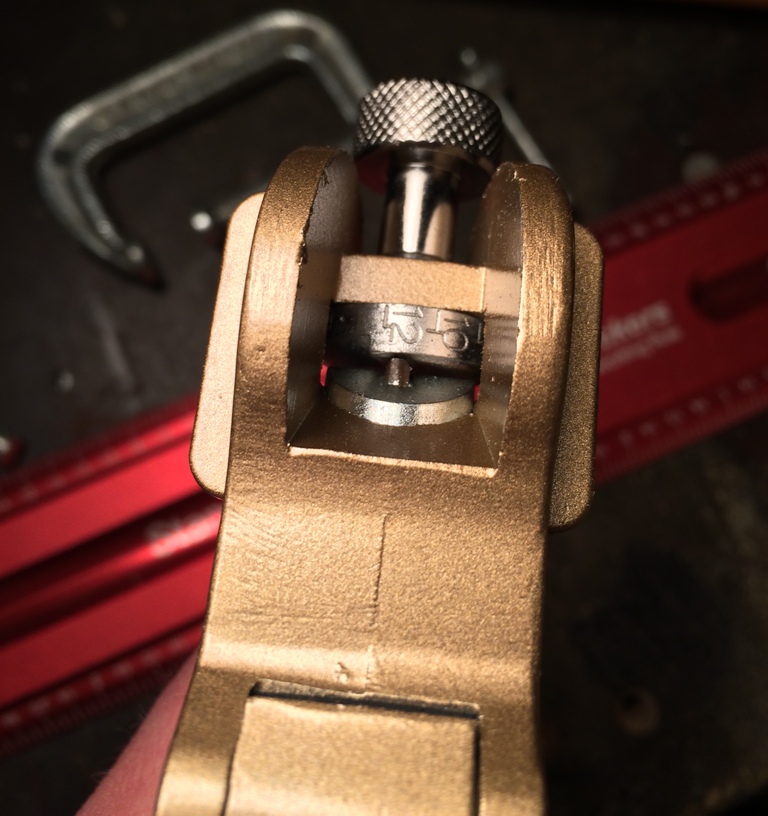
Saw Set Scale
Using the set, I bend every other tooth away from me on one side (matching the set direction that is there already), then flip the saw and repeat, bending every other tooth away from me.
Saw Setting
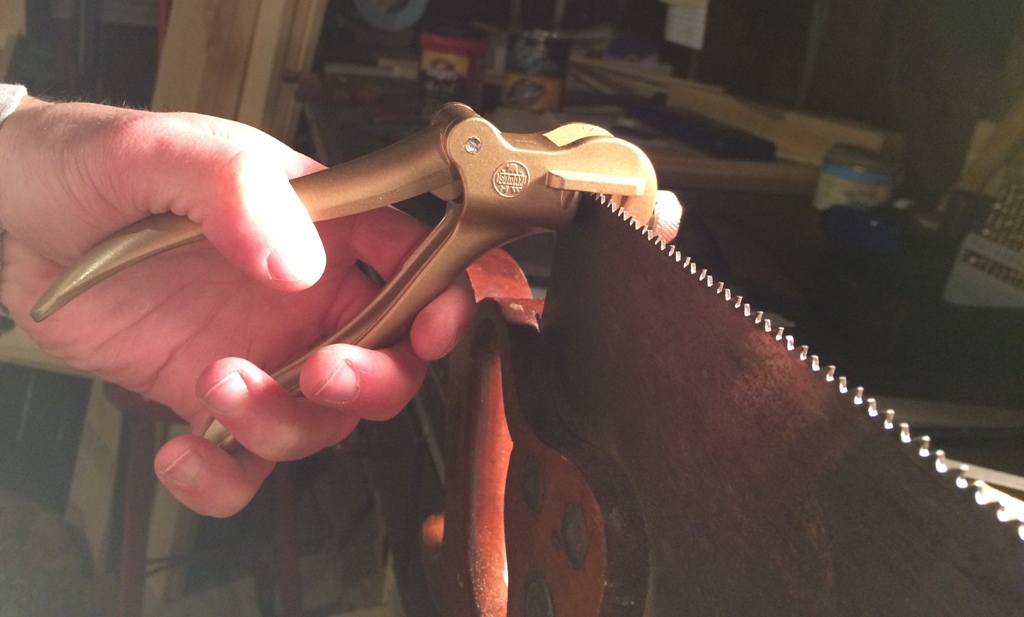
Saw Setting
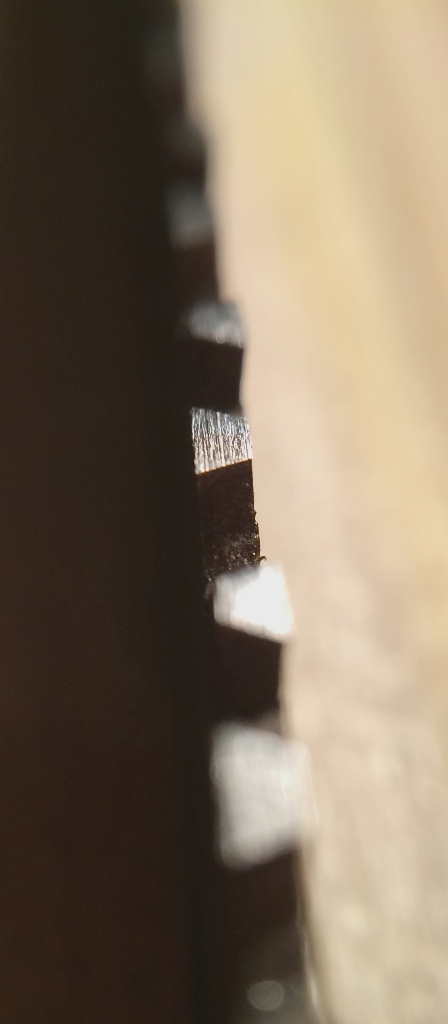
I’m only bending the top 1/3-1/2 of each tooth. Using digital calipers, my set measures:__________. I’ll try to get a better picture of the teeth set once all the saws are done and I bring them in to take some macro shots.
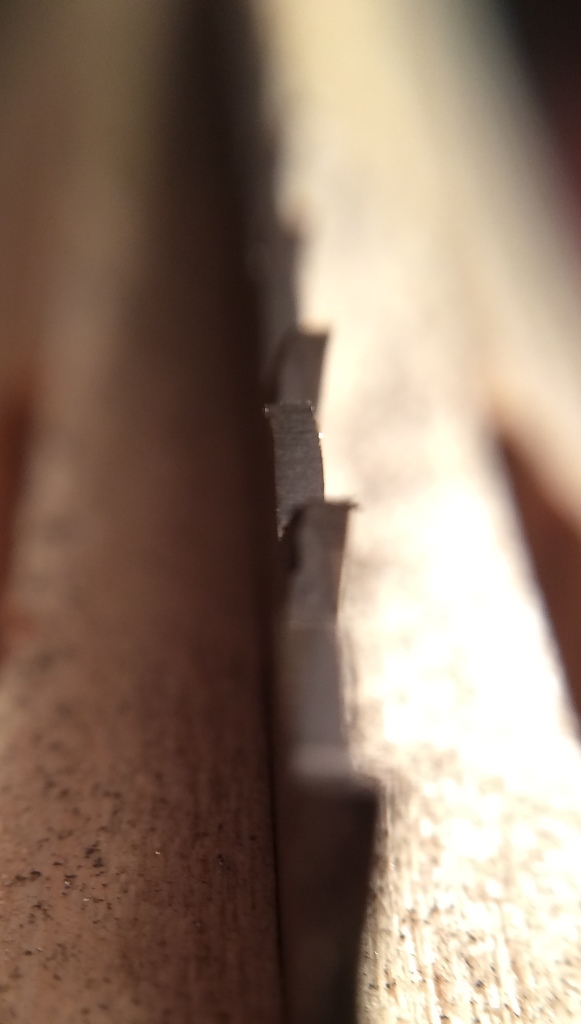
Saw Teeth Set
SHARPENING
For this particular saw, I’m pretty much done now. This is the point where you would sharpen any fleam into the saw. For this rip saw I’ll be using no fleam, so I’m going to just lightly go over every gullet again, using the same block of wood as a guide. This should just get rid of any inconsistencies put on the teeth by setting them in the last step.
When I did this step I concentrated on filing just the edge of the teeth angled away from me (every other tooth), then I flipped the saw around and repeated the process (filing the edge of the teeth angled away from me). To make it easier to see which tooth had been sharpened already, I colored the teeth with a sharpie (this would be a good step for the Dychem). I only took about 2 light strokes per tooth on this step.
Because technically I’m not filing any fleam into this rip saw, I could have done this step from one side only. However, my natural hand filing motion was bound to be a little inconsistent, so I decided to flip it around anyway, just so my inconsistencies were the same on both sides.
CONCLUSION
And that’s it for this saw! It certainly feels much sharper than it did previously. I can run my fingers lightly down the teeth and feel them “grab” unlike they did before. If you read the first post in this series, I rated the saws on five criteria for a 10″ rip cut and a 6″ cross cut:
- Perceived Effort – scale of 1 (easy, low effort) to 6 (hard, high effort)
- Number of Strokes
- Time
- Line Tracking – scale of 1 (perfect line, easy tracking) to 6 (can’t cut straight)
- Cut Quality – scale of 1 (perfect cut) to 6 (horrible cut)
Here is how the Brunette Disston did on the 10″ rip:
- Effort: 6 – This was hard! It felt like it took me a long time, it was hard to start, and very squeaky.
- # of Strokes: 249
- Time: 4:47
- Tracking: 4 – Started out OK, but just got worse as I went along.
- Quality: 4 – Very similar to the Blonde, but maybe a little bit less tear-out on the back
And on the 6″ cross cut:
- Effort: 2 – Very squeaky, but bit into the wood nicely once it got started.
- # of Strokes: 88
- Time: 1:44
- Tracking: 3 – OK actually, better than the ripping with this saw.
- Quality: 4 – The cut looks similar to the Blonde, but tear-out was worse
And finally, the results after sharpening:
RIP:
- Effort: 2 – This was really easy, there was maybe just a little grabbing at the heel end. Cut like butter though, seriously.
- # of Strokes: 71 – WOW! What a difference! Felt like I was done in no time at all.
- Time: 1:40 – Looking at the # of strokes this makes sense, I average around 3 strokes for 4 seconds.
- Tracking: 2 – I did have to pay attention quite a bit, but once I was on line it stayed there pretty well.
- Quality: 3 – Although it looks better than before, it’s not overwhelming. It’s very possible that this is what a rip cut with a full size hand saw looks like.
CROSS CUT:
- Effort: 1 – Again, super easy. It just bit into the wood with absolutely no problem at all.
- # of Strokes: 38 – Super fast!
- Time: 0:45 – Yep, super fast!
- Tracking: 2 – About the same as ripping, but I had to pay attention more because I was taking out so much more wood with each stroke.
- Quality: 3 – There was quite a bit of tear-out on the back on the cut. I could very well have been pushing too hard while sawing. The actual cut edge looks OK though.
-
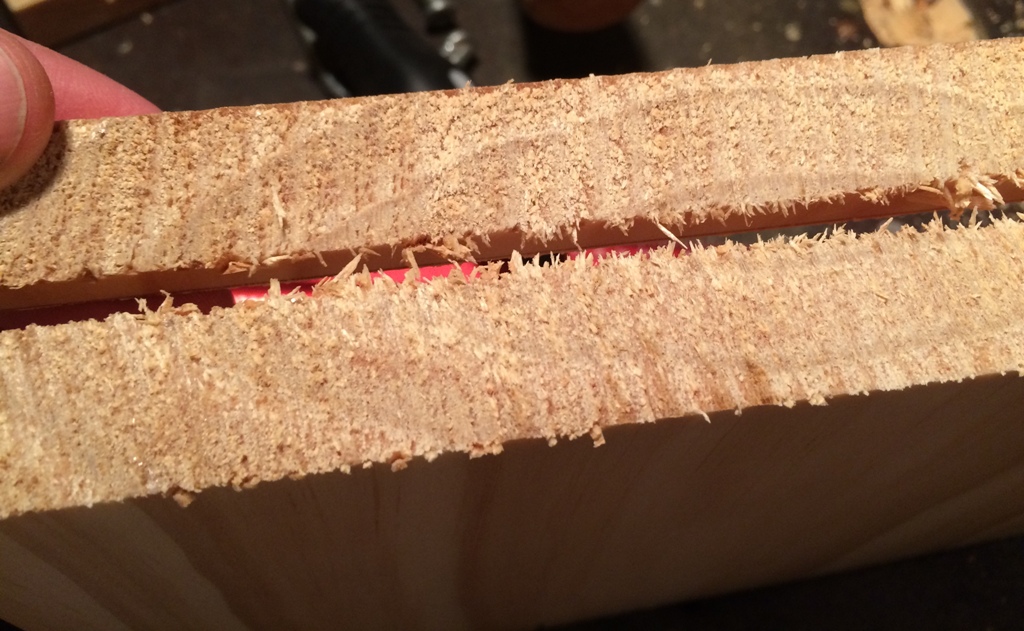
- Rip Test Cut
-
- Rip Test Cut
-
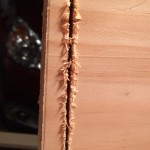
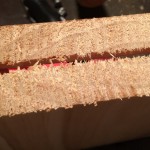
- Cross Test Cut Rear Tear-Out
-
- Cross Test Cut
“A poorly sharpened saw is better than a dull one”
Turns out, that’s absolutely correct! All in all, I think the results are pretty dramatic. Maybe not necessarily in the cut quality department, but certainly in the number of strokes and as a result the time and perceived effort of the cut. I’m really blown away that there was such a difference and should have done this ages ago! For being the first saw that I’ve sharpened I couldn’t be happier really.
The next saw I’m hoping to do is the other Disston. That one I’m planning on tuning for softwood work.


Leave a Reply