Walnut Picture Frame – Part 1
Another project started! The packing box project will be put on hold for just a little while I work on this picture frame. Since this is going to be a birthday present for my father, I have a deadline for the end of March, so this takes priority at the moment!
Making a picture frame has been on my radar for a little while now, so when my mom and sister asked me to make a frame to fit a gift for my dad I jumped at the chance. The frame needs to fit a large panoramic picture, so will be massive when it’s done. My sister used to be a professional framer, so will be adding some nice matte touches as well, which will make it deep as well. The final interior size, needs to be 16 x 60″ and have at least 1″ of space for the glass and matte. That is a serious picture frame!
The photo is an older black & white city view and will be on an off white color matte, so I chose a dark wood for the frame, which should give it a good contrast. I think an oil finished walnut should look nice, now it’s just a matter of designing the frame.
As with all my projects, I’m going to try to do the bulk of this with my limited hand tool arsenal, so the design needed to be something that I could make. I don’t have a molding plane collection, so no intricate profile designs, which is OK actually because they probably wouldn’t fit with the style of the picture anyway. These were the two options I came up with:
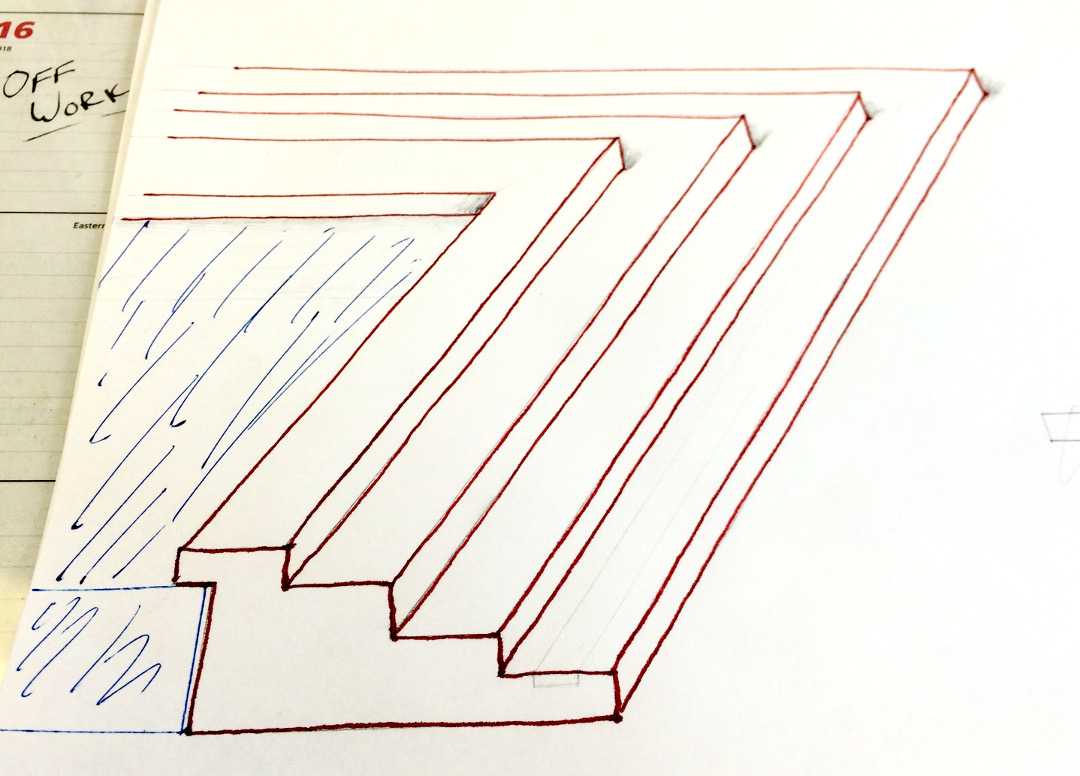
Picture Frame Design 1
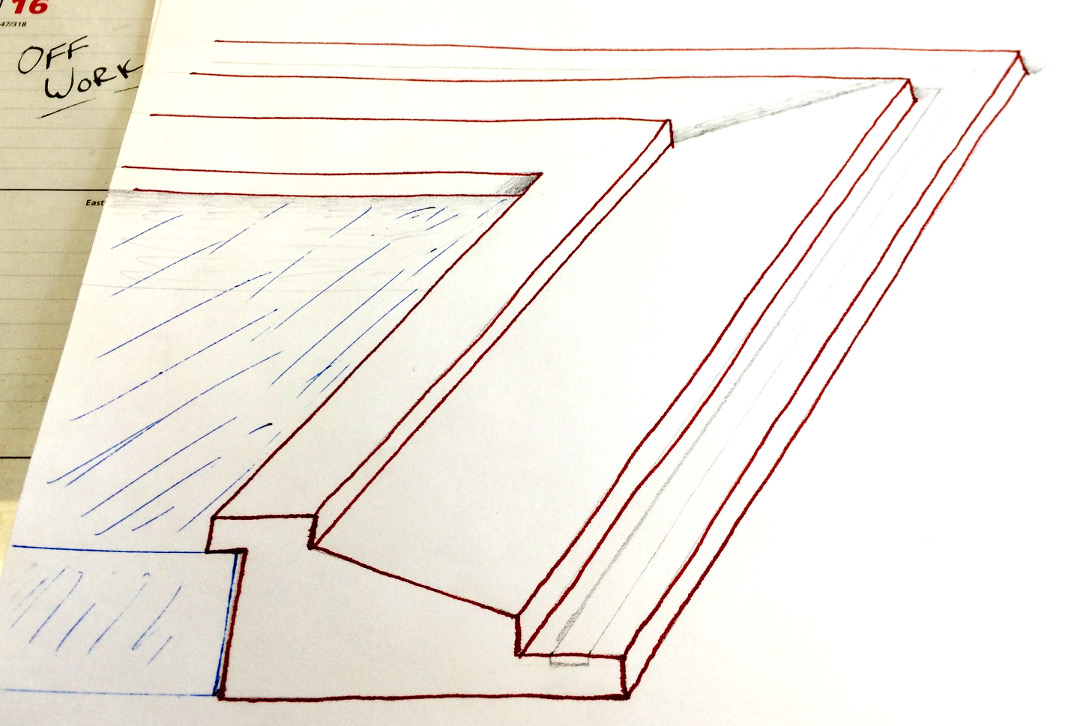
Picture Frame Design 2
I decided on the first design. The stepped down look gives it sort of an Art Deco look, which matches well with the picture, I think. Next step, figuring out how to make it!
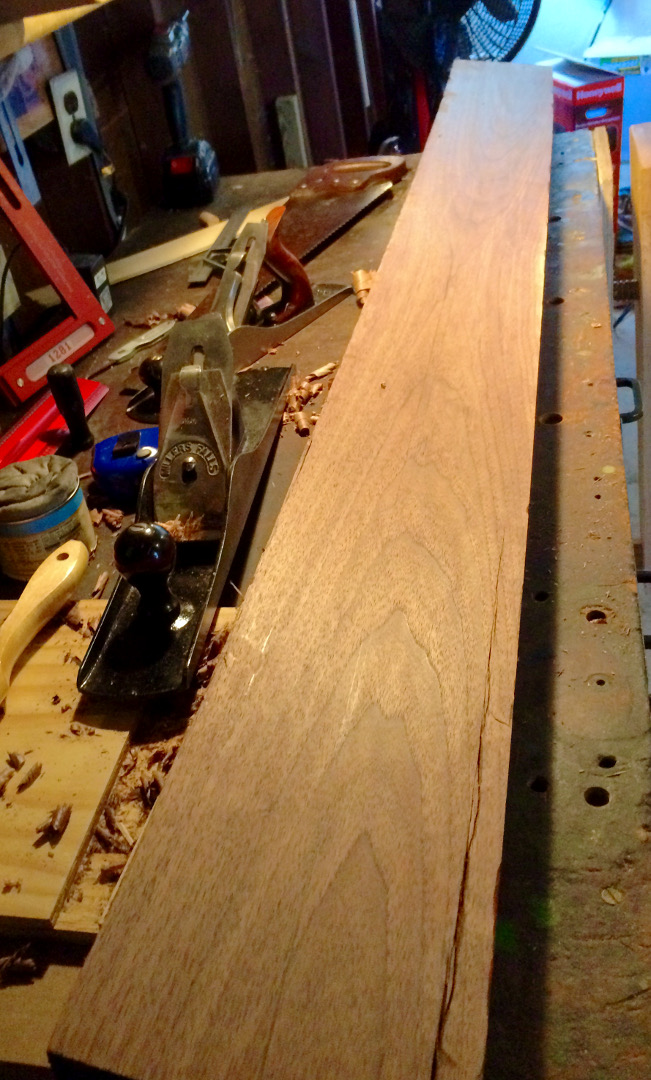
Although it’s just a picture frame, I need a lot of wood for it since the frame is so thick (1 1/4″ at the middle). I picked up an 8′ long piece of 8/4 walnut from Delaware County Supply, which should give me plenty of stock to work with. Here is the rough cut stock on the bench:
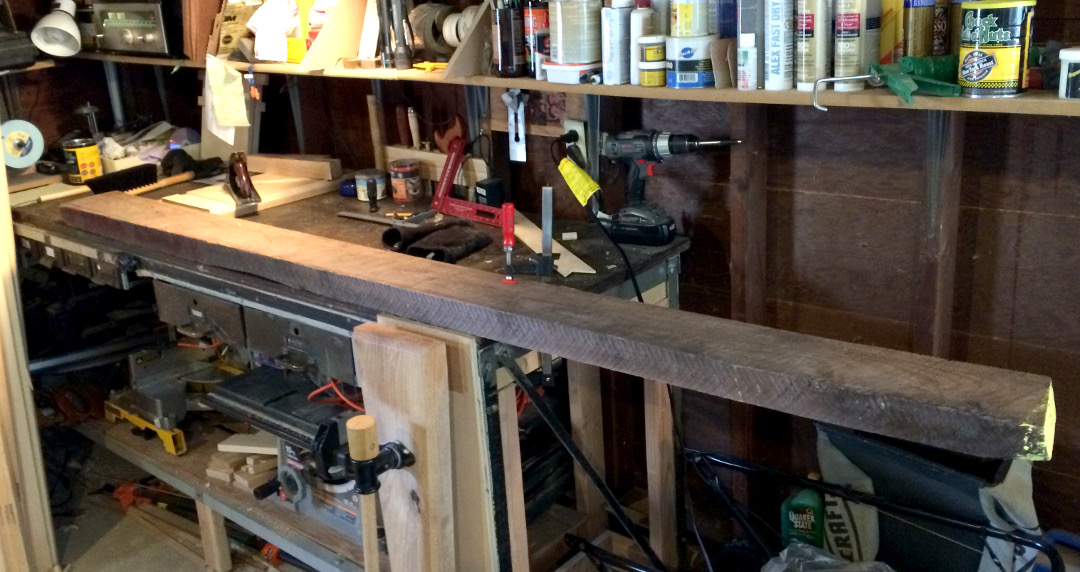
Rough Walnut Stock
I started by flattening a face:
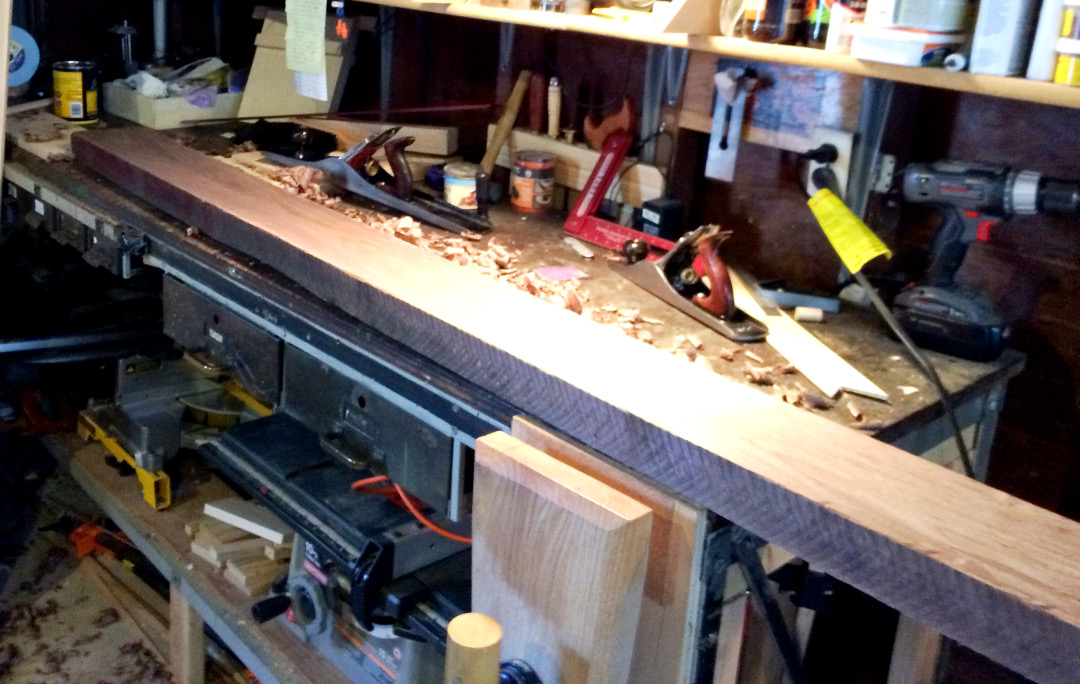
First Face Flattened
Flattened Face
This was done with the Stanley Bailey 5C you see on the bench in the photo. The iron is sharpened with about a 9″ radius and can remove a decent amount of stock quickly. A couple of passes directly across the grain, then a couple of passes diagonal in each direction left me with a fairly flat surface. Then I took a couple of passes with the grain and switched to the Millers Falls No 22 Jointer you see to finish it up. I’ll be breaking this piece down further, so I didn’t go crazy with the flattening.
I then switch to an edge and repeated the above procedure to get a relatively flat, square edge:
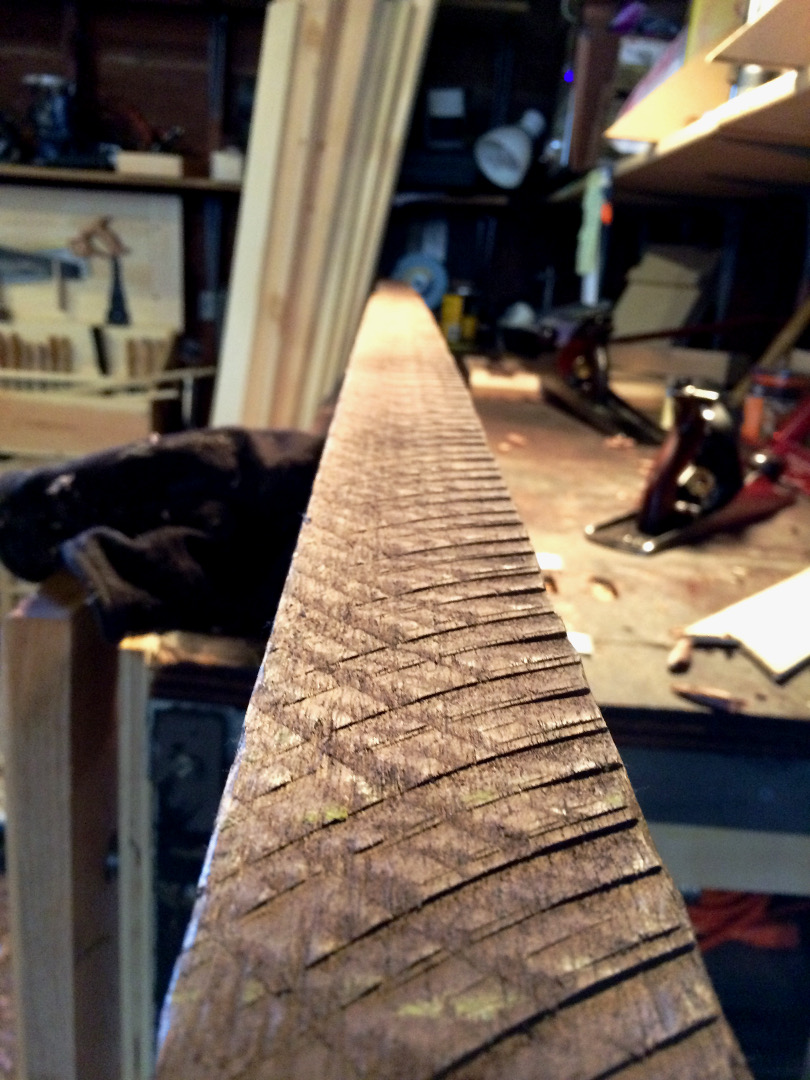
Rough Edge
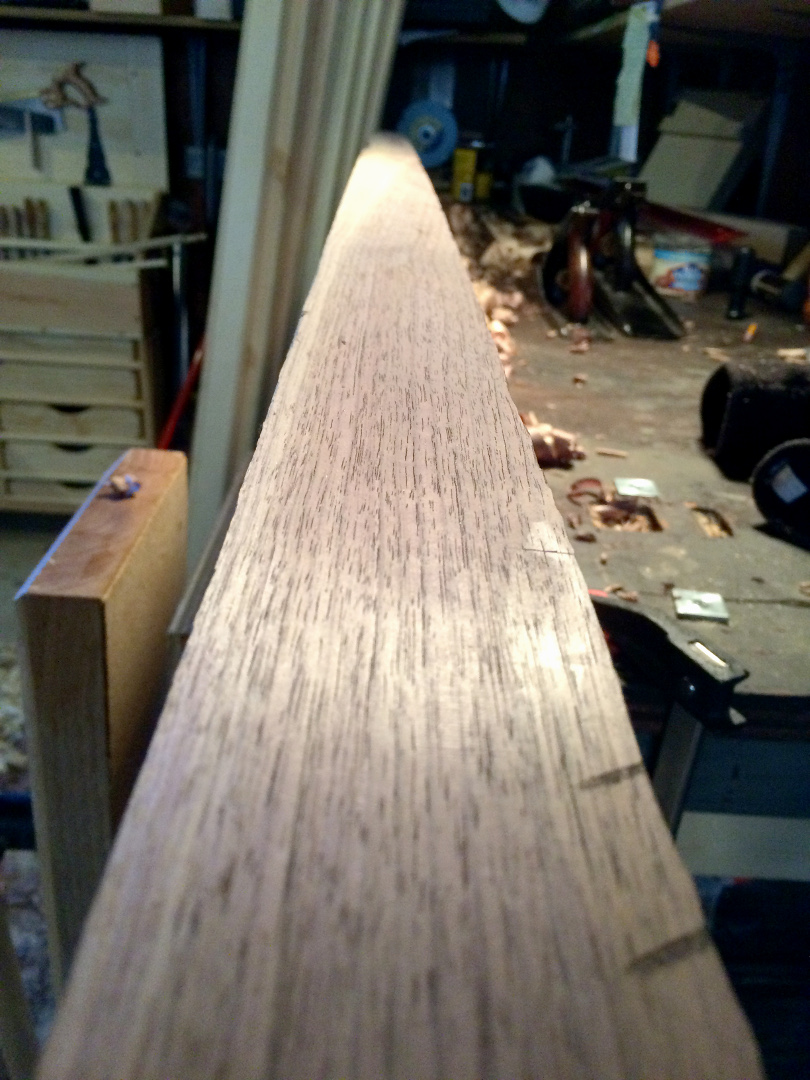
Squared, Flat Edge
I marked and cross cut off a section long enough to get my 60″ interior measurement (plus the miter lengths), then ripped it all the way down the middle. The rough piece was about 8″ wide, so each side should give me enough width for a 3″ wide frame. The below picture shows my two pieces four squared and cut to rough length. This was a workout! Just another reminder that I need to sharpen my hand saws.
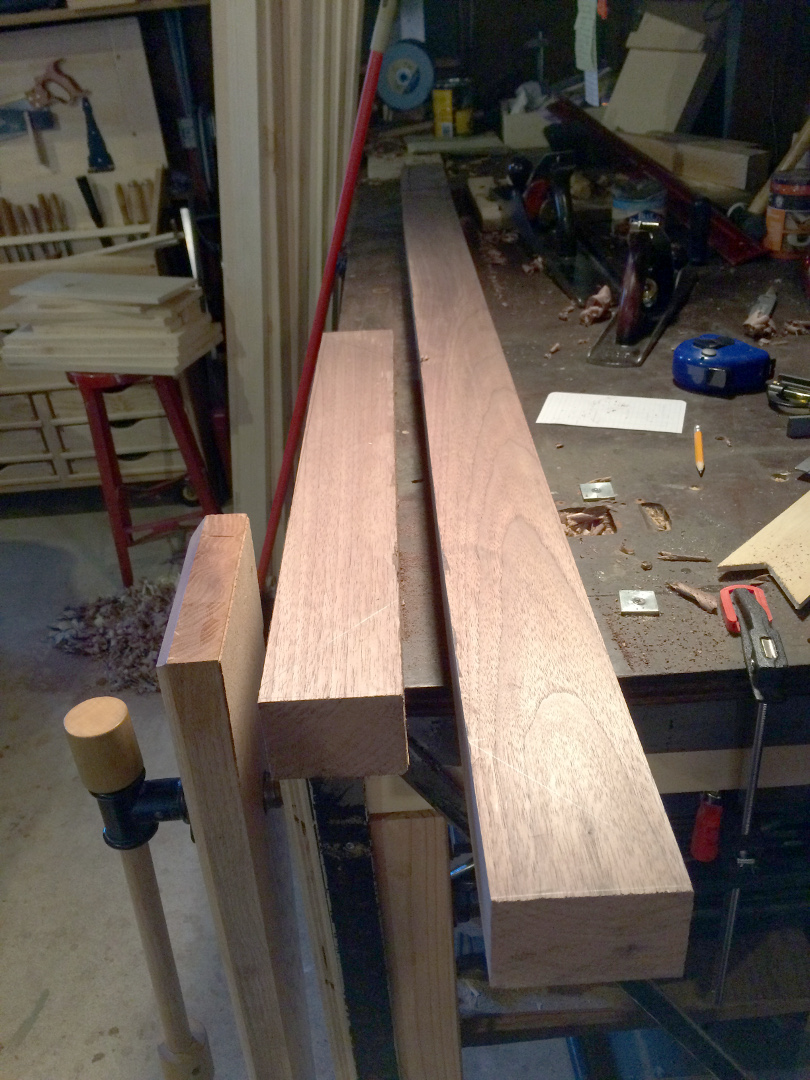
Cut to Size
If I lay things out correctly, and I cut close to my lines, I should be able to get two frame pieces from each thickness as well, fingers crossed on that one. Otherwise I’ll be losing quite a bit of stock. Here are a few pictures to illustrate what I mean (yes those are gloves, it’s cold!):
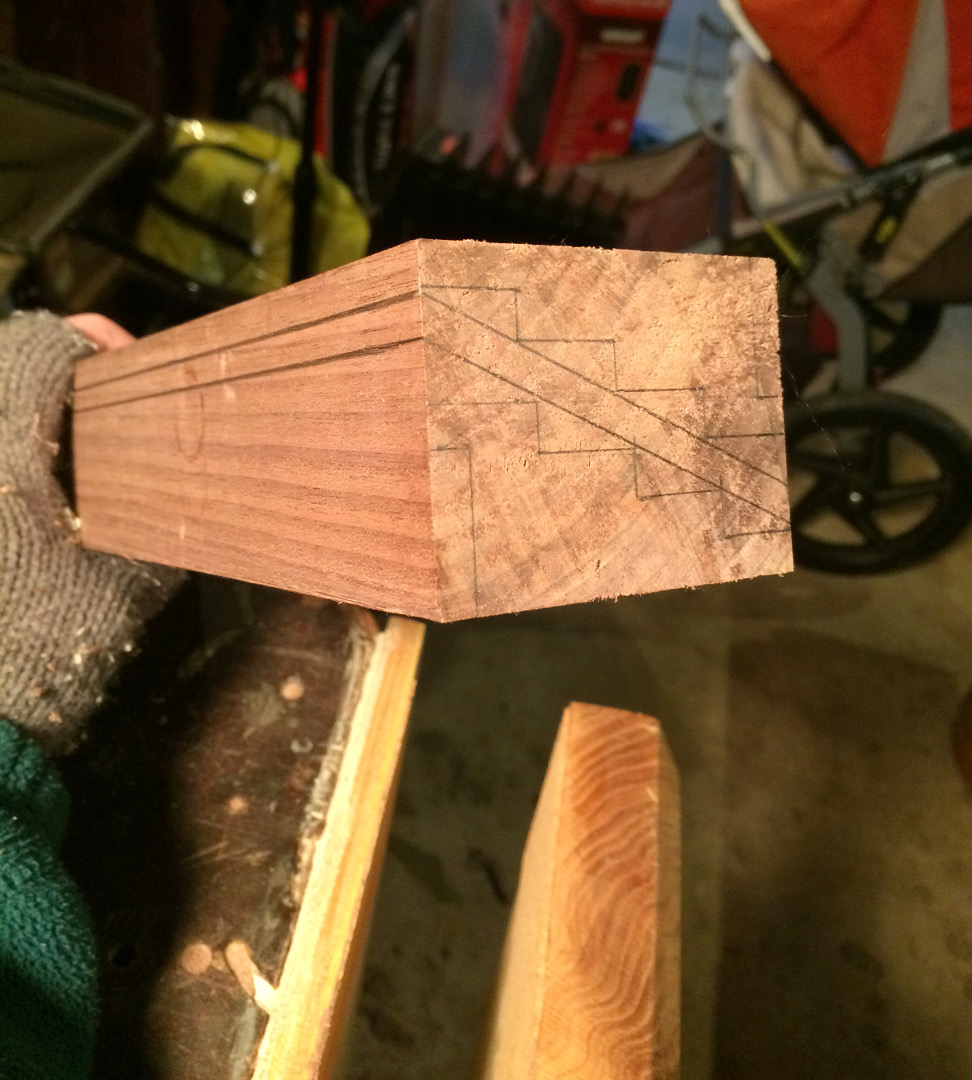
Frame Detail Layout
With my fingers crossed, I ripped the shorter piece down the center at an angle being really careful to stick to my lines. I started off with my smaller LN tenon saw and switched to the larger 6tpi hand saw once I had a nice straight kerf established:
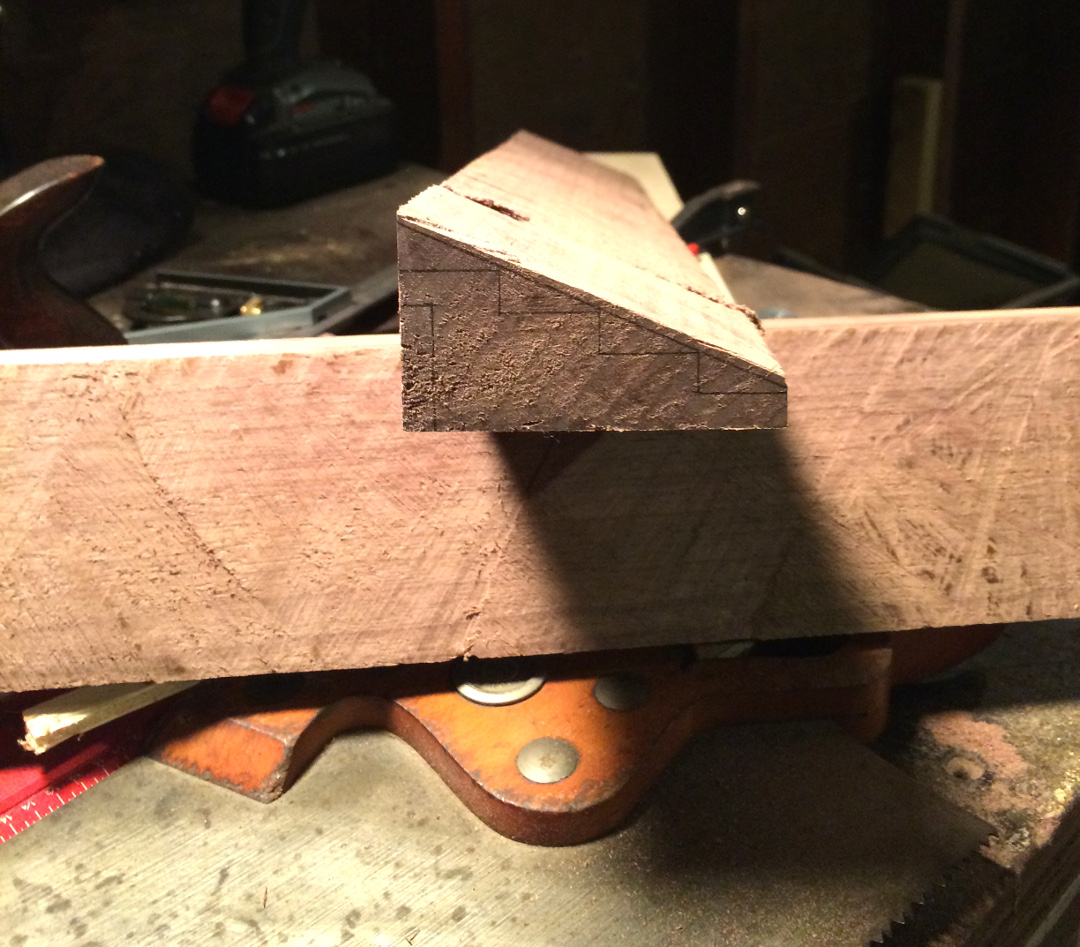
Small Piece Ripped
Phew! It turned out OK actually, quite tiring, but inside the lines. The longer piece will be a challenge to hold while sawing, but I’ll figure that out tomorrow (or the following day if it snows tonight).


[…] the 8/4 walnut for the large picture frame I’m working on just reinforced the fact that I need to sharpen my saws. Before I re-saw the […]
[…] Last time I had just ripped the shorter piece of 8/4 walnut that will make up the two smaller sides of the picture frame. After sharpening up my Disston D-8 hand saw, I was ready to tackle ripping the longer piece! This is a nearly 6′ long piece of walnut that I needed to rip to within about 1/4″ precision, so I was a bit nervous about the whole thing. I felt reasonably confident because I was able to do the shorter one fairly well, but still, not a lot of room for error. […]
[…] Part 1 […]