Walnut Picture Frame – Part 2…
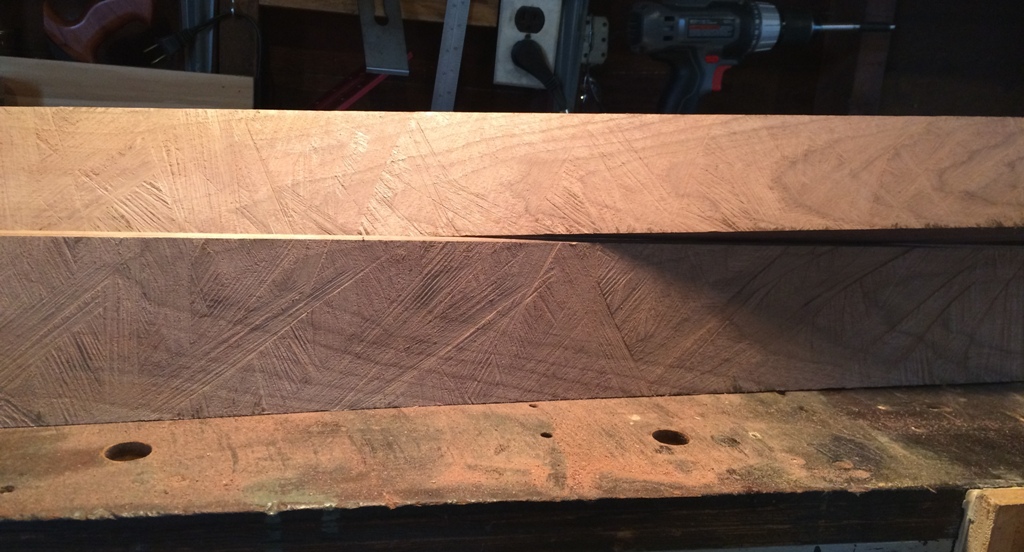
Last time I had just ripped the shorter piece of 8/4 walnut that will make up the two smaller sides of the picture frame. After sharpening up my Disston D-8 hand saw, I was ready to tackle ripping the longer piece! This is a nearly 6′ long piece of walnut that I needed to rip to within about 1/4″ precision, so I was a bit nervous about the whole thing. I felt reasonably confident because I was able to do the shorter one fairly well, but still, not a lot of room for error.
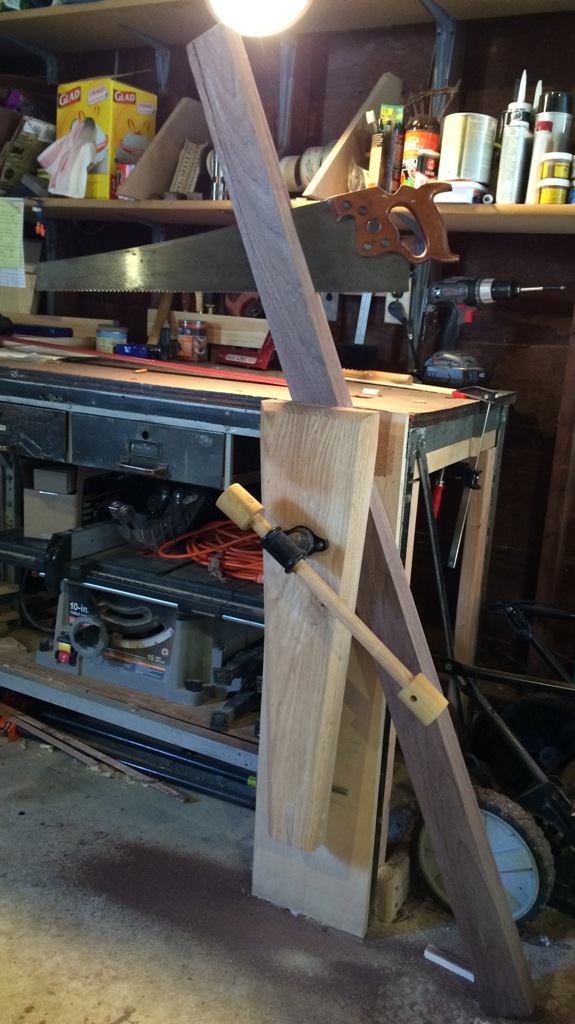
Longer Piece ready to be ripped
I started the cut with my LN tenon saw to make sure it was lined up correctly, then switched to the Disston.
Ripping Long Piece
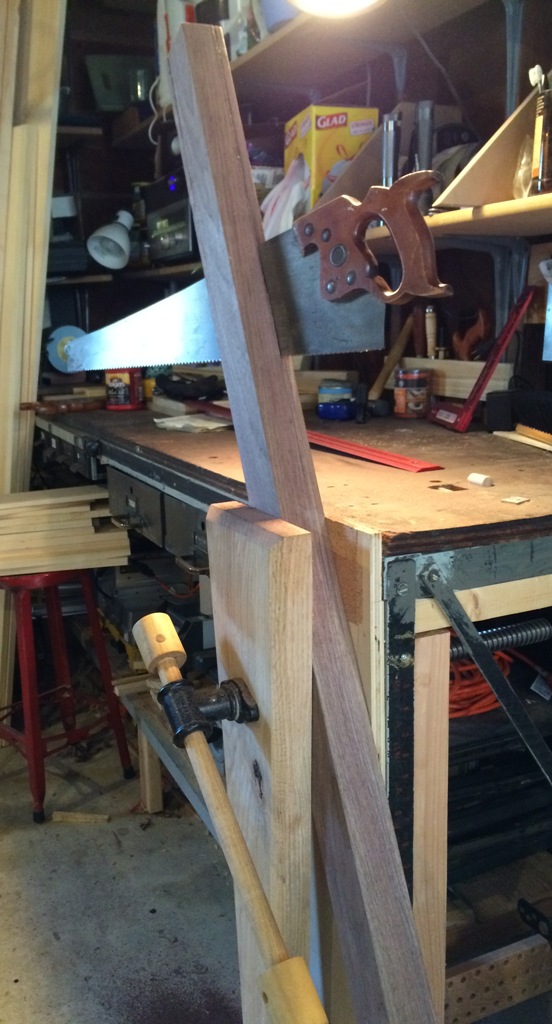
Ripping Long Piece
It took nearly an hour, but I finally got through the whole length. The sharpened saw definitely made a huge difference. The cut was much easier than the first one, and I was left with a much nicer looking surface as a result.
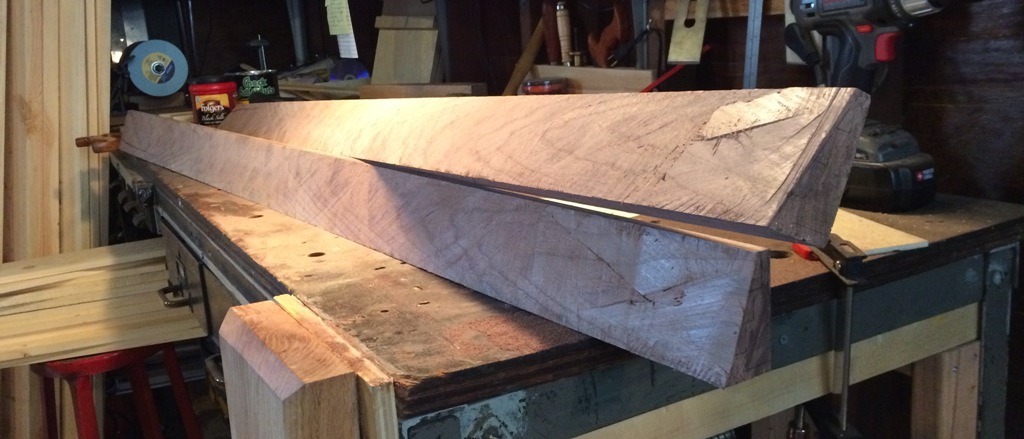
Completed Cut
Completed Cut
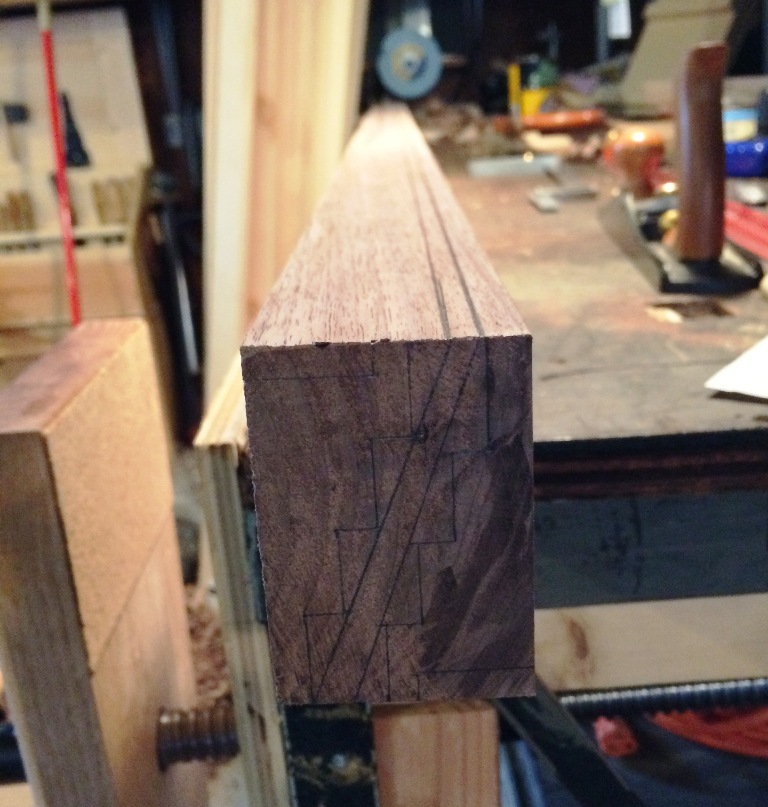
The next step was to start getting the pieces shaped to their final size and profile. If you remember, the final profile will be a stepped down design like this:
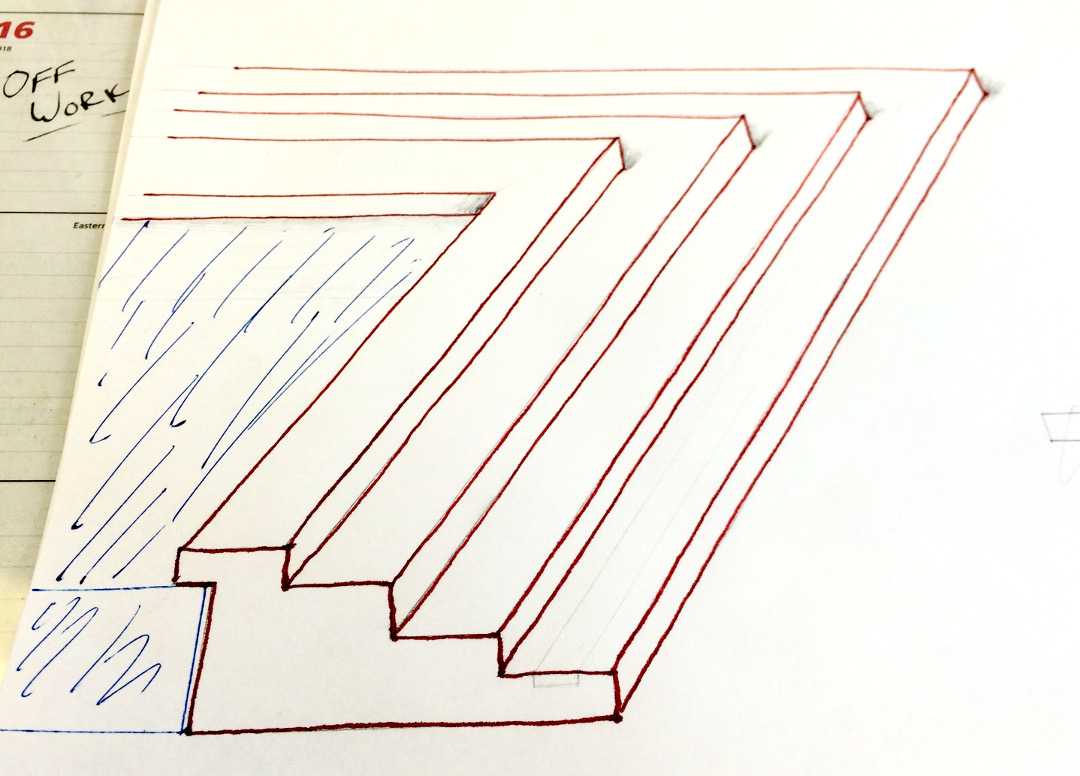
Picture Frame Design 1
There are a huge number of ways to do this: table saw, router, shoulder plane, rabbet plane, hand saw, plow plane, etc. I actually haven’t fully decided on the best course of action yet, but the first step was get the pieces sized. I was able to fairly quickly get a flat planed on the top and outside edge starting with the 5C jack plane and then moving along to the jointer plane. I did this on all four pieces and then turned my attention to creating the profile.
Since this project is a birthday gift, I have a pretty set timeline for when it needs to be completed. It’s because of this, that I decided to go against my hand tool bias, and use the table saw to assist in cutting the steps. Most of the work I’ll do by hand, but this just made fast and repeatable work out of this step. I used the inside edge as a reference face on all four pieces and cut kerfs to establish the width and depth of the four “steps.”
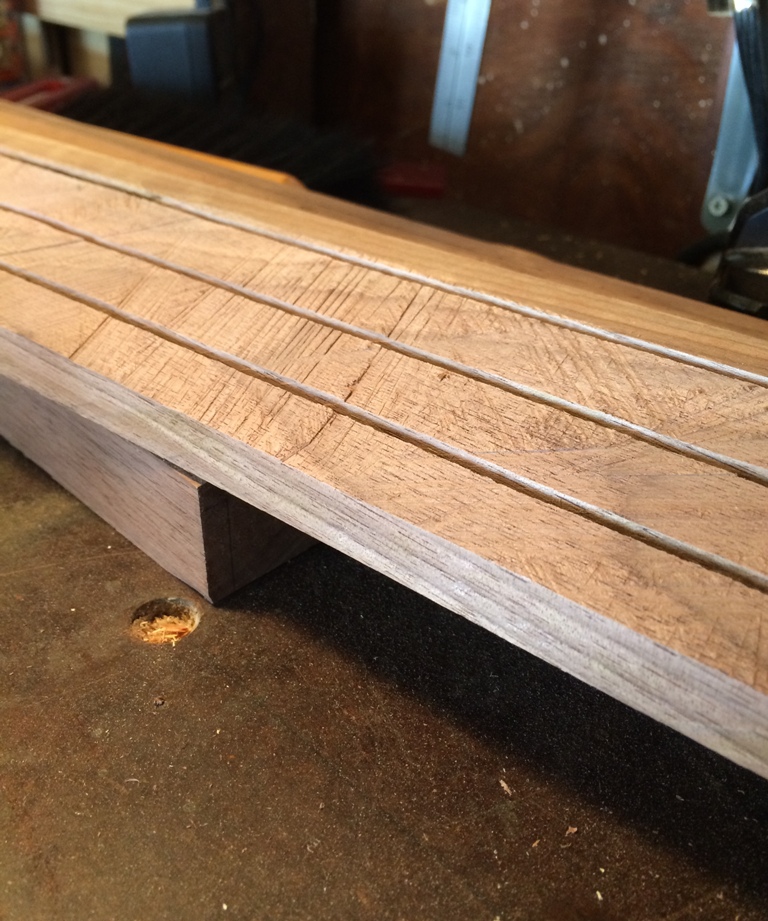
Stepped Kerfs
This is about where I stopped for the day. I haven’t completely decided on the best way to go from here actually. The picture below shows the situation after a few passes with the medium Woodriver shoulder plane in the second “step”, using the table saw’s kerf as a reference.

Stepped Kerfs
I could carry on using the shoulder plane for all of these, but it’s not really all that comfortable to use for long periods (in it’s defense, that’s not really what it’s main purpose is designed to be) and the throat would almost certainly clog up like crazy doing the 6′ long pieces. Tomorrow I’m going to see if I can use the Veritas Skew Rabbet plane for this. I’m hoping I can maybe use it “fence-less” and use the table saw kerfs as references (like the shoulder plane), but my mind can’t quite figure out how to do this just yet!


[…] hadn’t fully come up with a plan to cut the multiple rabbets last time, but I think I have a good handle on it now. What I ended up doing was taking a few passes on […]