Packing Box – Part 5…
Yesterday I glued up the panels for the top and bottom of the packing crate. Now it’s time to flatten those panels and put everything together.
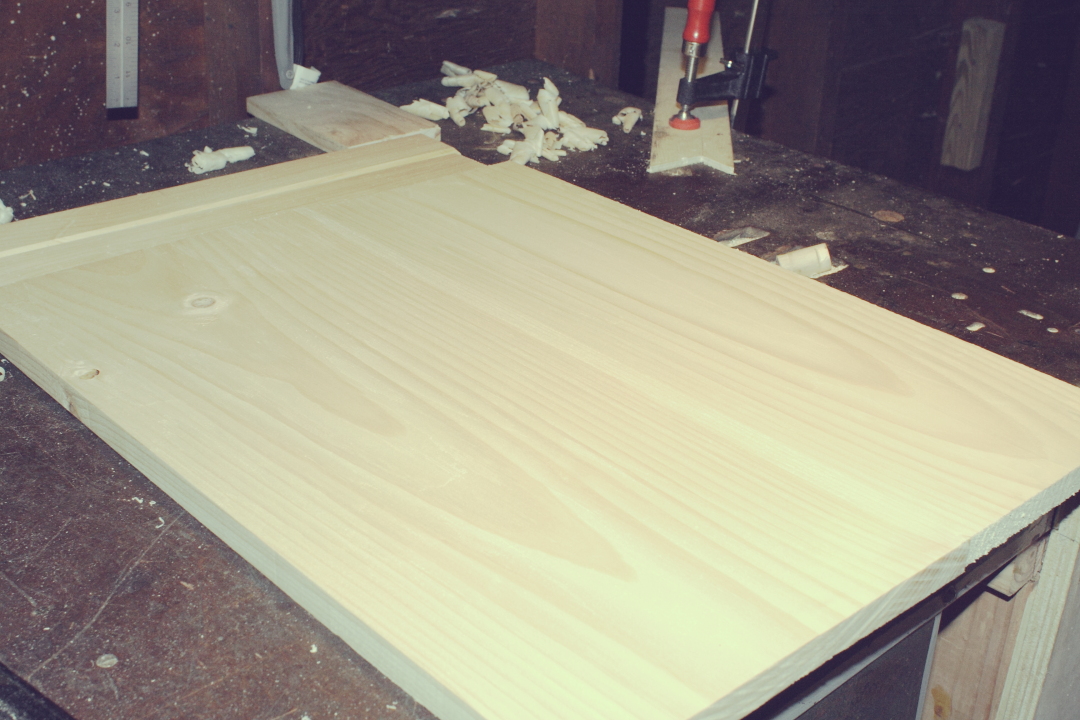
Panel Glued Up
Panel Glued Up
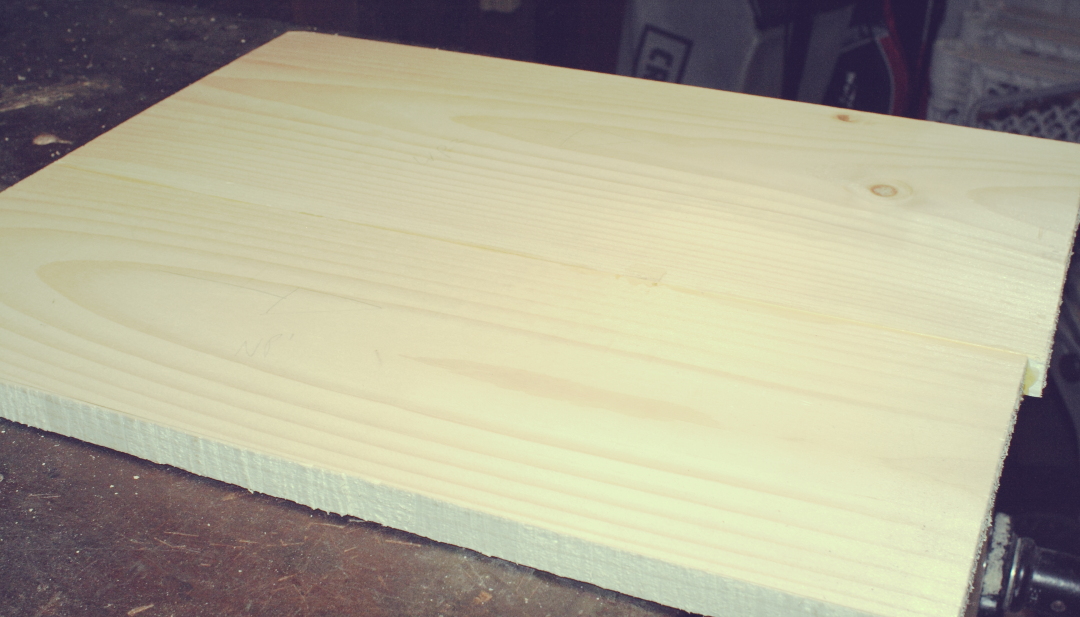
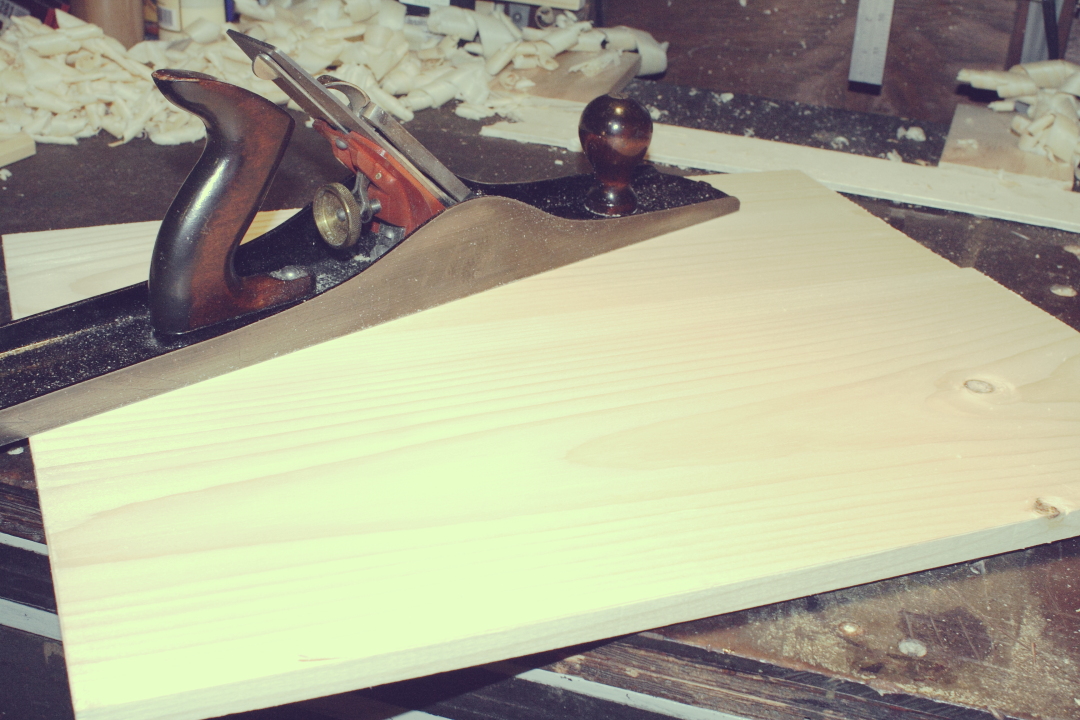
Essentially I’ll be following the same 4 squaring procedure that I did with all the other stock, there isn’t really any difference except that the panel is wider. The first step is flattening one face with the Stanley 5C. I start working diagonally across the grain (it was relatively flat to begin with, so I can skip working directly across).
Stanley 5C Diagonal
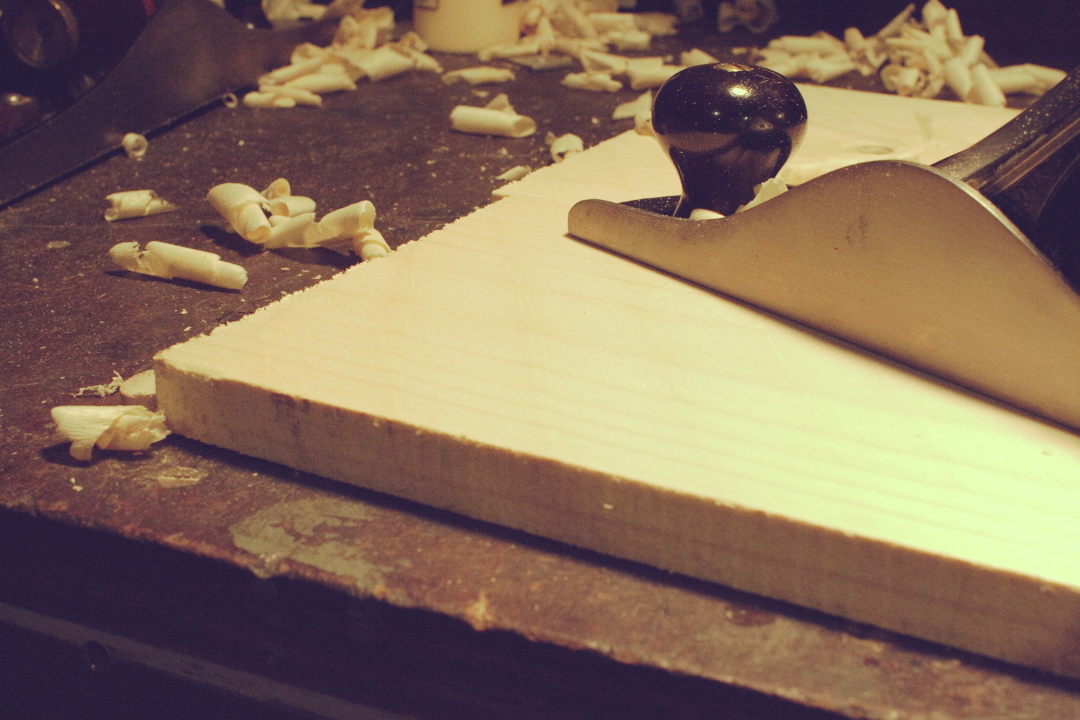
Then with the same plane I work with the grain.
Stanley 5C With Grain
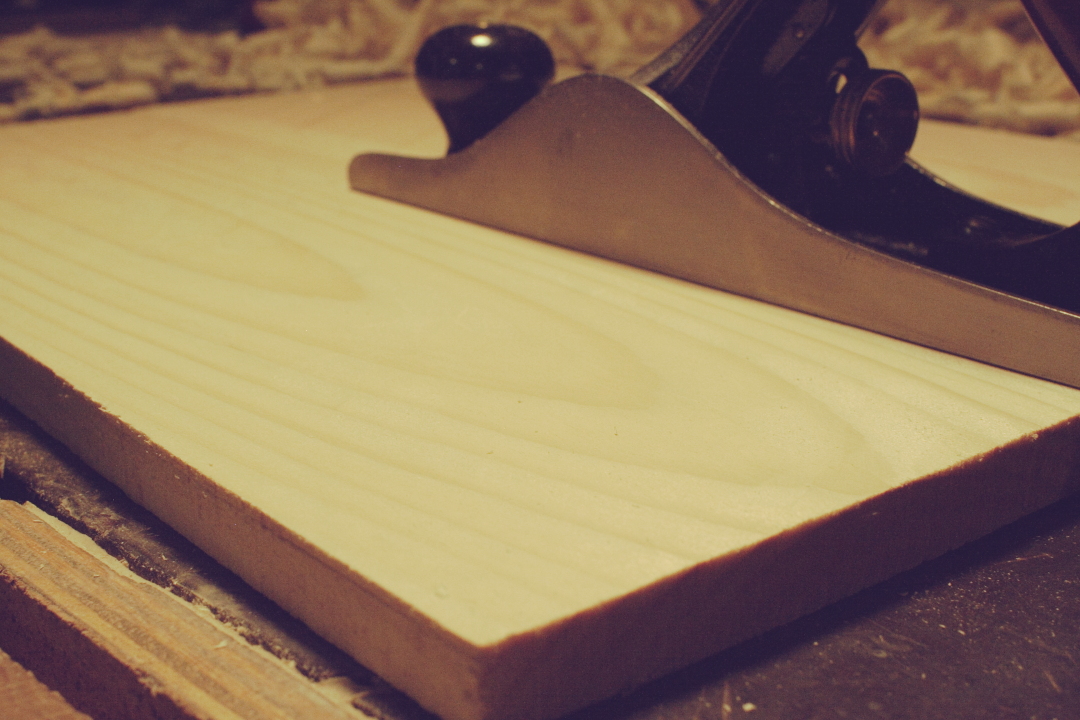
With everything more or less flat, I can switch to the Millers Falls No 22 jointer plane to smooth out the ridges left by the jack.
Millers Falls 22
I’m not worrying about any of the edges at the moment because they’ll be planed to exact size once they’re done, so I just flip them over and plane down to desired 1/2″ thickness using the same procedure. Now I can go ahead and attach the bottom panel.
Bottom Panel Nailing
I’m using the same 4d cut nails as before and just like before, I use the hand crank drill to make my 3/32″ pilot holes. I’m driving all these nails in at angles again, so there is less chance that the bottom will come loose. I could probably use some glue here too, but I didn’t think about it at the time! I set the nails in with a standard nail set. Once the bottom was nailed in I used the Stanely #4 smoothing plane to trim all the edges to size. At the same time I used the top of the box as a template to size the top panel. Again, just planing down to my pencil lines to size it.
The final step is adding the cross stretchers to both the top and bottom panels. I have a perfectly usable box at his point and, unlike Thomas, glued my panels up, so I don’t really need to add these, but these are the pieces that make this box look unique. It also sets the box off the ground a little bit, allowing you to grab underneath when picking it up.
There is a bevel on all four edges of the stretchers, so I set a marking gauge to about 3/16″ and marked both the top and side of each edge.
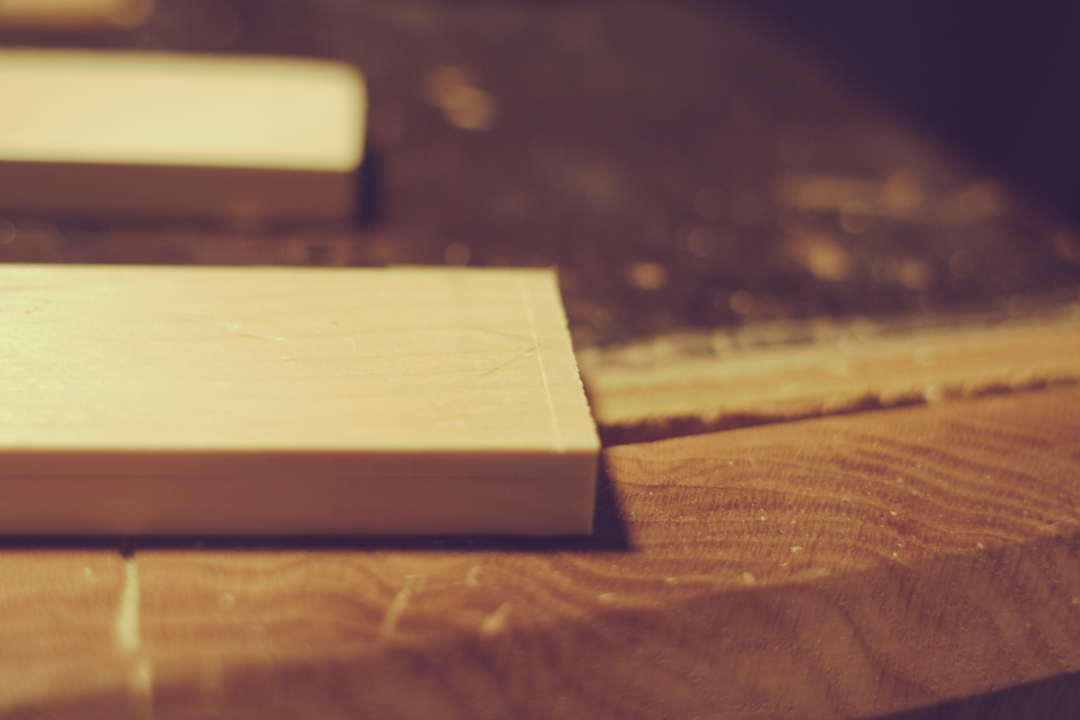
Cross Stretcher Marks
Then I used a smoothing plane to plane the bevel.
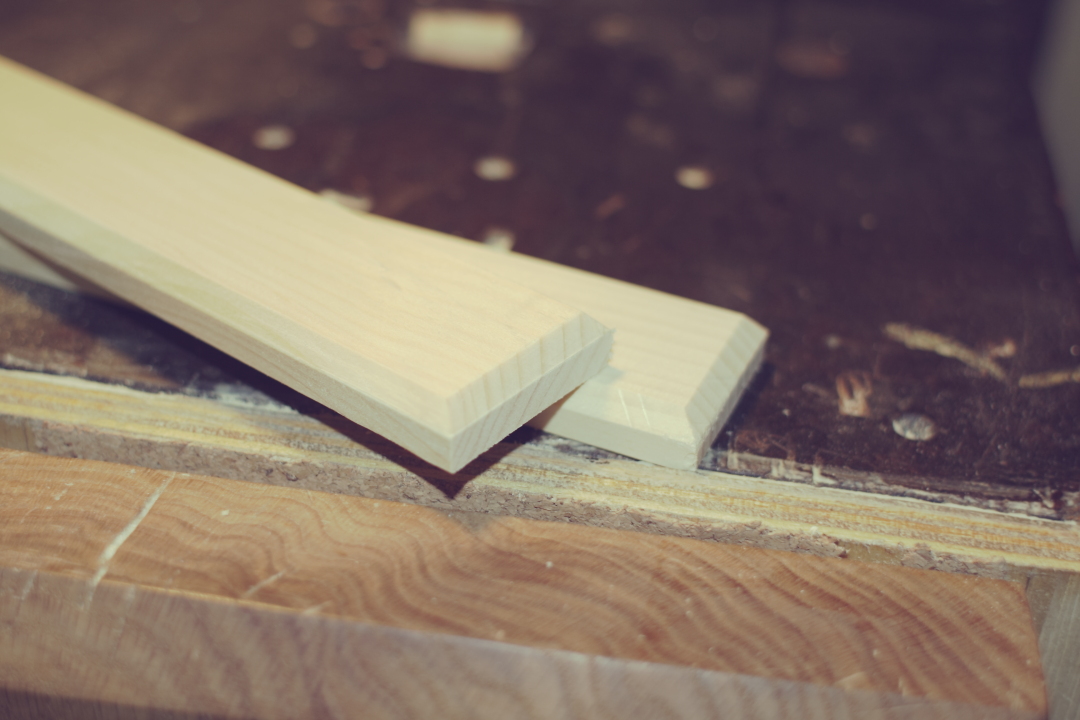
Stretcher Bevels
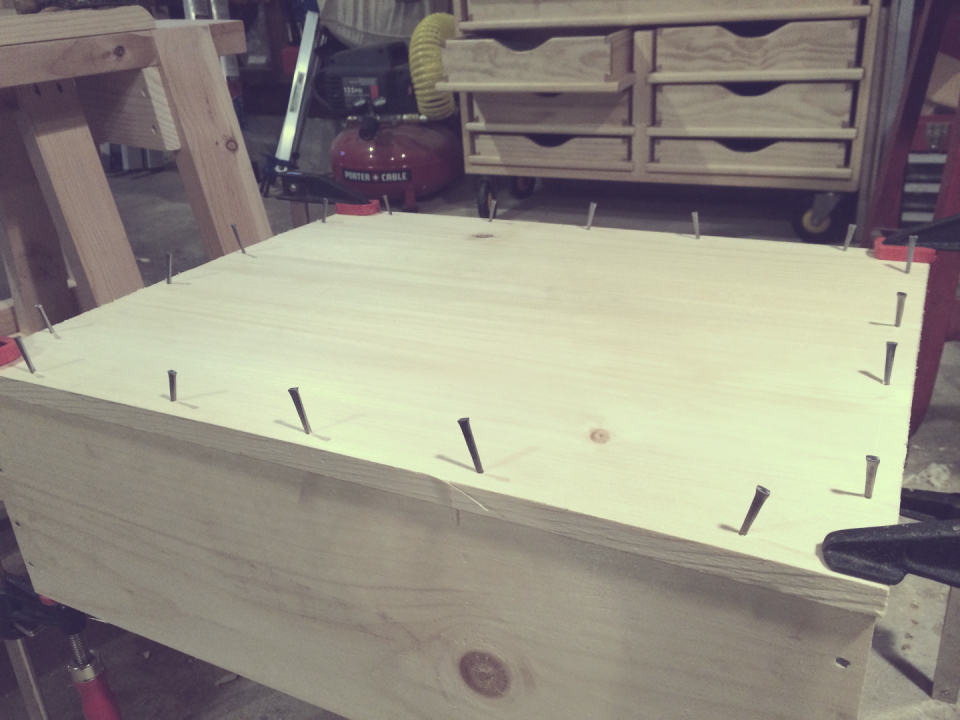
The stretchers will be nailed to the top and bottom panels, so again I drill the pilot holes and nail and set the nails.
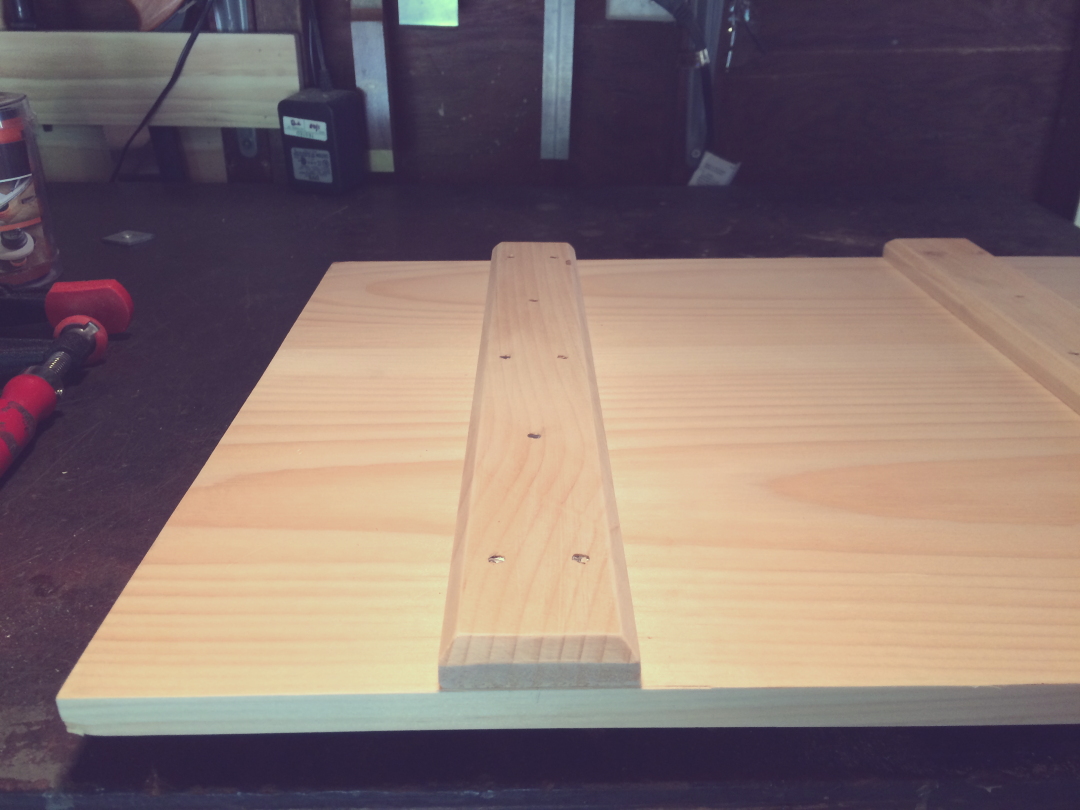
Stretcher Nails
The 4d nails obviously protrude out on the other side of the panels, so I’ll need to clinch them
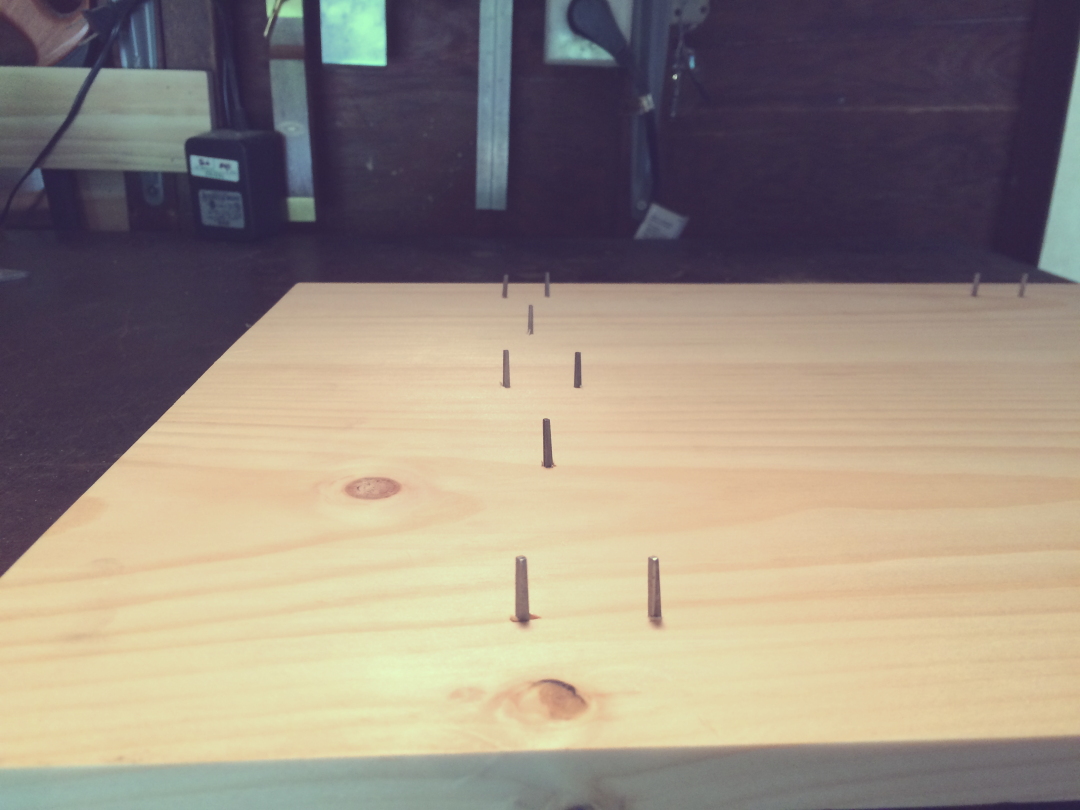
Nail Tips
There are a few different ways to do this, but I start by using pliers to bend the tips down.

Clinching Nails
Then use a hammer and/or nail set to bend the nails flat. Doing this across the grain increases the strength quite a bit, so I try to bend them that way.
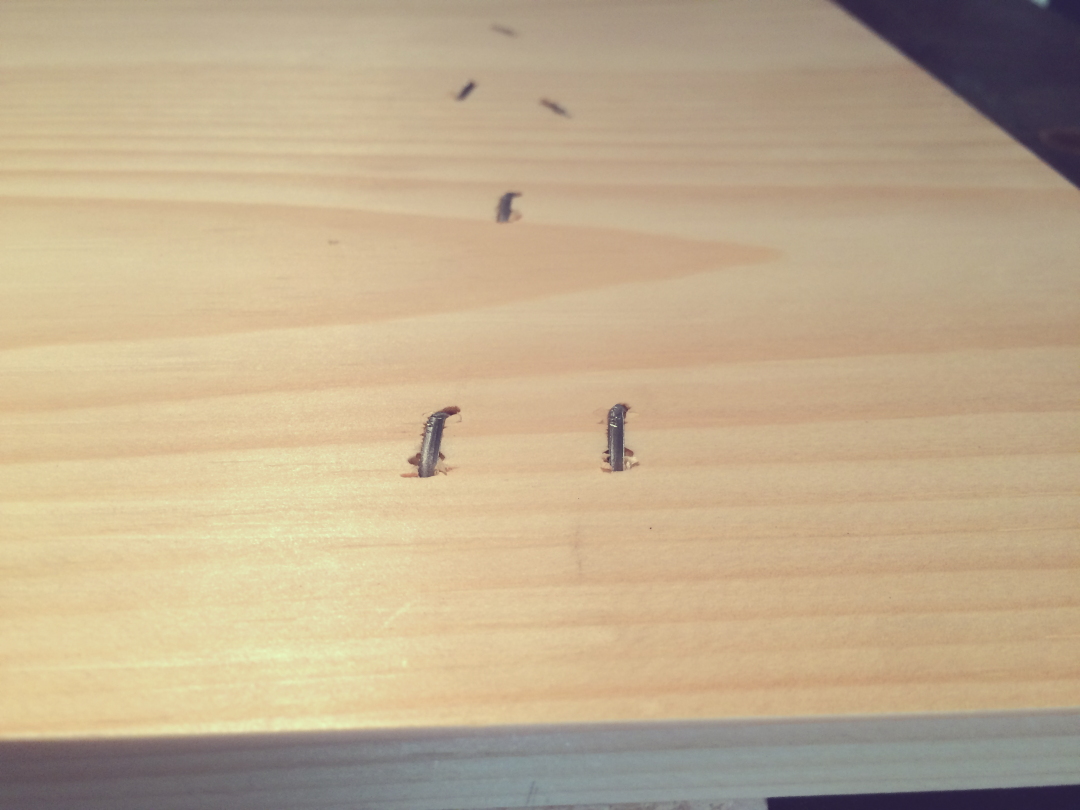
Clinched Nails
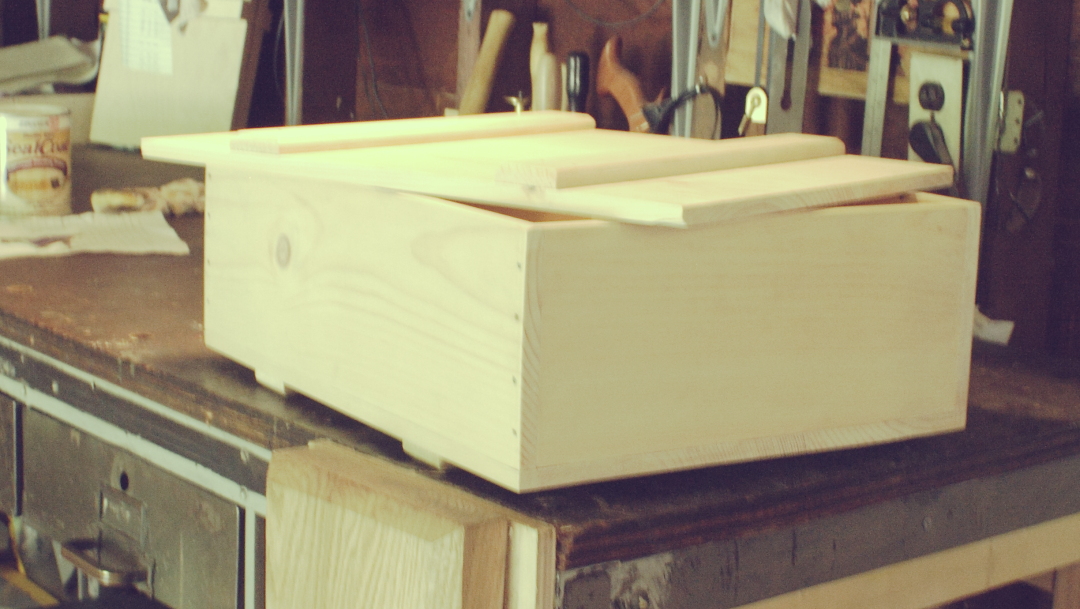
That is pretty much it for the box construction! I hit the sides and top with a smoothing plane, just to get everything ready for finishing. I debated about leaving the wood bare, but decided on just a simple shellac finish. I’m going to be using this box as a toy box for my daughter, so wanted a little bit of protection.
-
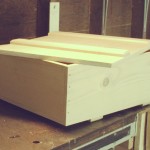
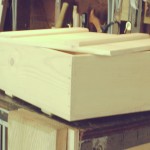
- Packing Crate Pre-Finish
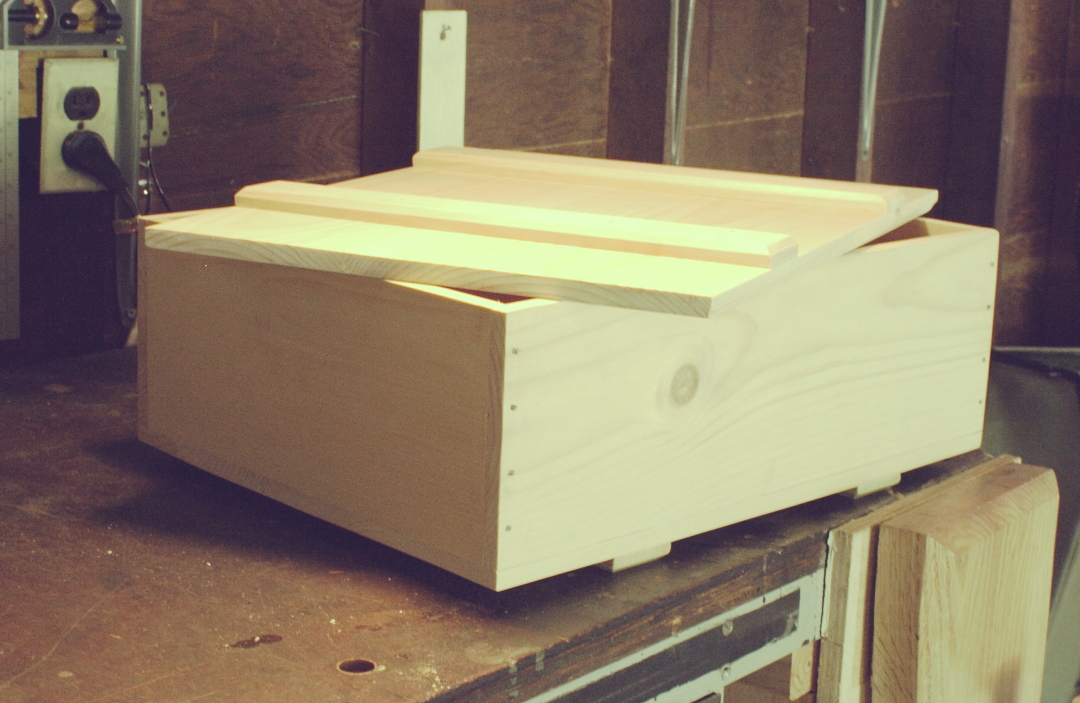
-
- Packing Crate Pre-Finish
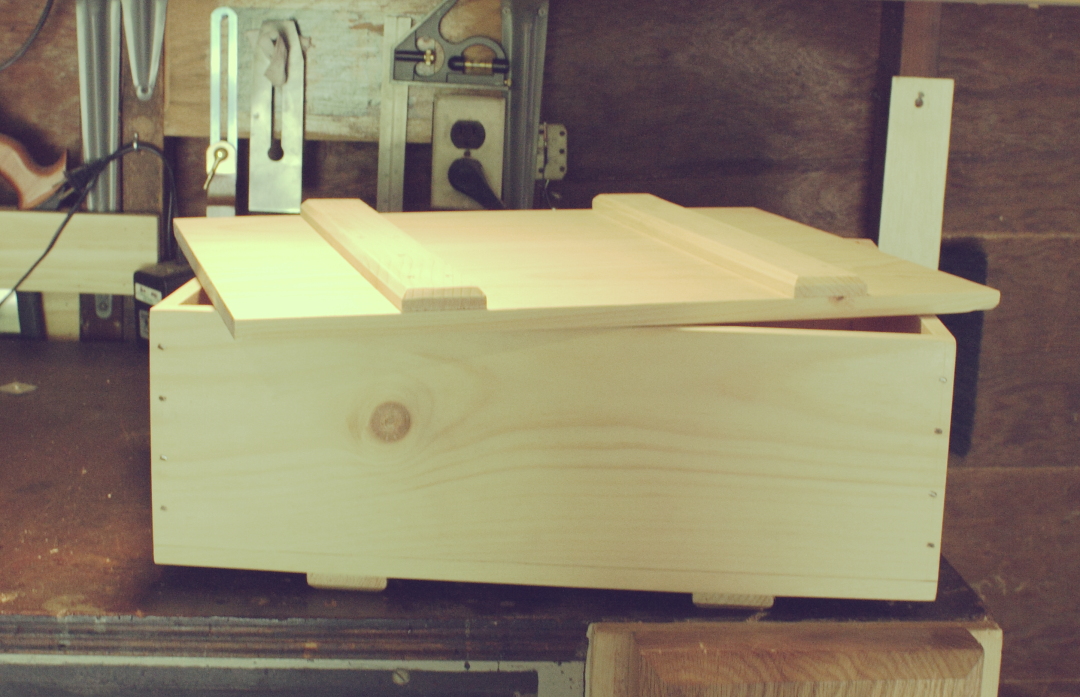
-
- Packing Crate Pre-Finish

-
- Packing Crate Pre-Finish
I’ll be adding the finish tomorrow, which shouldn’t take too long.


Leave a Reply