DIY Bookshelf “Speedsters”…
After hearing and getting used to the DIY MTM speakers I made for my home office, I’ve been yearning to get something better sounding in my work office. The first step was to pick a design that I liked and that fit with my office setup. I’m lucky enough at work to have a separate office, so didn’t need to worry too much about disturbing any co-workers, but obviously couldn’t go too overboard with a setup. Here were the criteria I set for my office setup:
- Bookshelf/Desktop design – They will sit on my desk so need to have a relatively small footprint
- Great sound – This is an obvious one. I do most of my listening at my desk at the office, so I want these to sound amazing!
- Decent low end – I’ll be running them with just a small sub, so they need to get pretty low
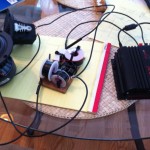
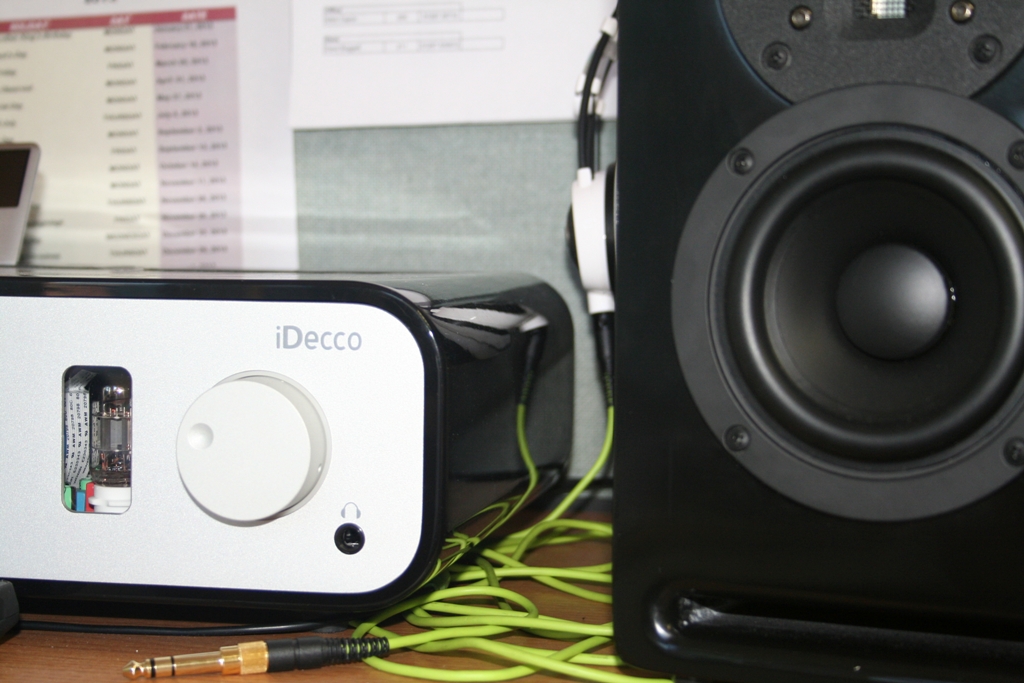
- Rated around 40W – I’ll be running them with my desktop computer or an iPhone/iPod, plugged into a Peachtree Audio iDecco DAC/Amp, rated at 40W per channel
- Vented – My other two projects were sealed, so wanted to try out a vented enclosure this time
With all these criteria in mind, I settled on the “Speedsters” design by Paul Carmody. I visit the Parts Express forums fairly often, and Paul’s designs get high praise from the builders there. His speedster project fits all my criteria nicely and the builds that I’ve seen have looked great. There is also a front slotted design if I ever want to put them directly against a wall (a possibility).
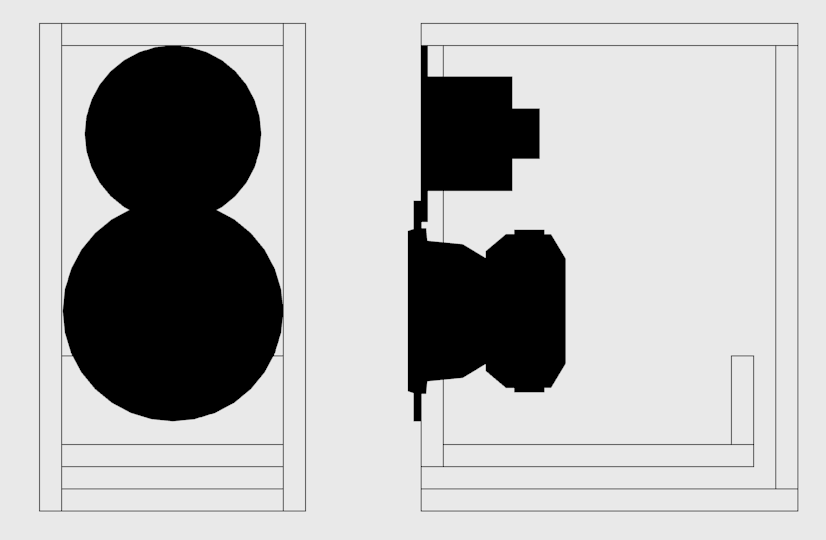
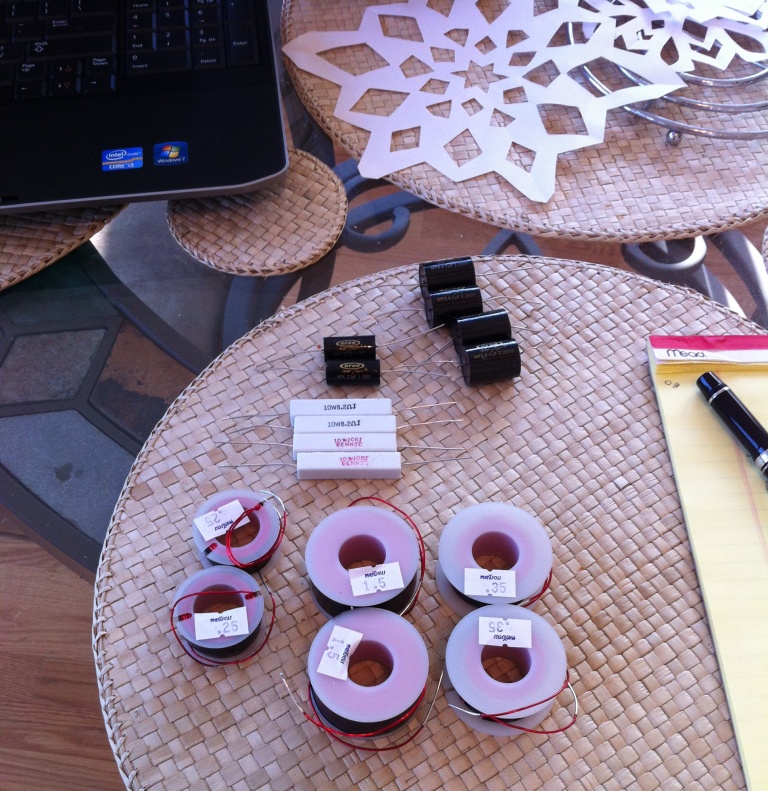
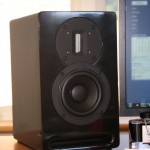
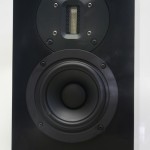
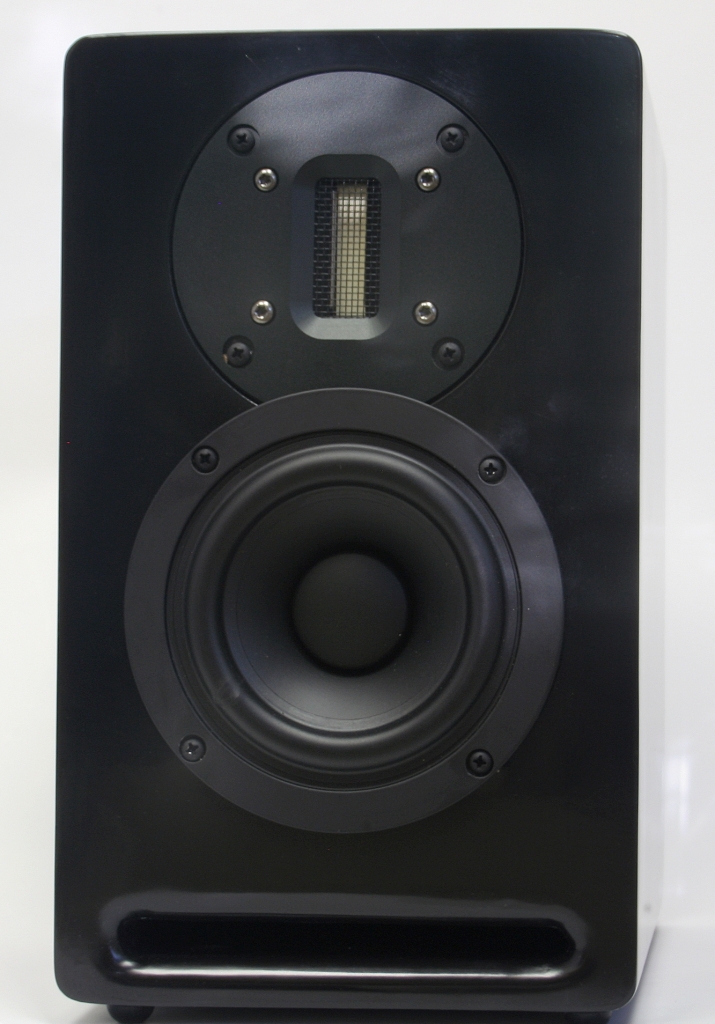
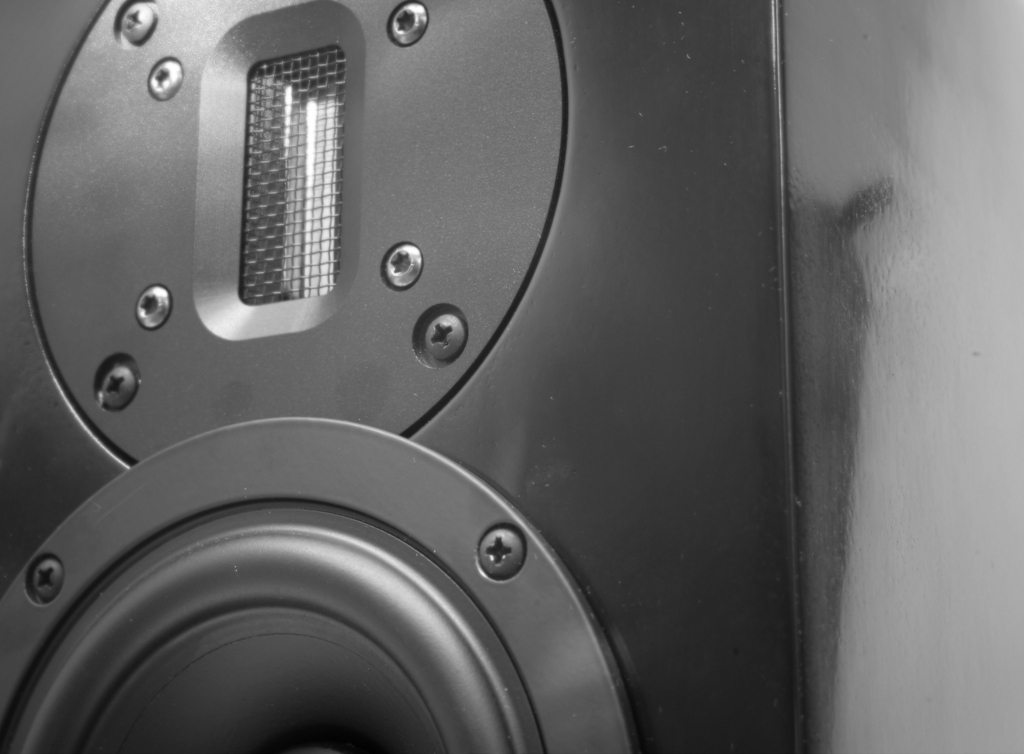
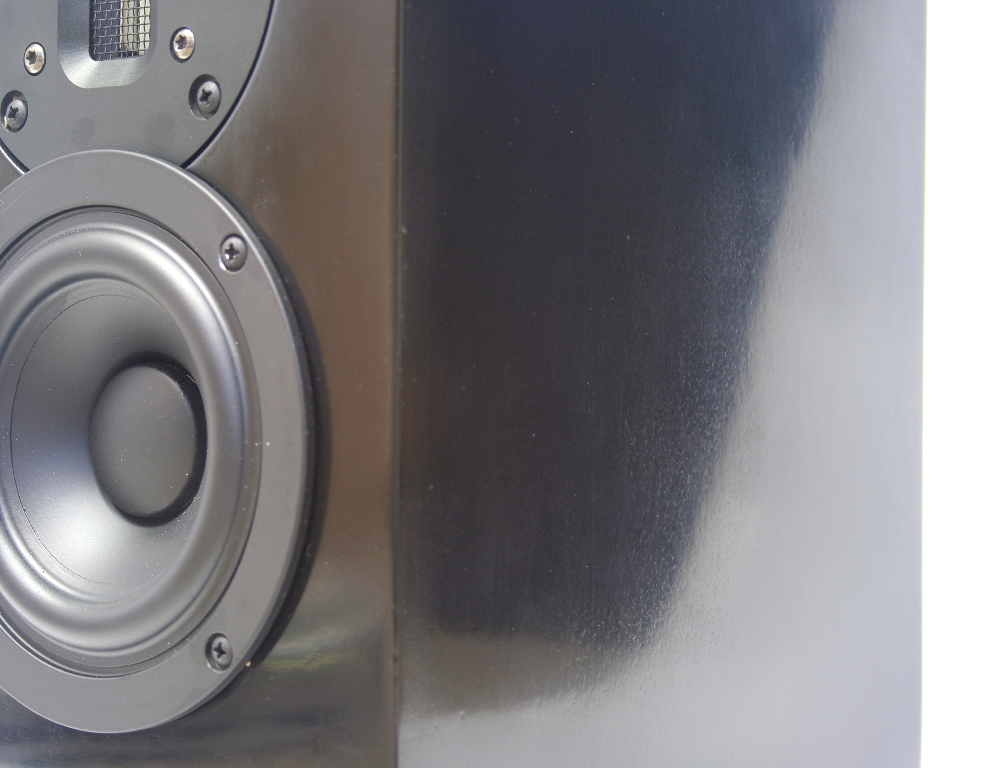
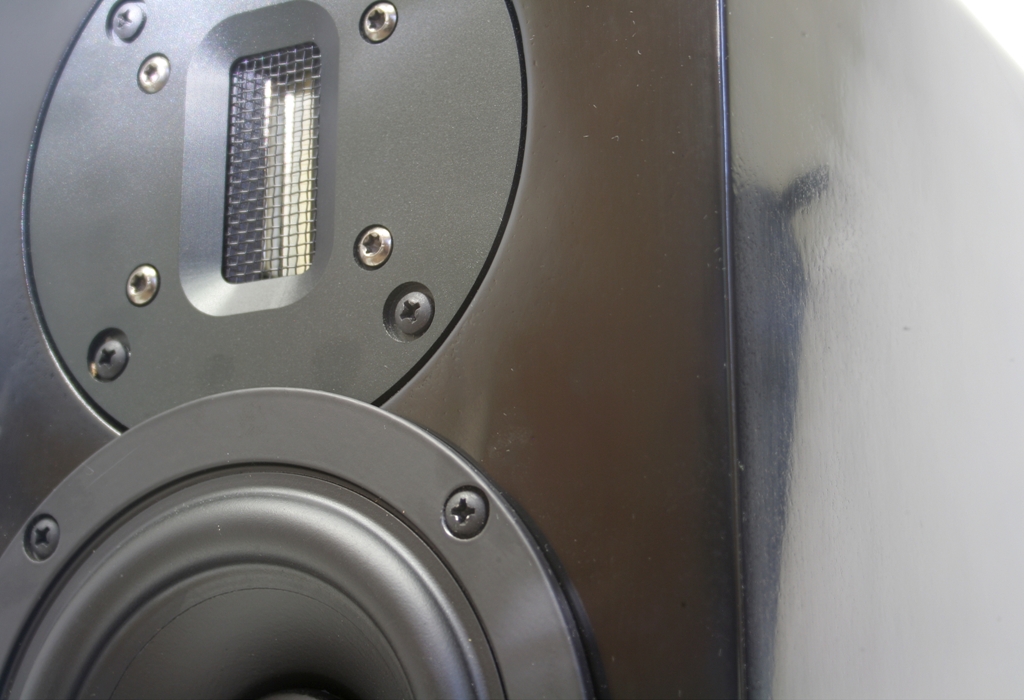
The speedsters use the Fountek NeoCD1.0 ribbon tweeter and the Tang-Bang W4-1720 mid-woofer in a 5.5 L ported enclosure (I went with the slotted design). The box is tuned to about 55 Hz and the -3 dB point is supposed to be around 40 Hz for the TB woofer, which should satisfy criteria #3 above! The design is also interesting because the the woofer actually overlaps the flush mounted tweeter. I think it gives the speakers a unique look.
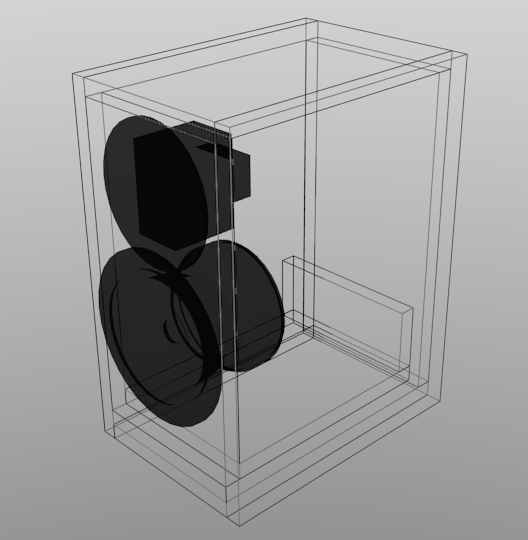
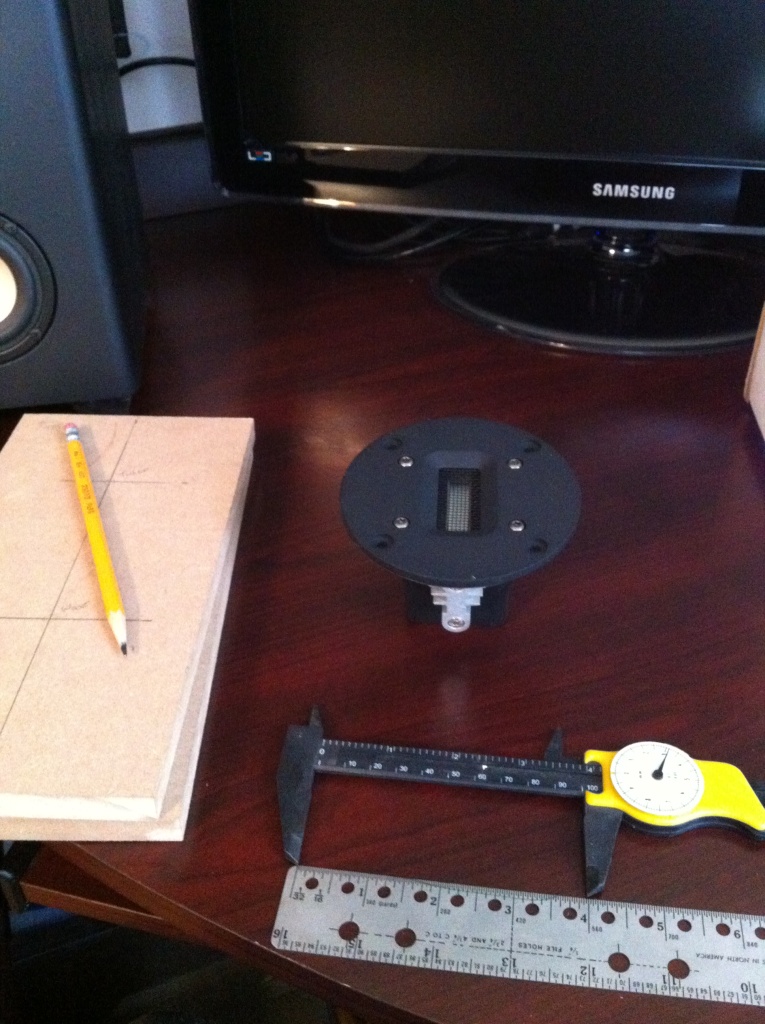
Here are some pictures of the components, along with a few renders of the box construction. I’m excited to try out a ribbon tweeter for the first time. And if you’re asking yourself “Is the magnet really that big?” The answer is YES, that magnet is absolutely huge for a woofer of this size! It’s got to weigh around 5 pounds, it’s enormously heavy.
-
- Blender speedster outline render
-
- Blender speedster wireframe render
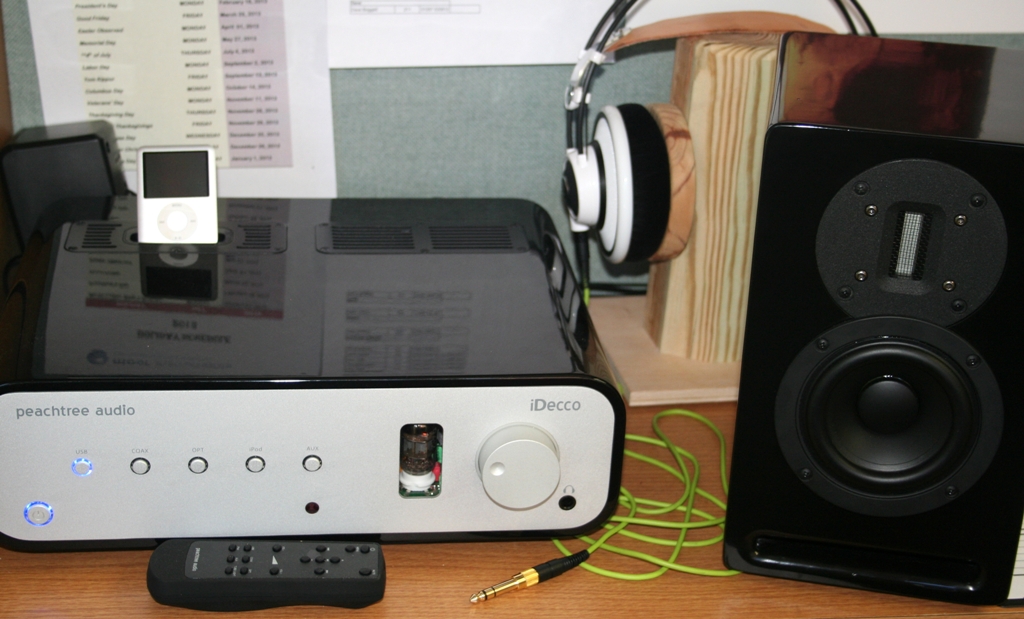
I also wanted to build these to match the Peachtree iDecco, which can be seen here:
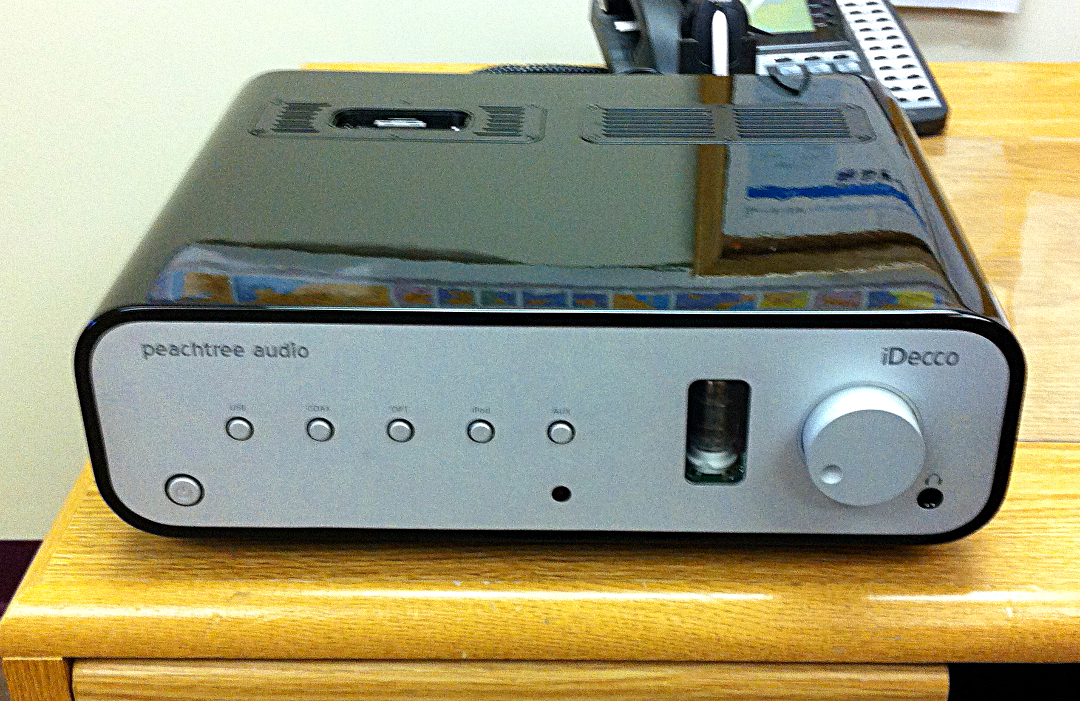
Peachtree Audio iDecco
This meant that I was going to need to round-over the front-to -back edges in the typical iGadget fashion, but also that I was going to need a glossy piano black finish! I had deliberately done a matte black finish on my MTM set because I didn’t want to tackle a piano glossy finish (it also matched the monitor nicely being matte), but I can’t get around it this time. I originally thought that I would do the front white/metallic gray like the iDecco, but decided against it. Here is what I’m hoping they come out to look like (imagine them all black!):
Blender desk render with speedsters added
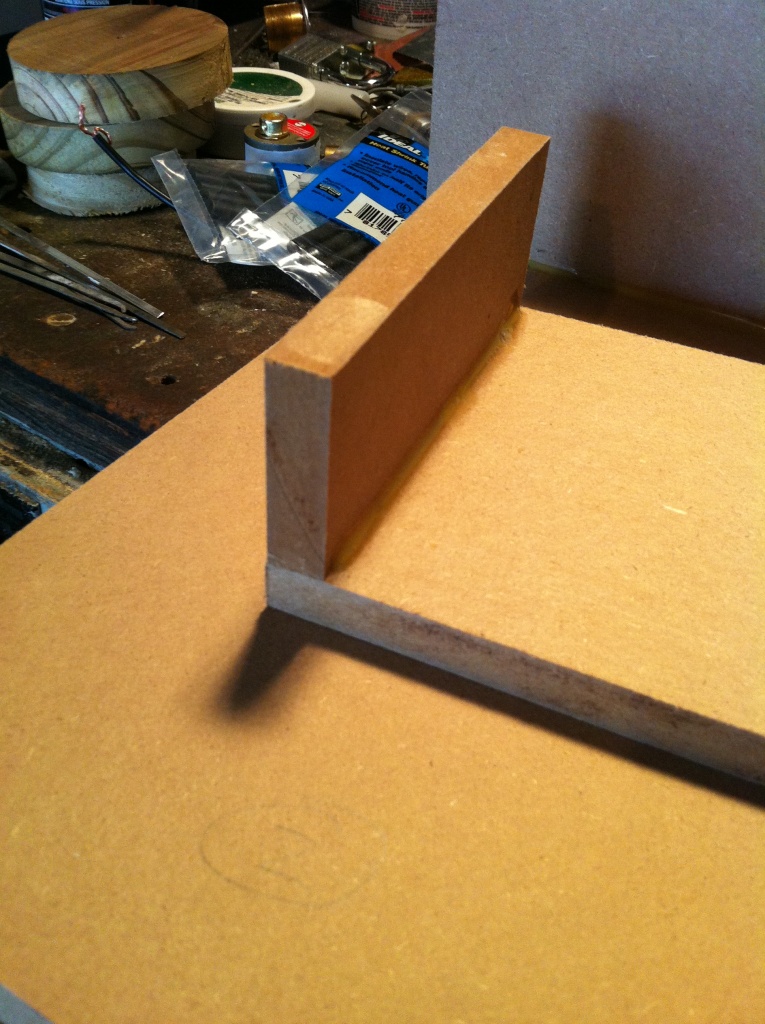
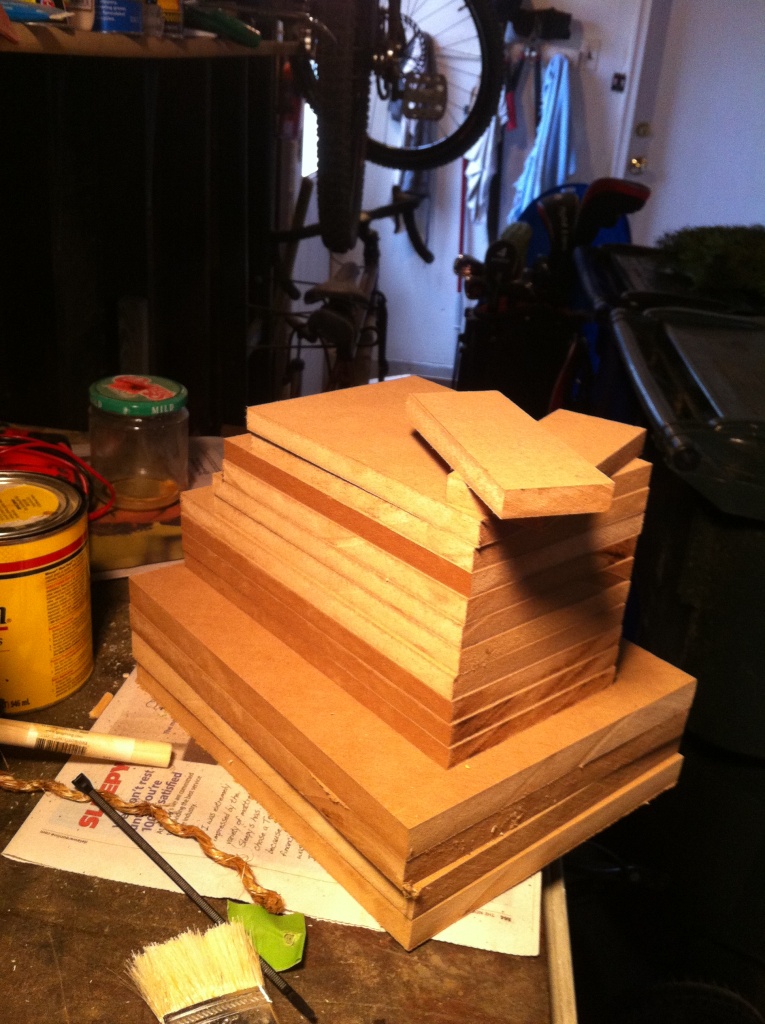
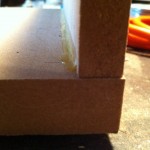
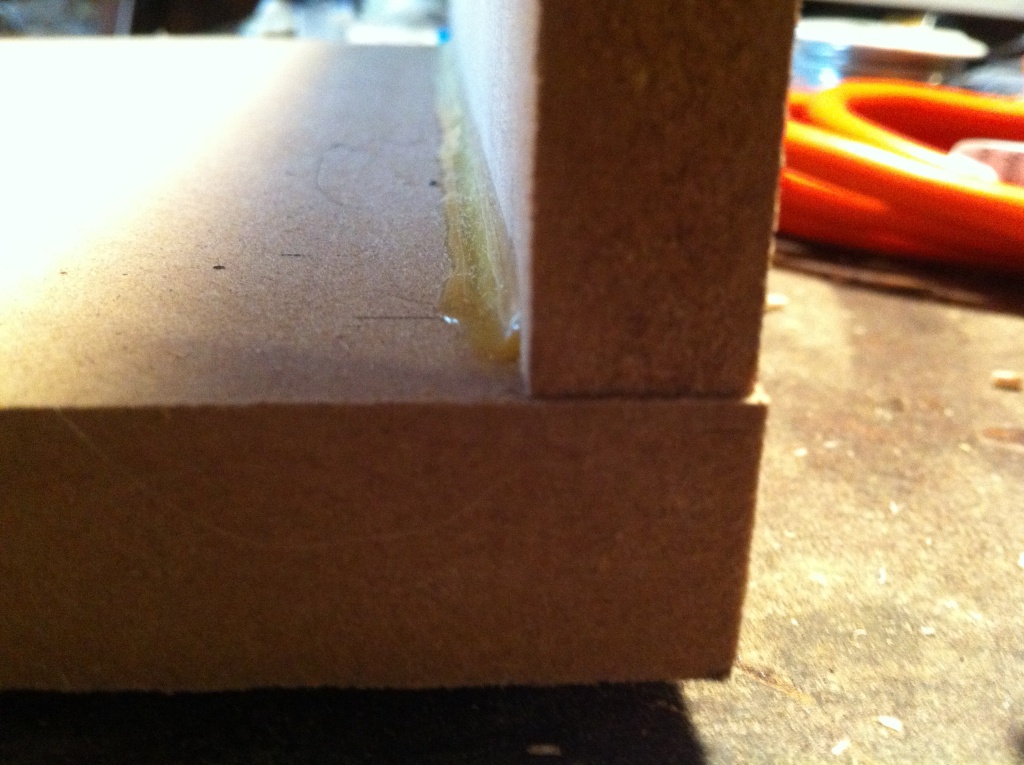
The construction process was fairly straight forward, and pretty much the same as my previous set. Everything was made of 1/2″ MDF, except the two sides, which were 3/4″ MDF because of the round-overs. I used just wood glue for all the joints and cut the two sides slightly larger that necessary, so I could flush trim everything when I was done.
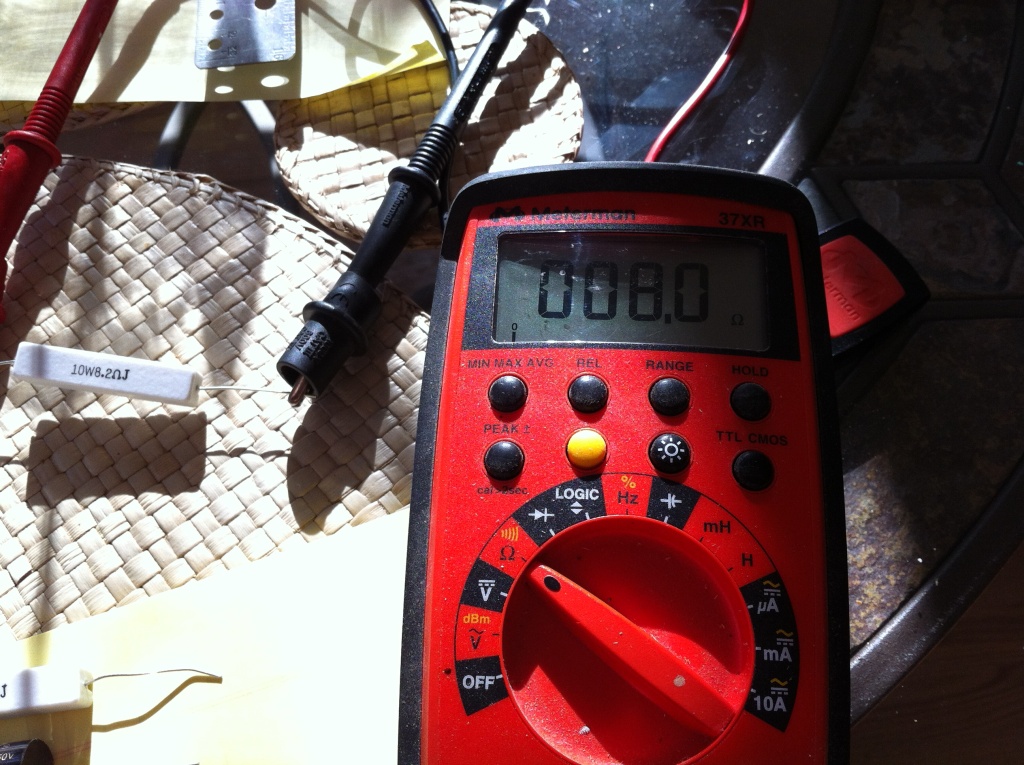
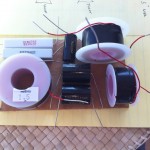
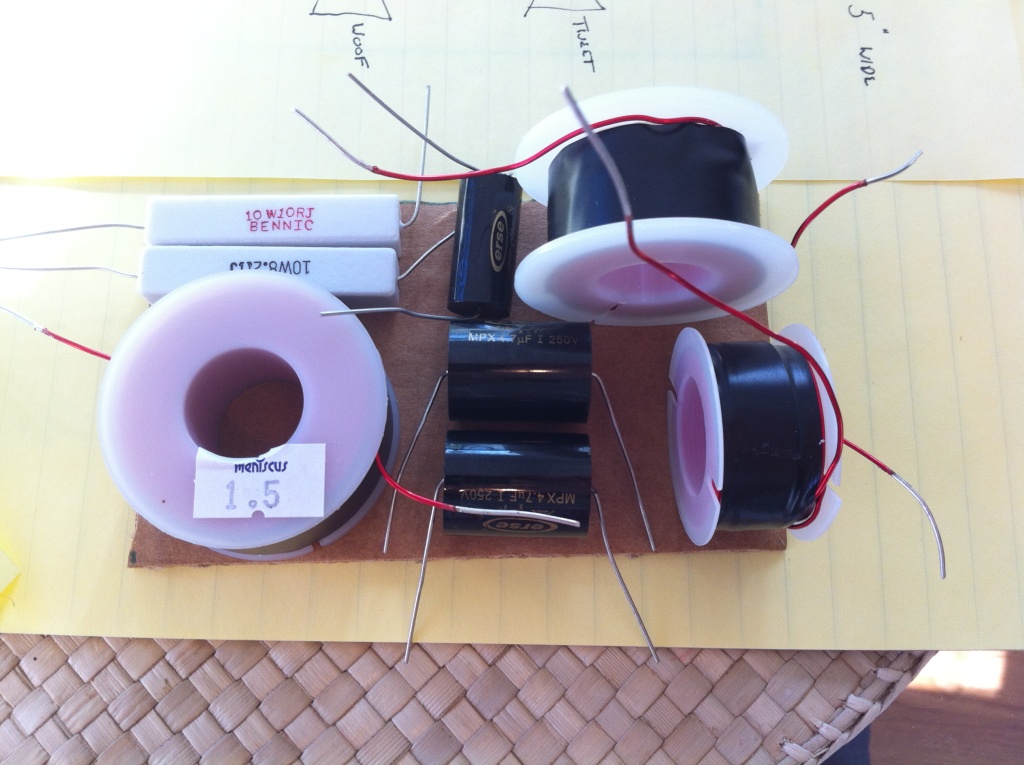
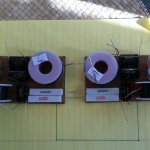
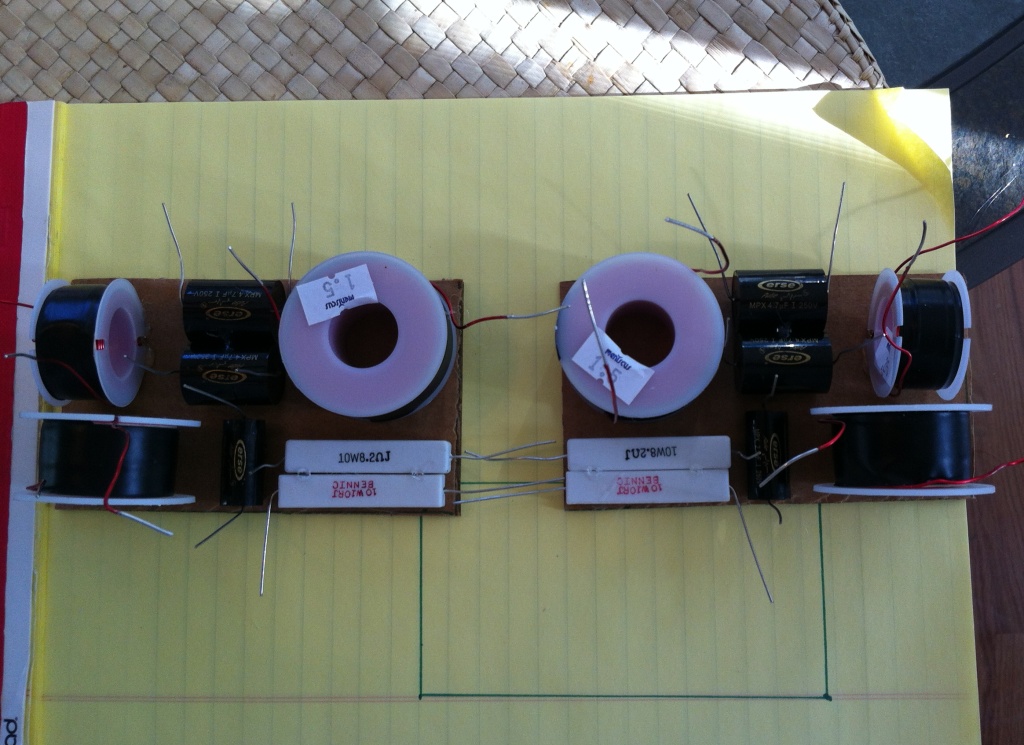
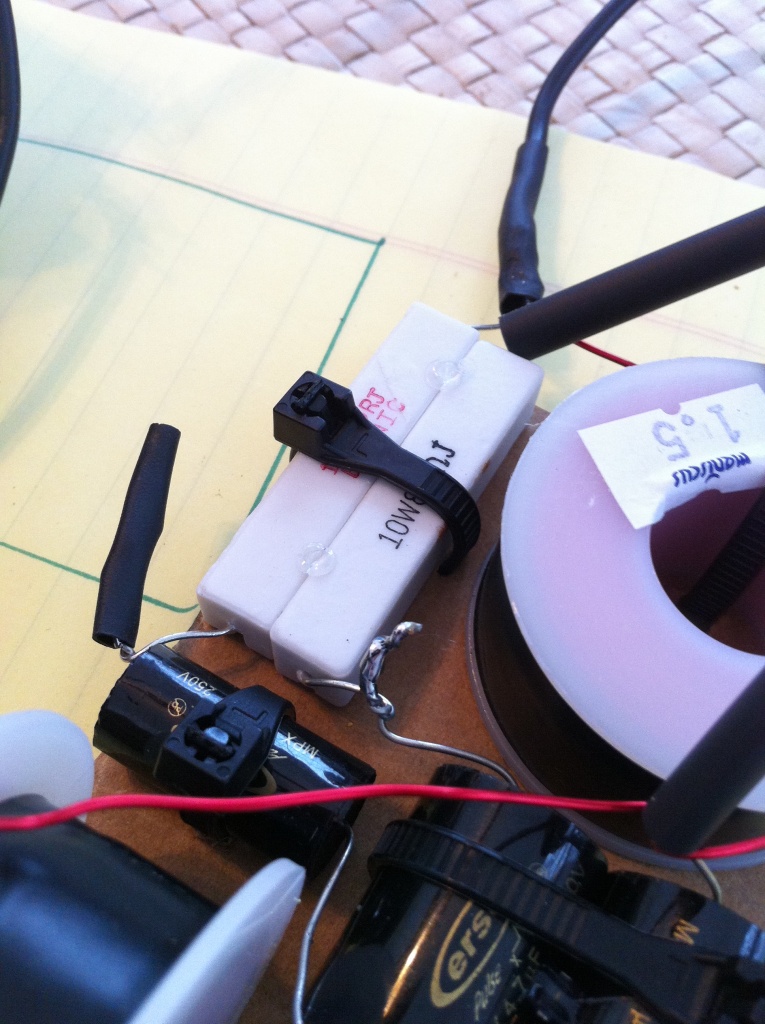
The crossovers use 3rd order electrical filters on both the woofer and tweeter, with 8 components total. I hot glued all the components to a piece of cardboard to match the cabinet dimensions, then zip tied them all down as well. They will be glued directly behind the woofer, next to the slot.
Here are some pictures of the process:
-
- DIY Speedster Build Crossover
-
- DIY Speedster Build Crossover
-
- DIY Speedster Build Crossover
-
- DIY Speedster Build Crossover
-
- DIY Speedster Build Crossover
-
- DIY Speedster Build Crossover
-

- DIY Speedster Build
-
- DIY Speedster Build
-
- DIY Speedster Build
-
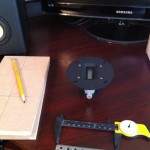
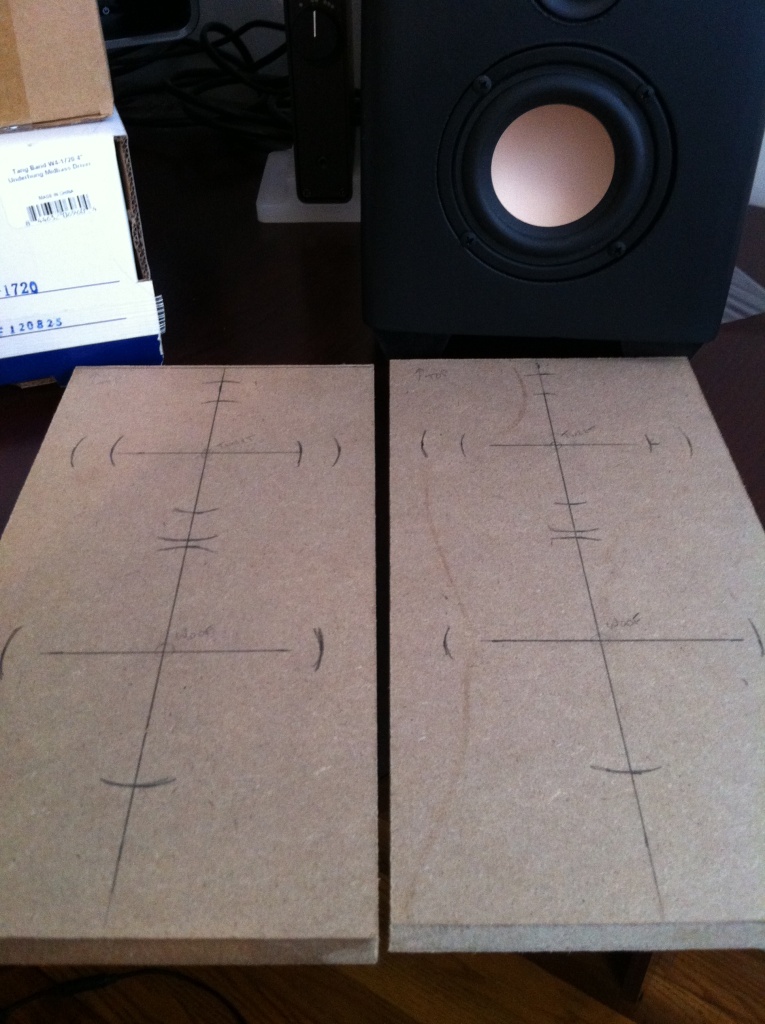
- DIY Speedster Baffle Marking
-
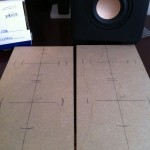
- DIY Speedster Baffle Marking
-
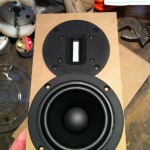
- DIY Speedster Build test fit

Because I was going for the glossy black look, the painting process, on the other hand, was quite a bit different. Here was my MDF spray painting process for the piano black look:
- Cover bare MDF with fiberglass resin thinned at 60/40 with acetone, especially the cut edges, to seal it, then sand to get rid of the brush strokes – I did two coats of this, as some areas I sanded through with the first coat
- Bondo the imperfections – I had some mis-aligned edges and a ripped corner or two, so I filled those in. Make sure to cover all your seams really well too. The bondo should be able to hide those pesky seams.
- Sand everything smooth – I think I went up to around 220 grit for this step. Basically you want everything flat and as perfect as possible. If you find more imperfections fill them in and sand again.
- Prime and Sand – A LOT! I’m not sure how many coats of primer I did, but it had to be a lot. I used High-Build Auto Primer. For a black finish it doesn’t really matter what color primer you use, but for lighter colors stick to the white/gray primer. The goal here is to get a perfectly flat, even coat of primer. If you sand after every coat or two of primer you’ll slowly work down the high spots and find out where the blemishes are. You can add some more bondo if need be at this point too. Keep priming and painting until everything is nice and even. I sanded up to about 320 grit for this step.
- Add some color layers – Finally it’s time to paint in your color layers. I obviously chose black, and did 4-5 coats of it. After the first couple of coats I sanded with 400, then did the last few coats. When the color was on and even I sanded with 600.
- Clear Coat – Clean all the dust off the surface (important!) and start your clear coating. Again, I did 4-5 coats or so. Three would probably be sufficient.
- Wet Sand – Starting with 1000 grit, wet sand the whole cabinet to get rid of any imperfections. You’ll likely feel some areas where there is orange peel, runs, or dust that got in while the paint was wet. Try to get rid of all these areas with the 1000 grit, then work your way up the grits. I did 1000, 1200, and 1500. You could go up to 2000 as well. Everything will look pretty ugly at this point (but will probably feel nice and smooth!), but don’t worry. We’ll get rid of all that in the next few steps.
- Polishing Compound – You’re basically just detailing a car from here on out. Start with a light polishing compound, I chose 3M because that’s what I had, then…
- Swirl Remover – Hit everything with some swirl remover, I chose Meguiars, again because that’s what I had, then finally…
- Wax – Wax everything really nice. I used Meguiars Carnuba wax, but you can use anything that you have really.
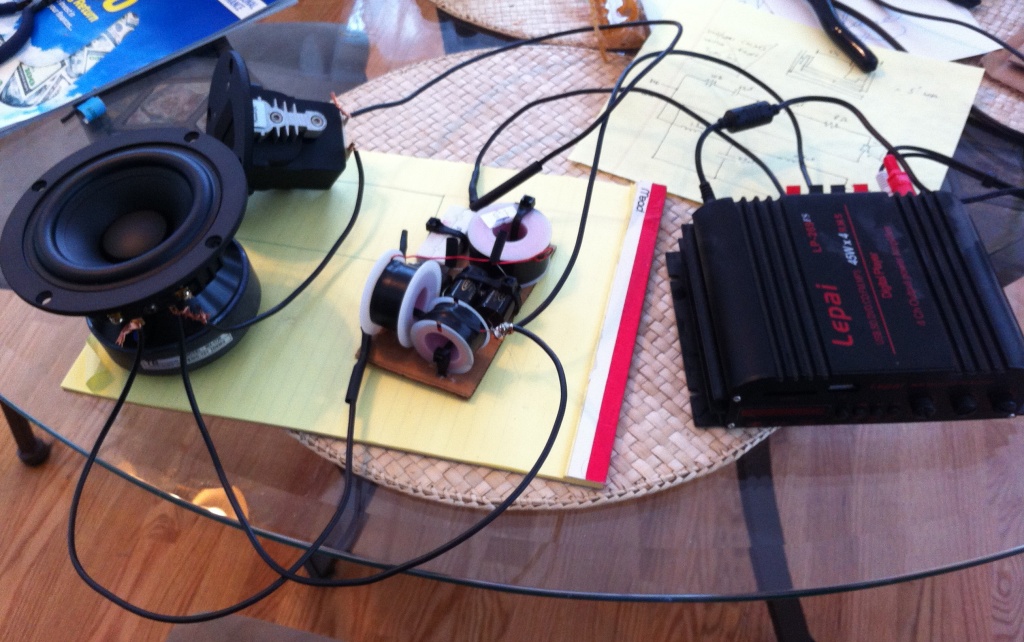
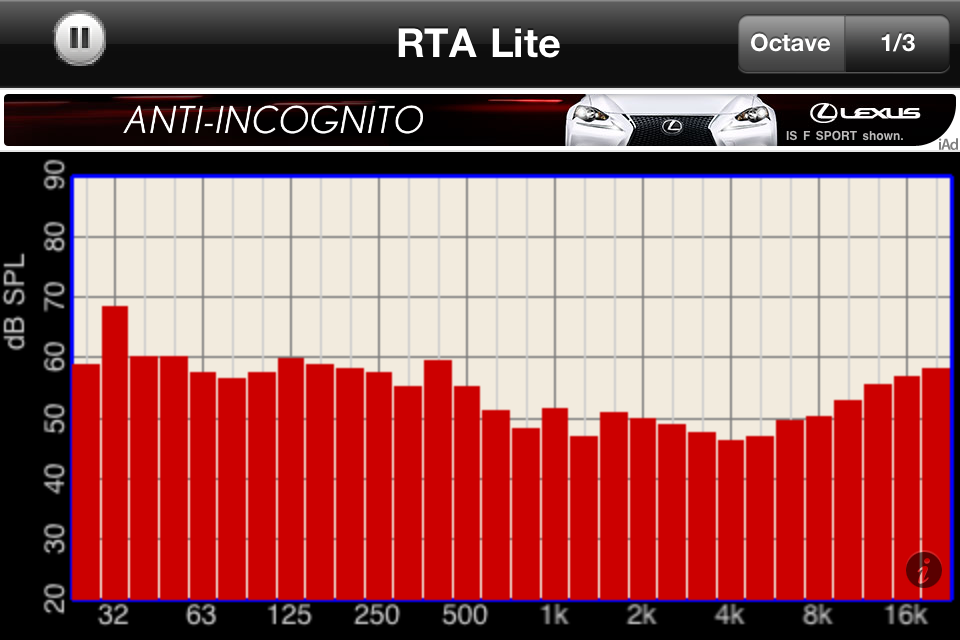
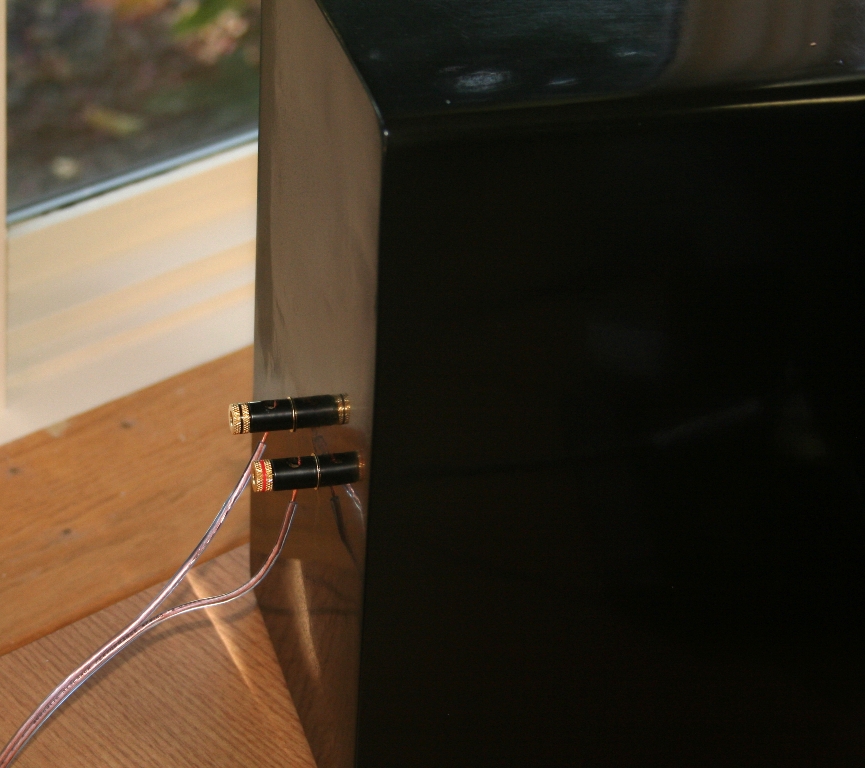
Finally, after all that I went ahead and mounted the tweeters and woofers inside, installed the binding posts on the back and tested them out. Turns out, Fountek has been changing their NeoCD1.0 design around over the past few years and not telling anyone. They apparently swapped the + and – inputs at some point, so I had to test mine out to see what worked out best. There is apparently a large dip in the frequency response if the inputs are switched, right around the 3-4 kHz range. Using a free RTA app on my phone, here is the before and after frequency responses. It’s pretty obvious which one is correct!
-
- Speedster frequency response with flipped tweeter inputs

-
- Speedster Frequency Response after swap
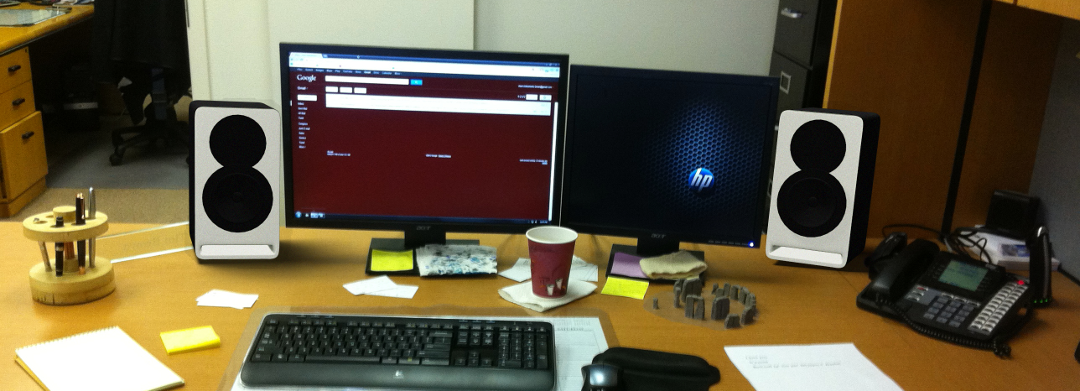
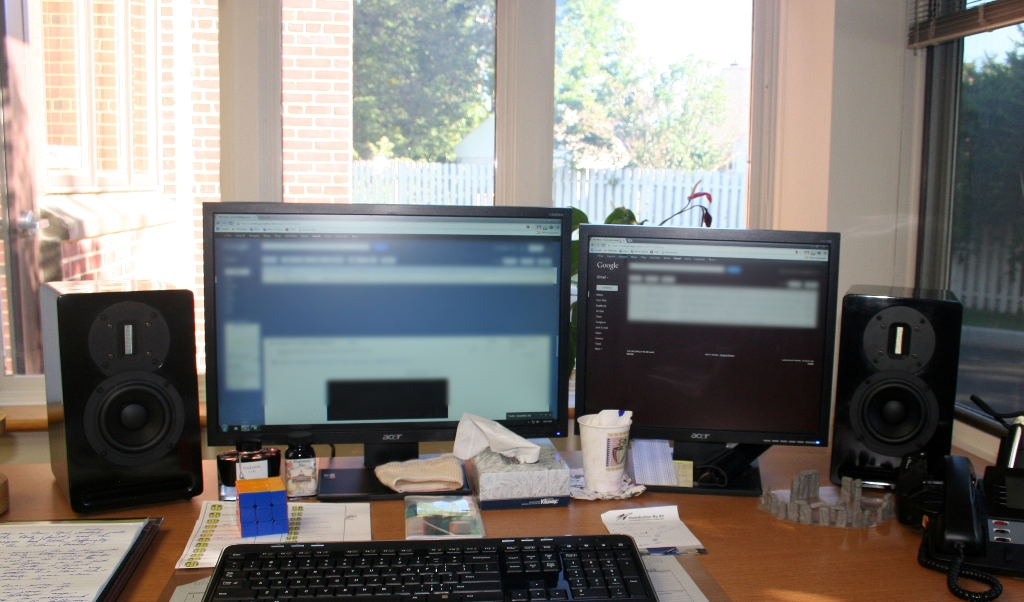
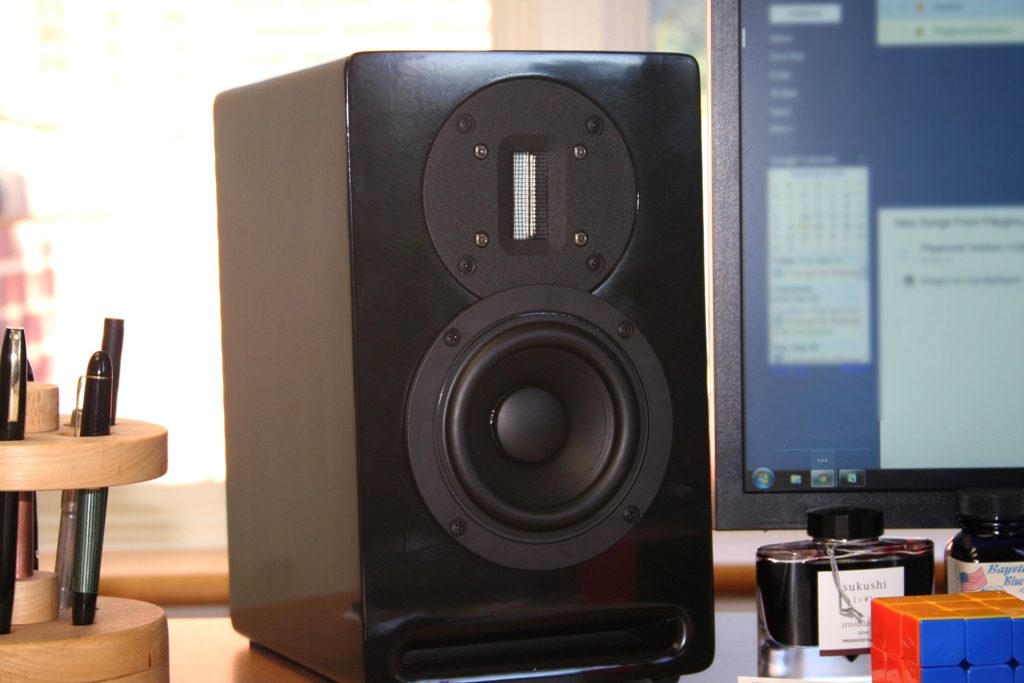
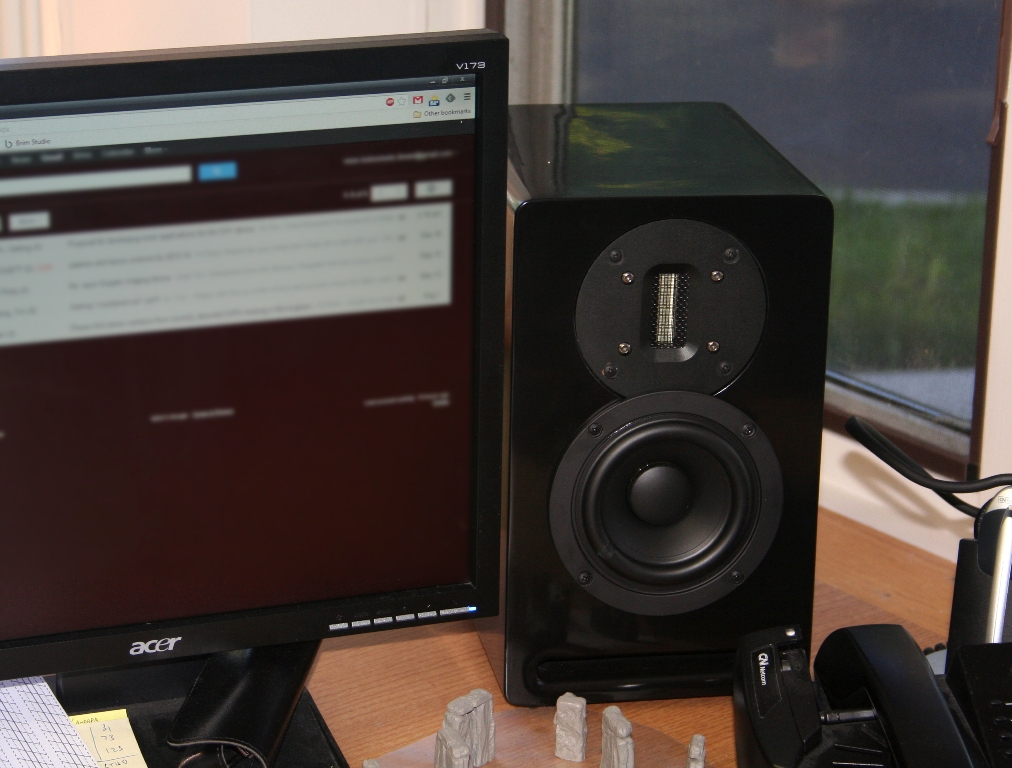
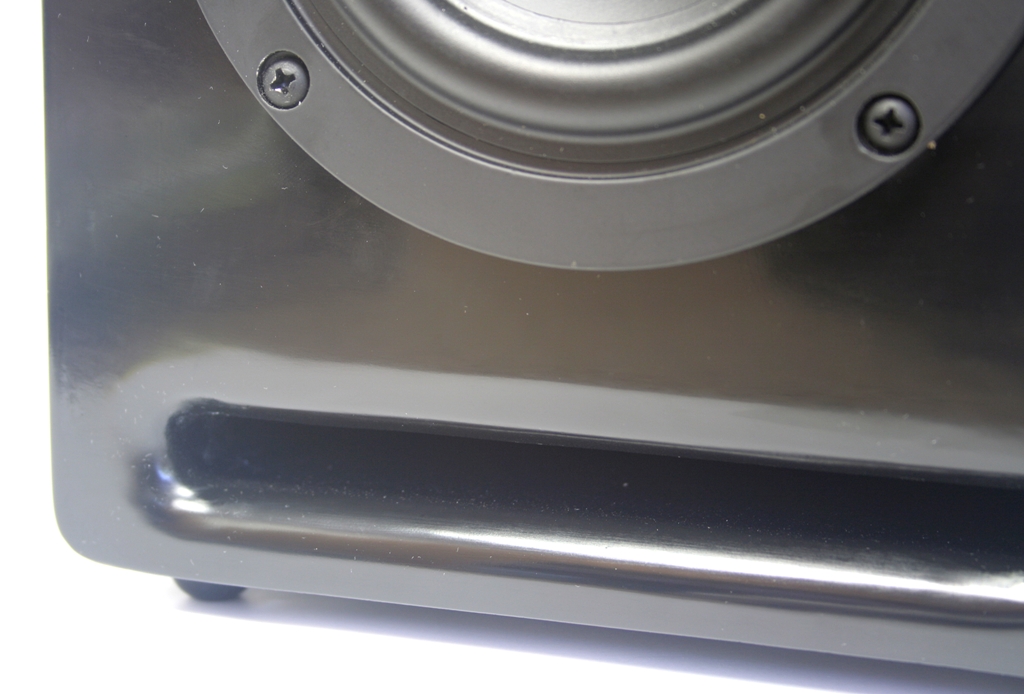
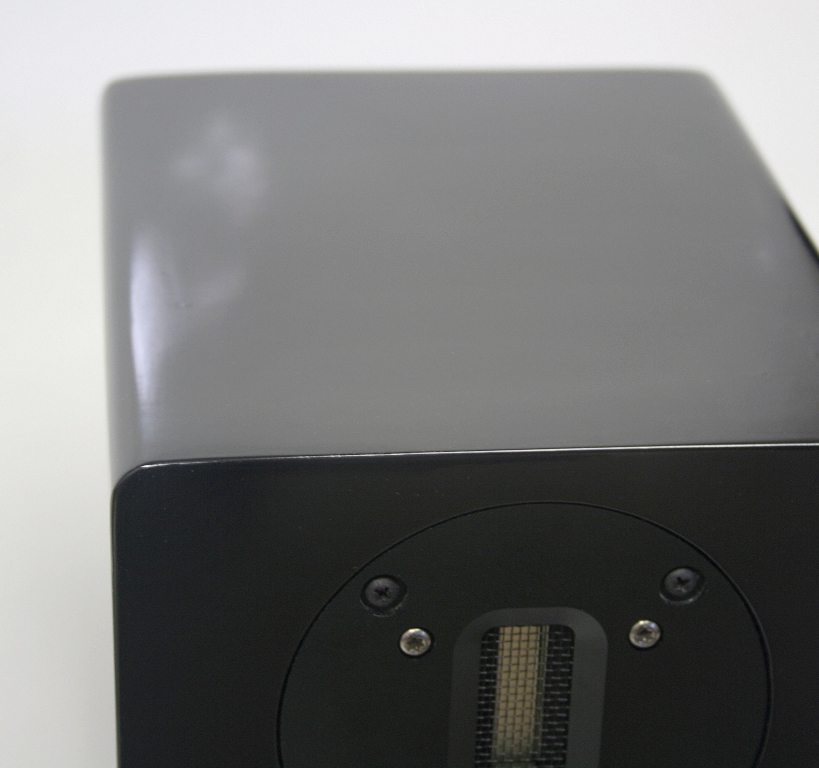
Now that I had the correct inputs, I was finally finished! I’m really happy with how they came out. The paint job came out really nice and I’m happy I went through all the hassle to try out a glossy black finish. They also match the iDecco really well, although I probably should have done a larger round-over on the edges. They fit amazingly well on my desk at work.
They sound incredible too. Even though I know my sub isn’t hooked up, I had to double check just to be sure. Those woofers hit so low that you could easily be fooled. The ribbon tweeters are also everything that I was hoping for. They have that really clear “sparkle” that people describe with ribbons. The sound is pretty directional, so I’ll probably add some larger feet to the bottom front, just to aim them more at my head level, but here they are in their completed state:
-
- DIY Speedster placed on desk
-
- DIY Speedsters in place
-
- DIY Speedster Left
-
- DIY Speedster w/ iDecco
-
- DIY Speedster w/ iDecco
-
- DIY Speedster Front
-
- DIY Speedster
-

- DIY Speedster Piano Black reflection
-

- DIY Speedster Right
-
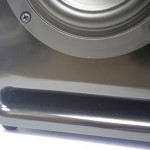
- DIY Speedster Slot
-
- DIY Speedster top
-

- DIY Speedster Close-up angle
-
- DIY Speedster Close-Up angle
-
- DIY Speedster Back Posts
What’s next you ask?? Dunno yet! I’m pretty much out of rooms to make speakers for at the moment!


[…] My speaker for the office are finally done! I’m working on a big DIY post for them, but there are a bunch of pictures I’ve yet to upload, so it’ll take me a few more days to get through them (see full post here). […]
Hi Brim Studio
I am very interrested in your speaker cabinet design.They look great.
It has a front fireing bass port which i think will be super. The original design has a back bass port.
They say it is tuned at some frekvency. What do you think and can you send my some mearsurements for the cabinet you did?
I would like to try some similiar design.
How would you descripe the sound?
Best regards
Christian
Do yourself a favor and build a pair of bookshelves using 4 or 5 inch Audio Nirvana classic drivers and put them on your desk. Run them with a small tube amp.
It will be the most fun you’ve ever had listening to music. Play some acoustic stuff. The realism and speed is on a different level. The soundstage is awesome. You will swear the singer is in front of you and that there is a guitar being plucked at the front of the speaker.