Stackable Sawbenches – $7.17 Sawbench
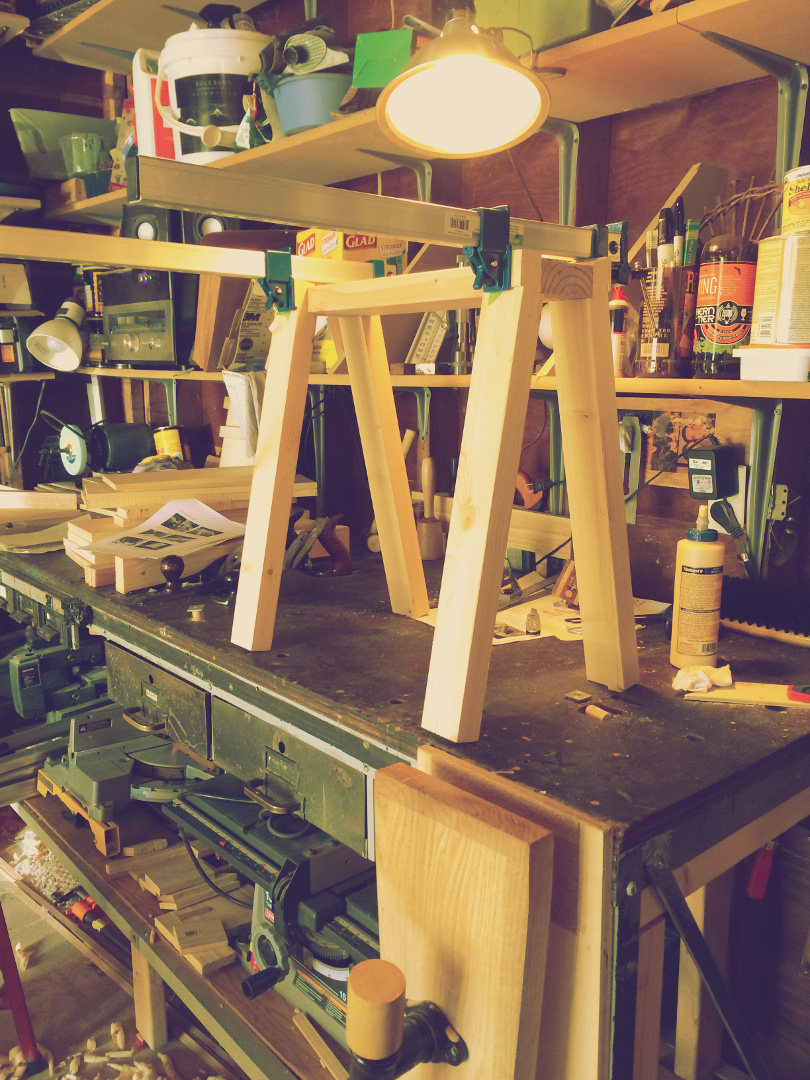
The smaller of the two sawbenches went together pretty quickly over the course of a few days. I pretty much followed Chris Schwarz’s construction procedure for the $5.87 sawbench from his Workbench Design Book (the red one). The price for my dimensional 2×8 was $7.17, hence the new name. First step, hand sawing the pieces to rough length/width. Here is my current sawbench solution, along with some lumber ready to go:
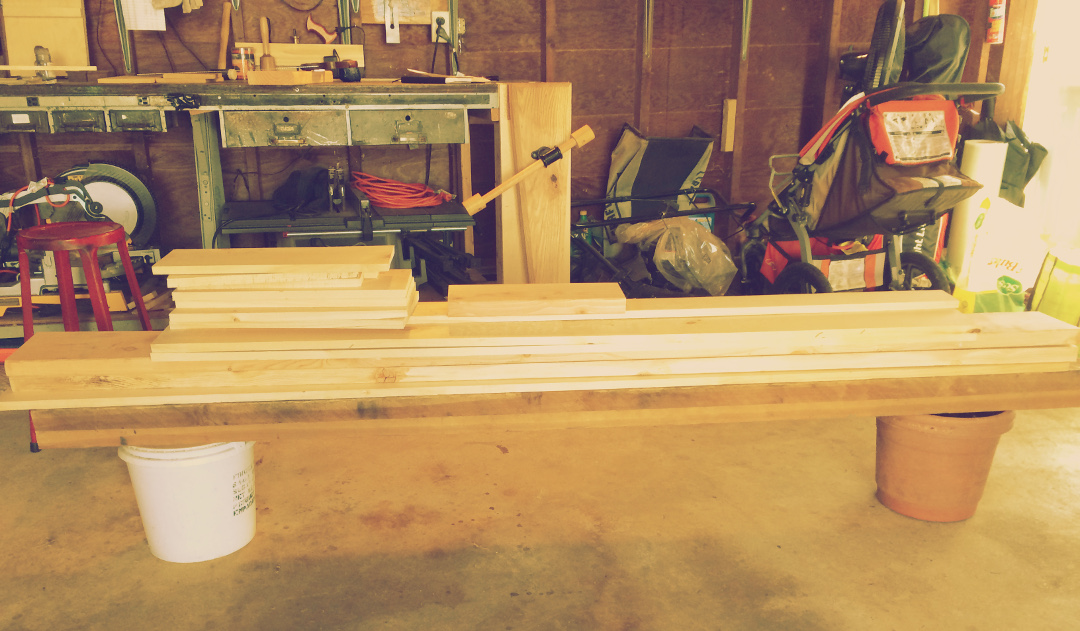
Lumber
And the pieces rough cut:
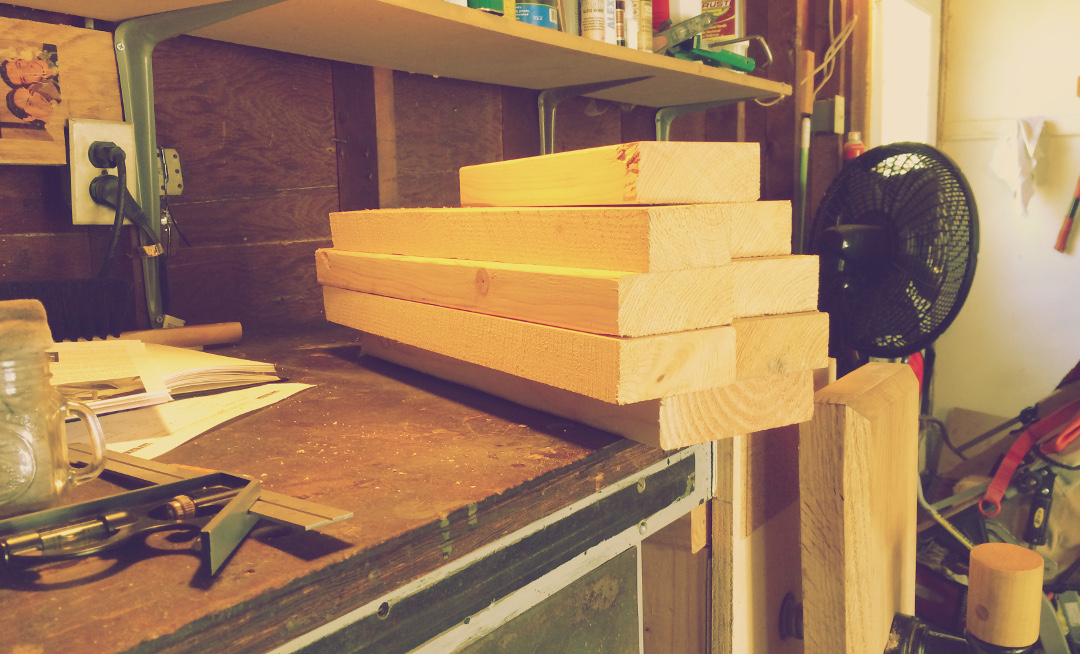
Lumber Rough Cut
I used an old Disston D-8 handsaw for everything. The saw is 8tpi and filed rip. It’s also freshly sharpened, so made fairly quick work out of the douglas fir. However, I was still pretty tired after everything!
I milled all the pieces square and flat:
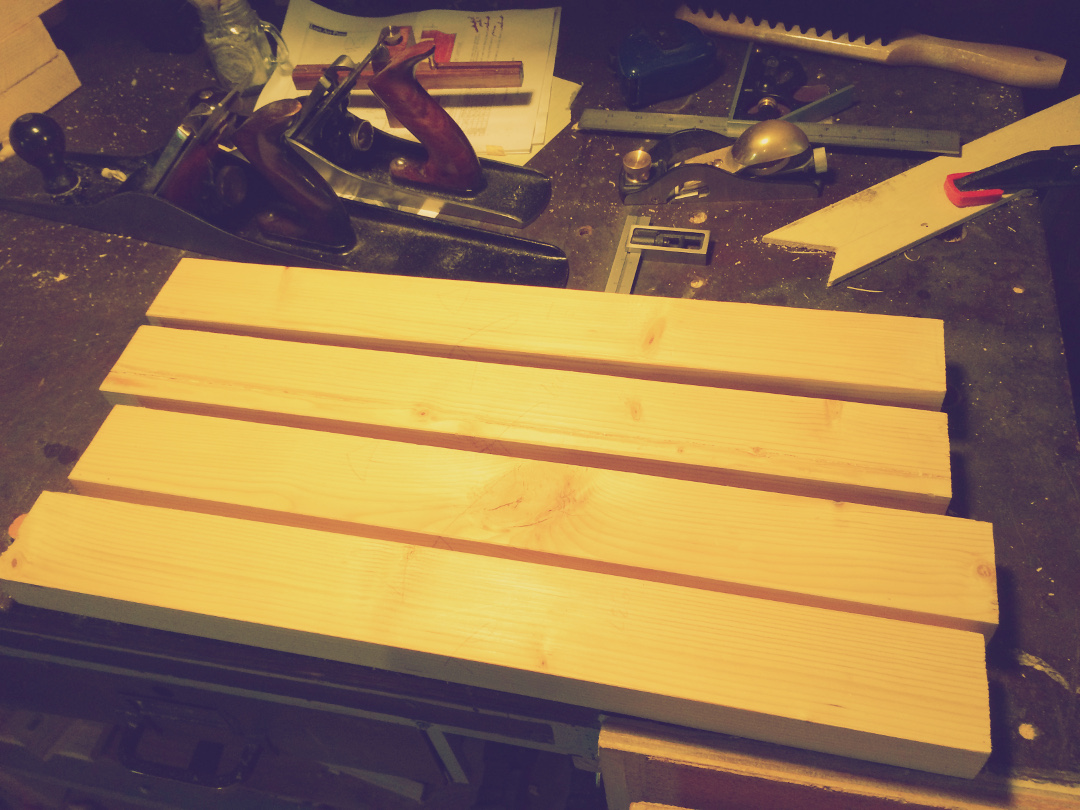
Legs Milled
I have a draft post written about my four squaring procedure, but it’s pretty much the same as numerous hand milling tutorials already out there online. I flatten one face with a jack plane (Stanley 5C with a curved iron) and jointer plane (Millers Falls #22), then square up one edge with the same tools. Using that square edge I mark the correct board width with a marking gauge and use the same tools again to plane down to the line. Finally, using the first flatten face I use another marking gauge to mark the board thickness, then plane down to the lines. I’ll be flush trimming everything to length later, so all the pieces are slightly long at the moment.
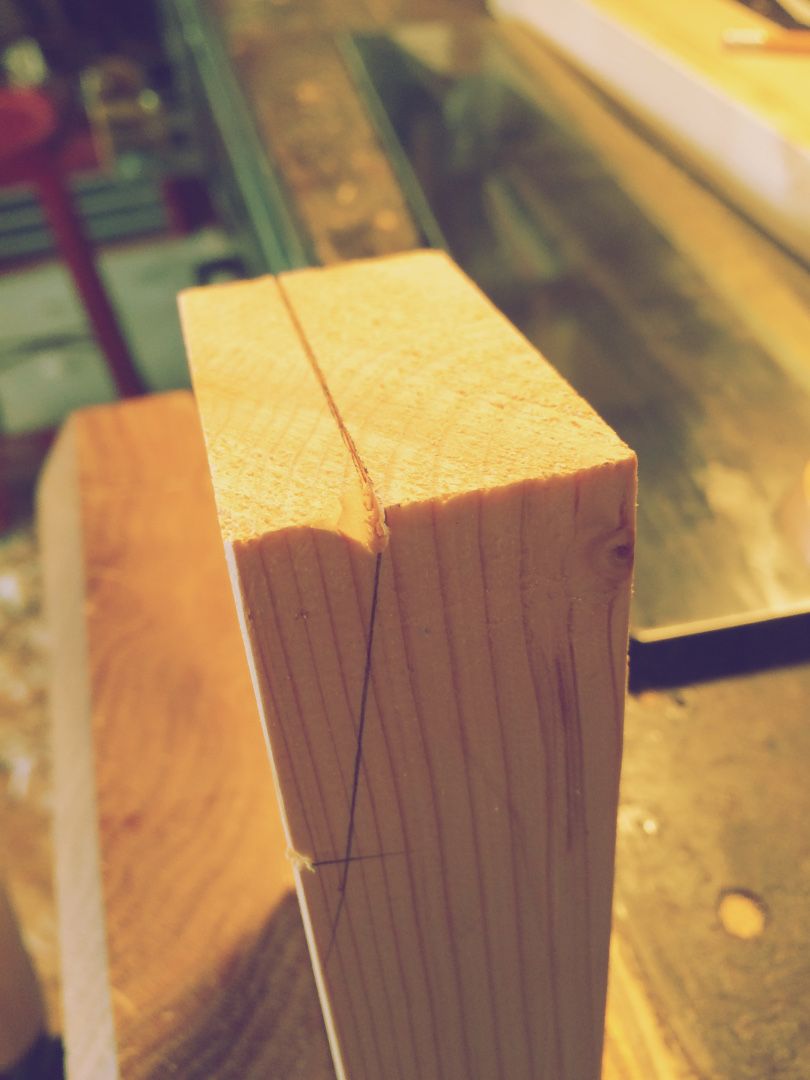
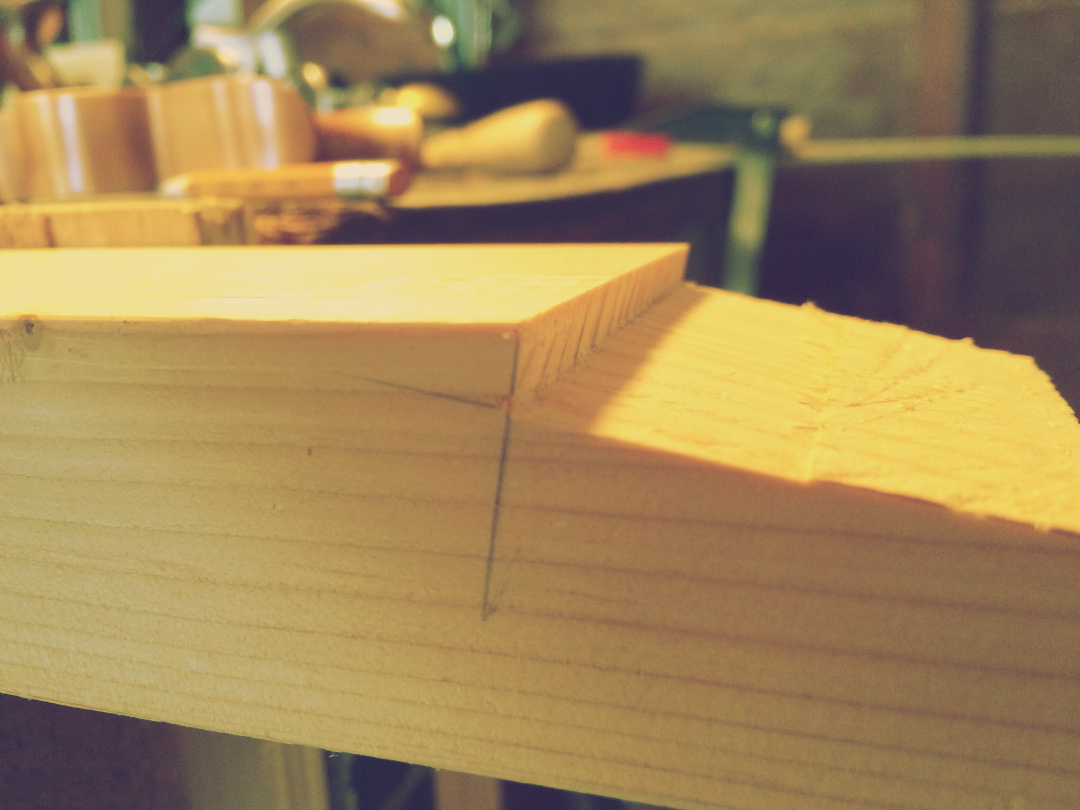
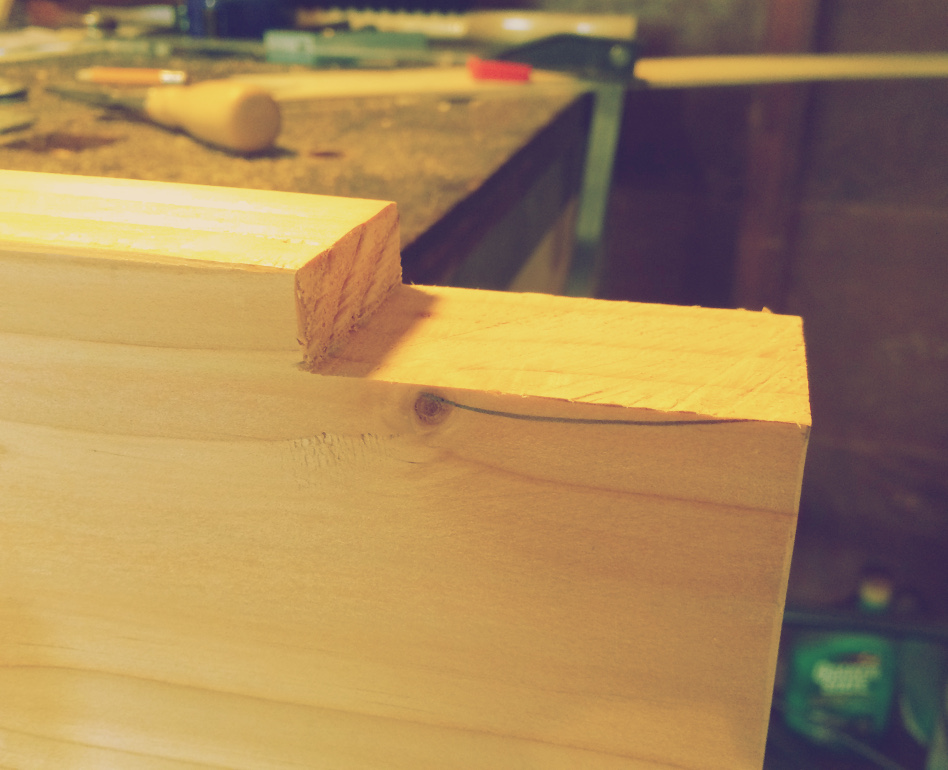
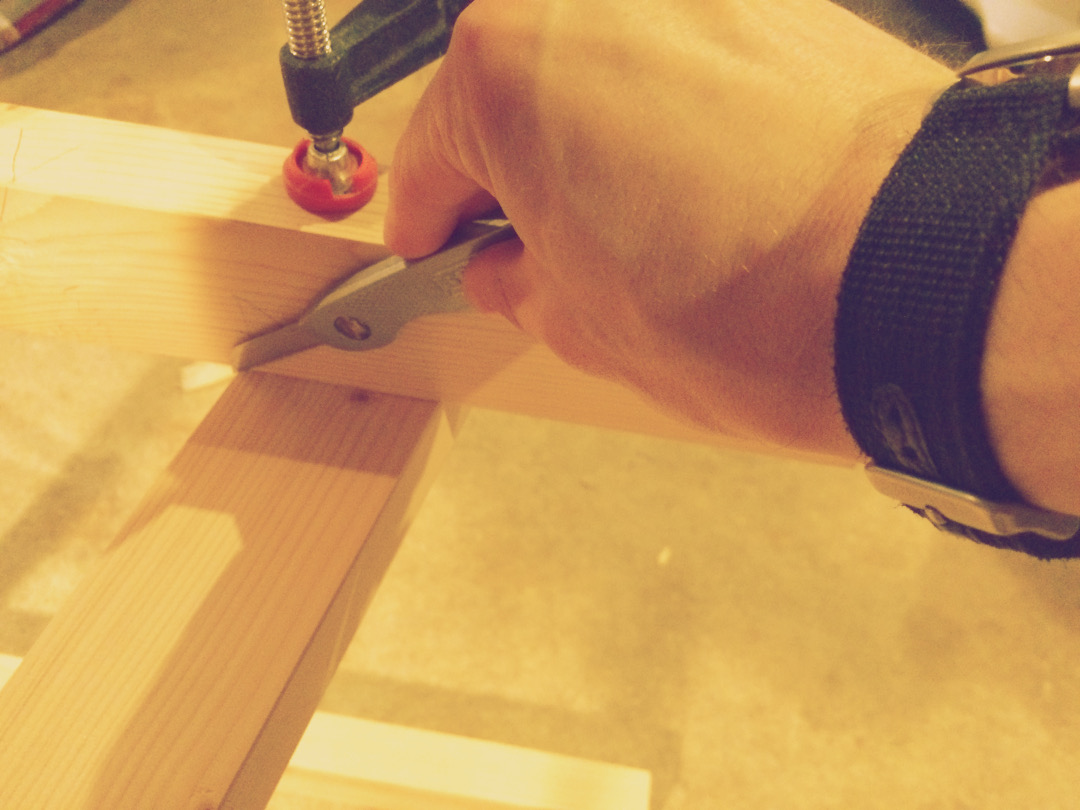
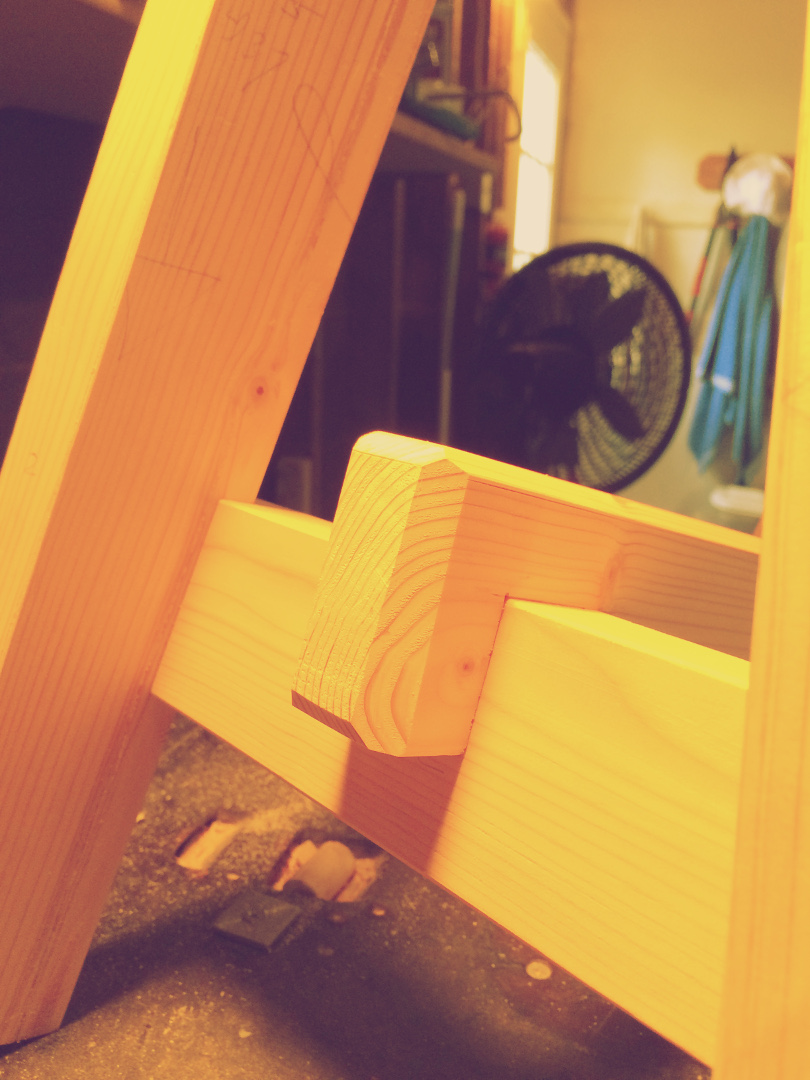
Next step, work on cutting the angled notch in the tops of all four legs:
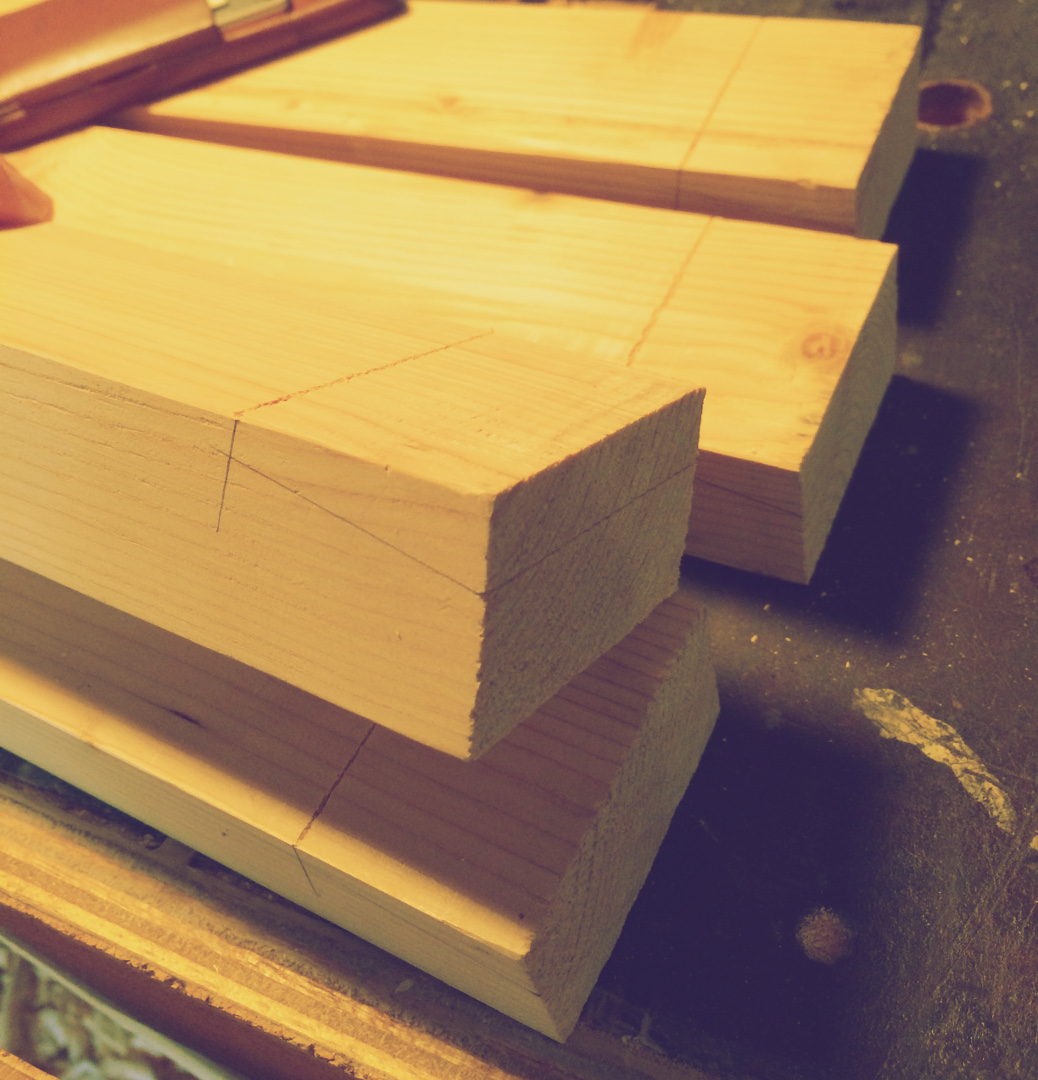
Legs Marked
The angle is 10 degrees from 90 on both faces and should match up at a right angle. Now it’s just a matter of creating a couple of knife walls and sawing out the notch.
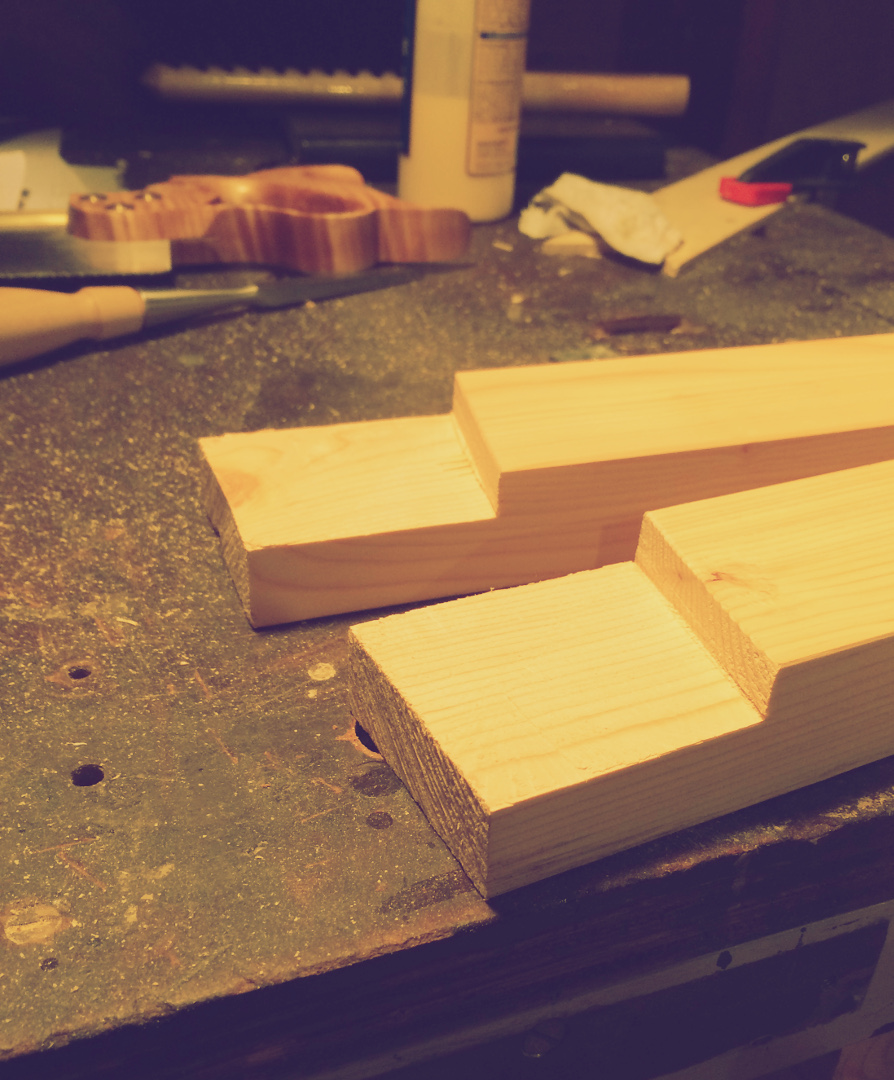
Angled Tenons
Legs Marked
I save the angled cut off piece to be used as a clamping caul later.
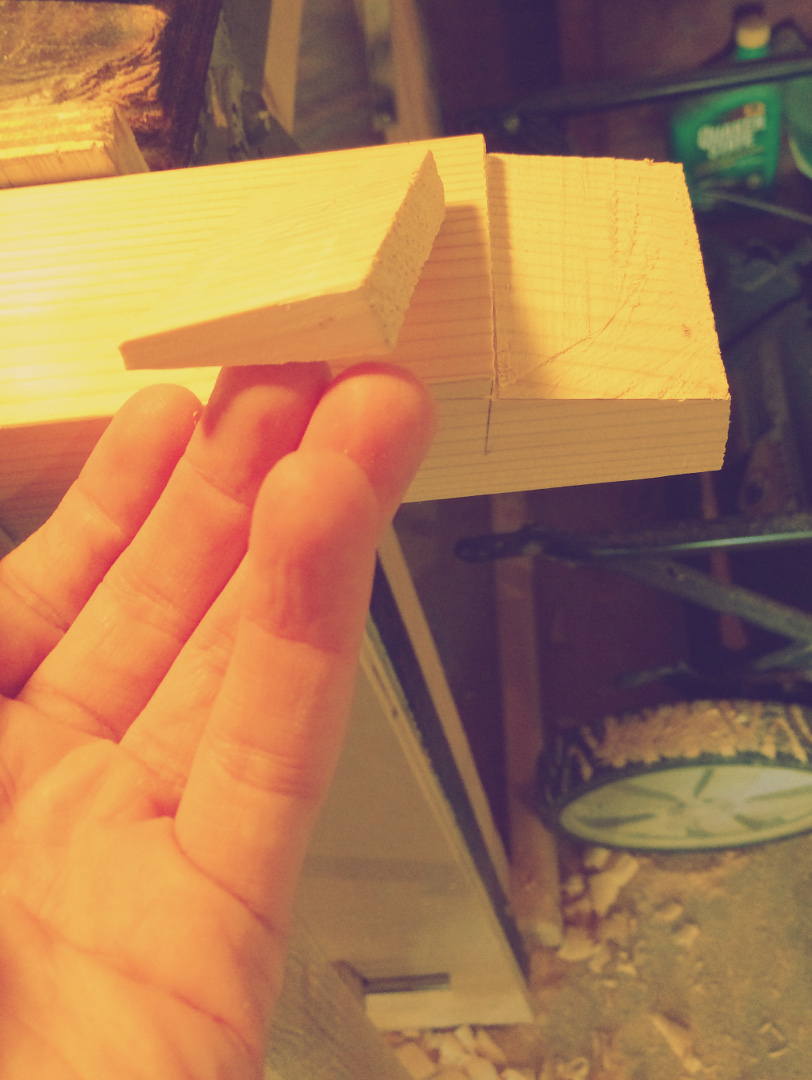
Angled Tenon Pieces
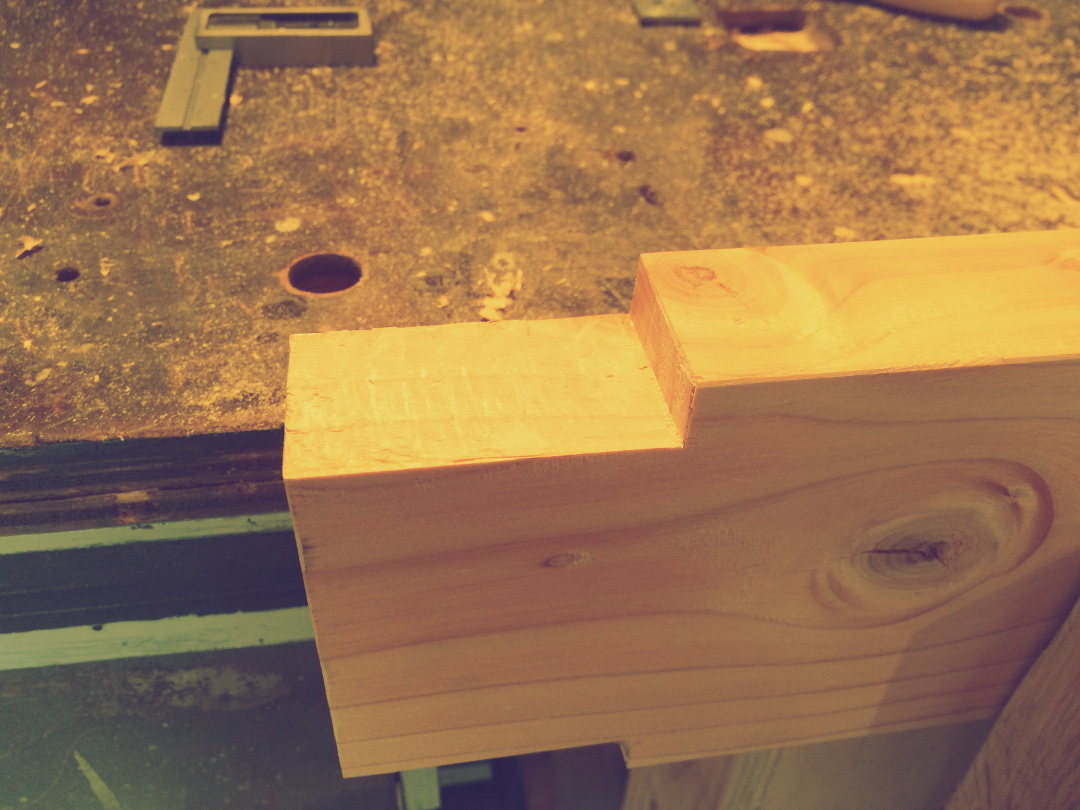
The LN tenon saw leaves a fairly clean cut, but this will be a visible joint, so I cleaned it up with a shoulder plane (remember, it’s a right angle) and the rabbet block plane.
Shoulder Trimming
Trimmed
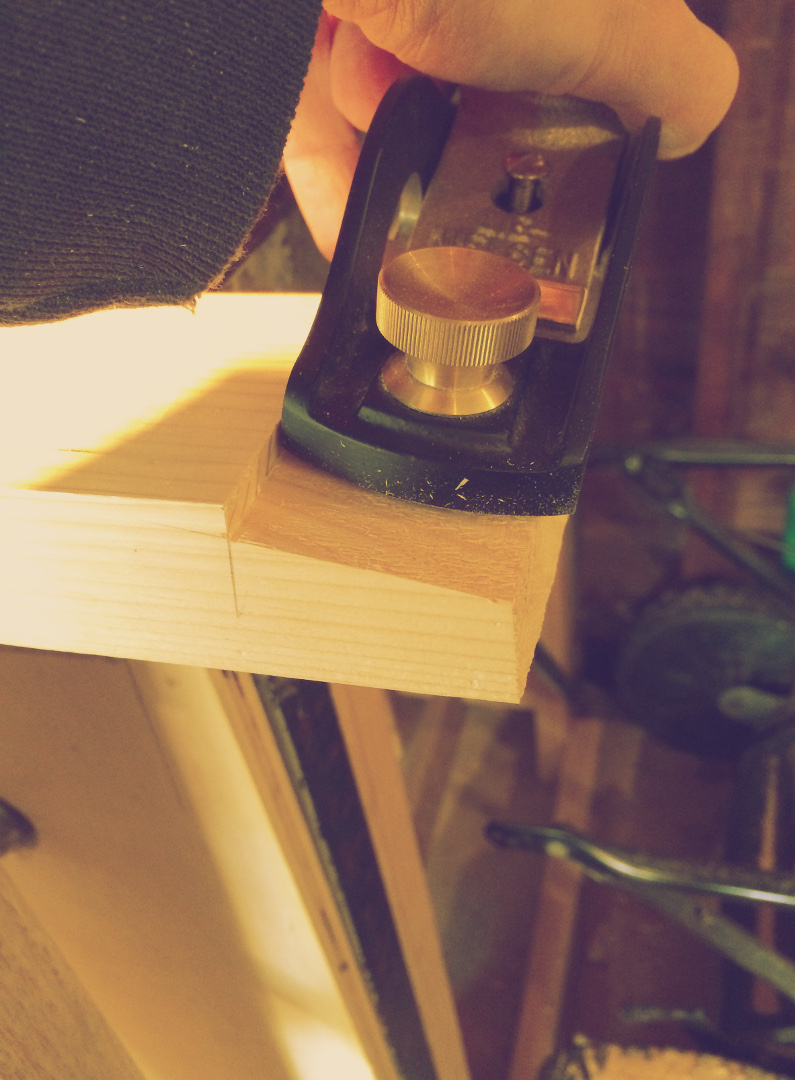
Rabbet Block Trimming
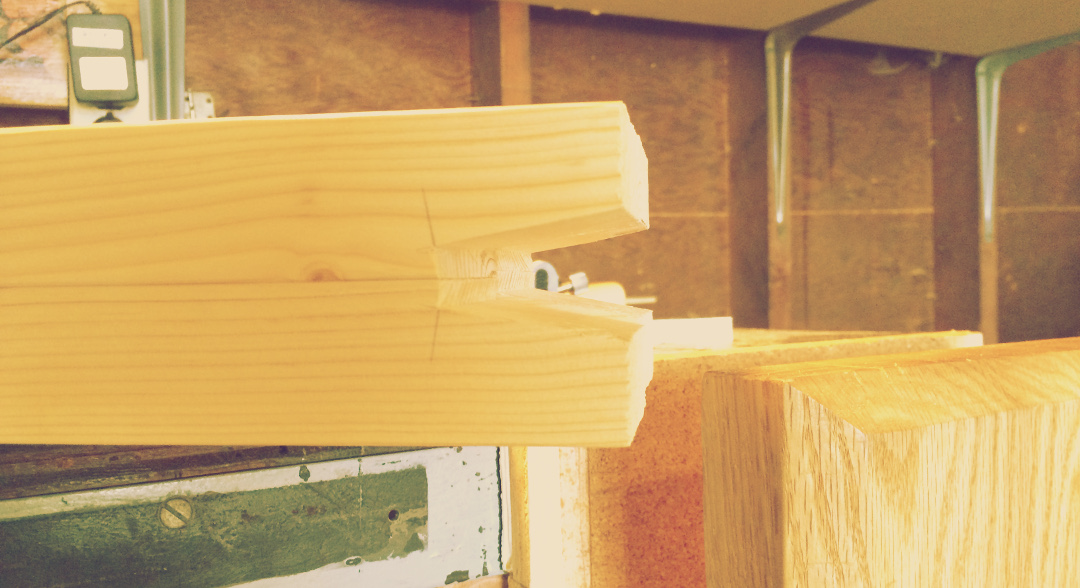
Angled Tenons
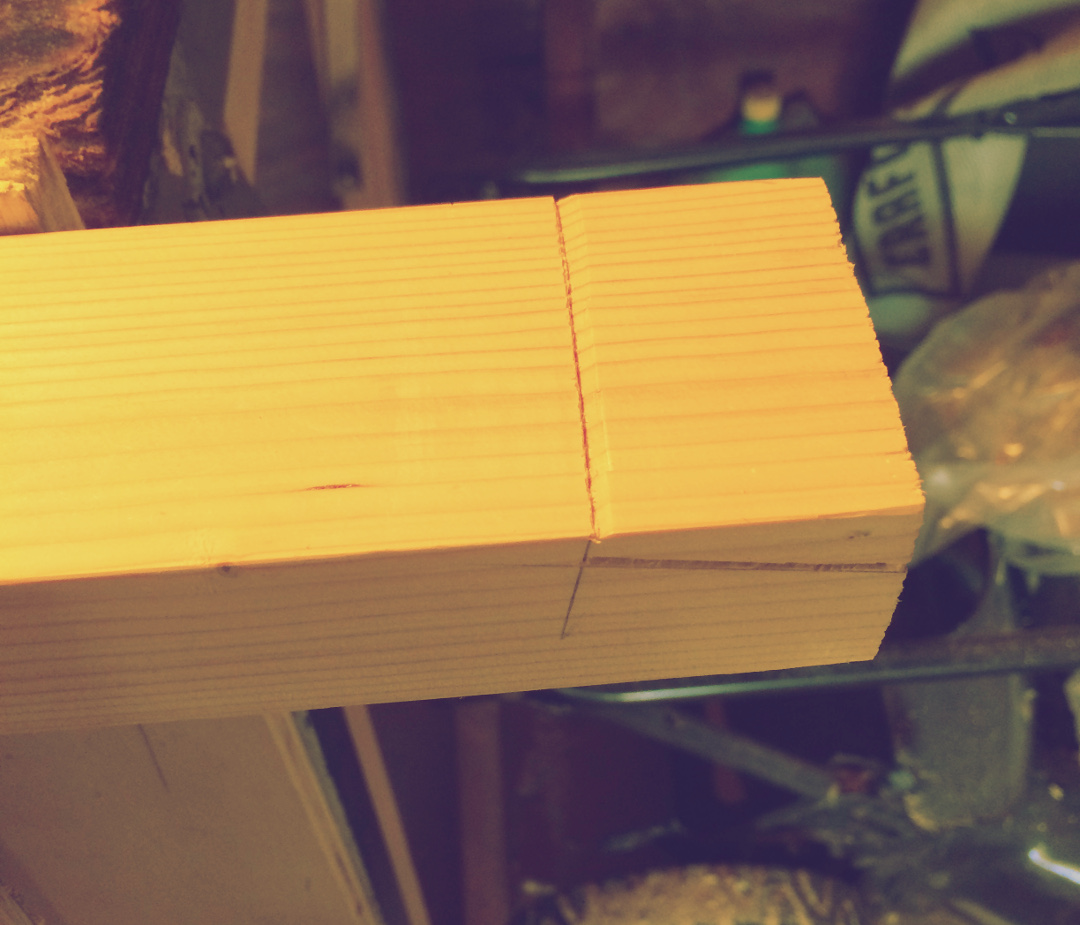
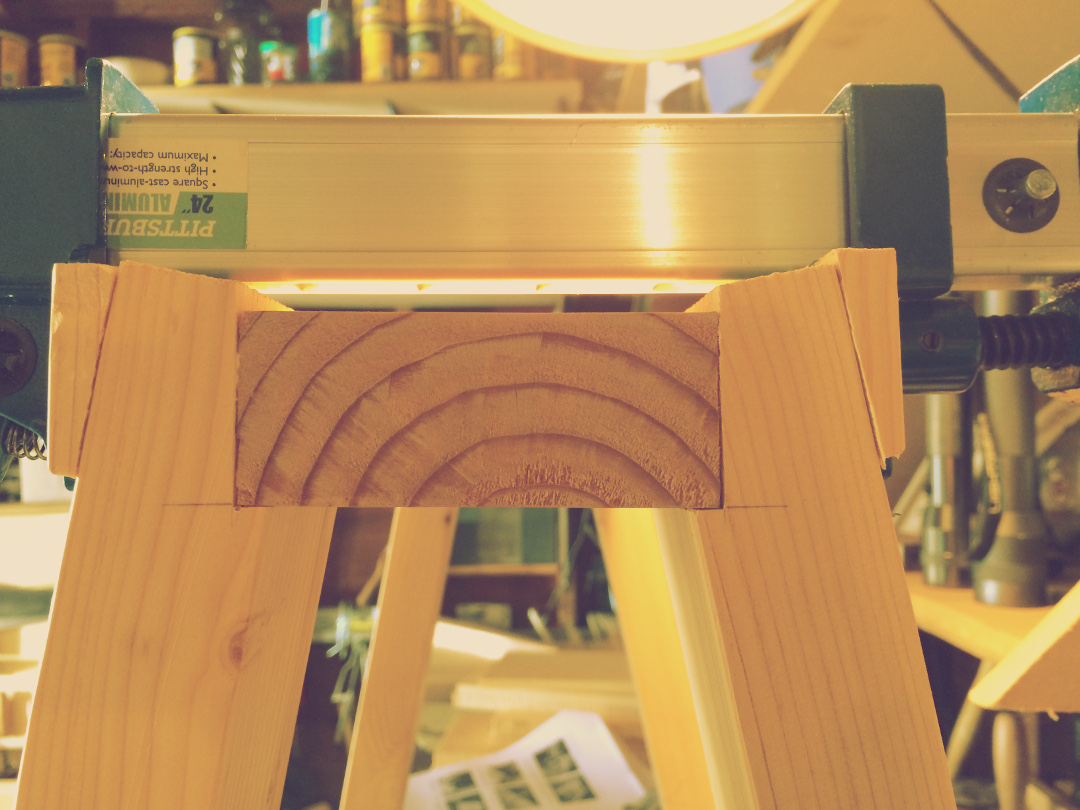
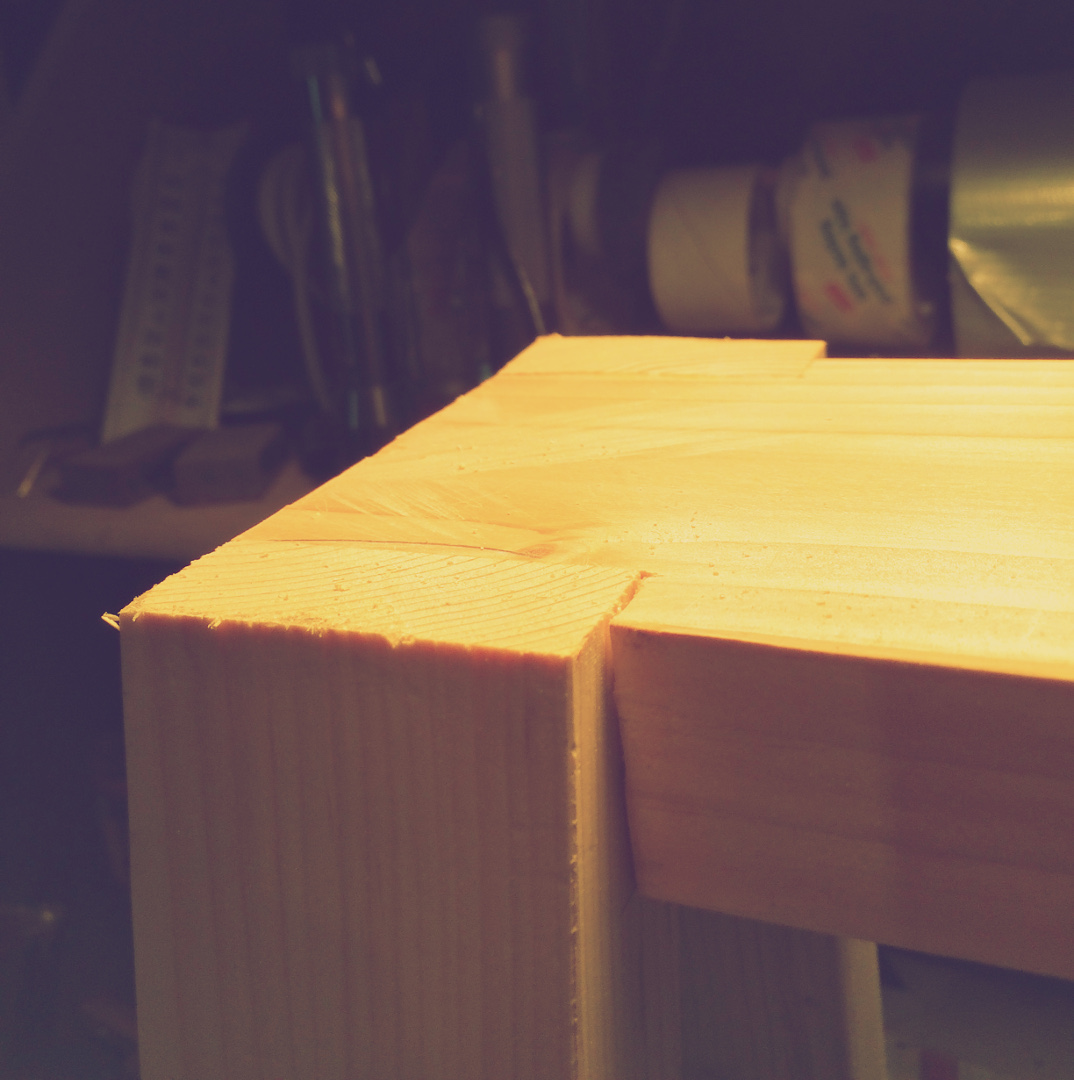
Once they’re all cut we can move on to the notches in the top. These will match up to the legs, so I used the legs to mark the width.
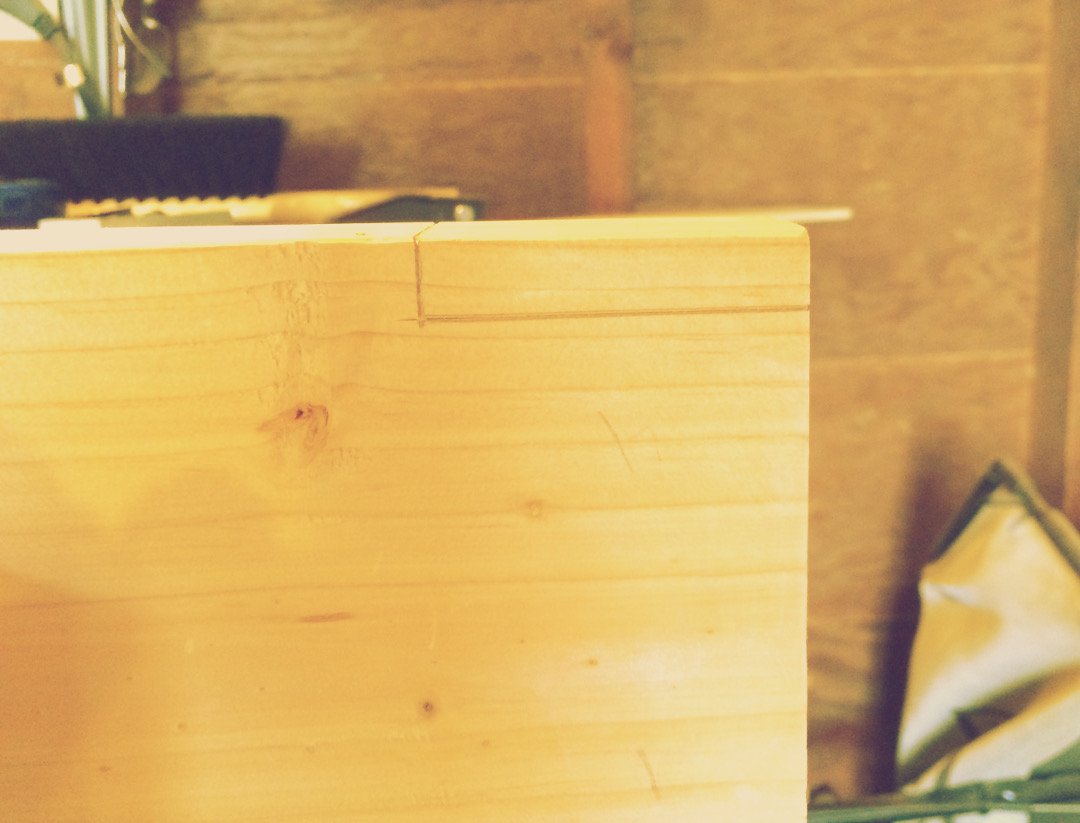
Top Notch Marked
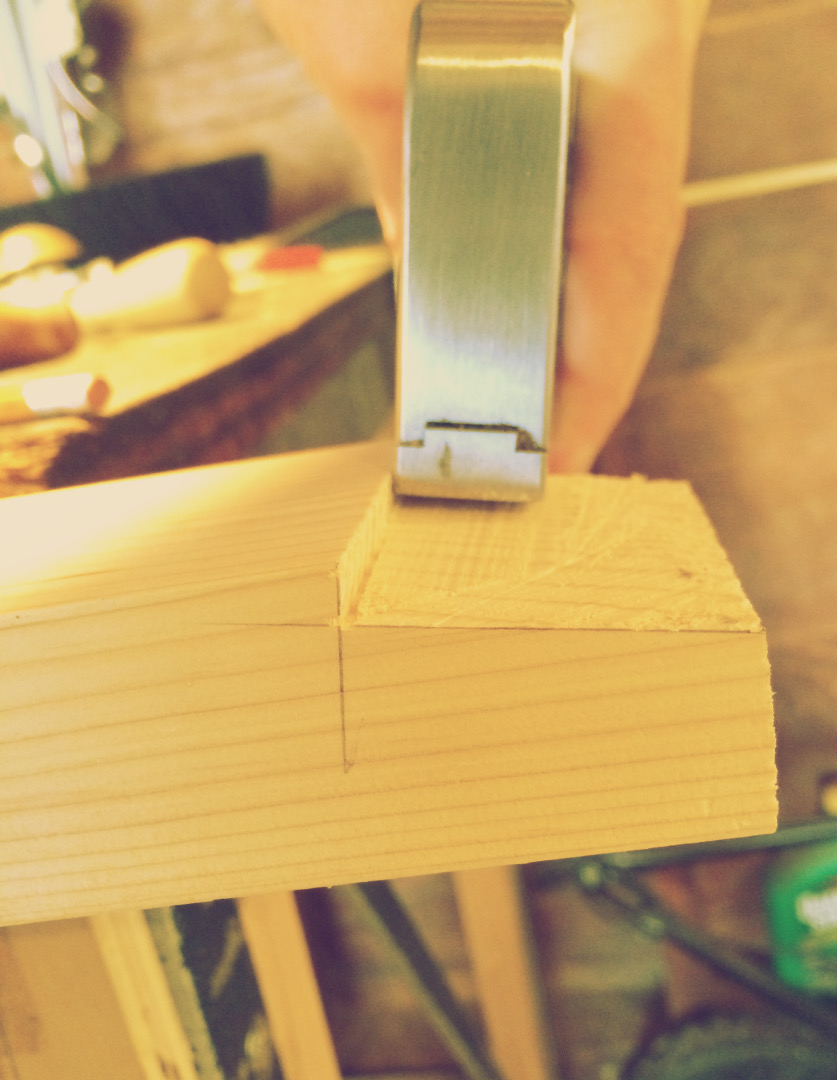
A couple of simple straight cuts here, then trimmed up with the shoulder/block plane combo and nibbled down to the correct 1/2″ depth with the router plane>
Trimmed
Trimmed
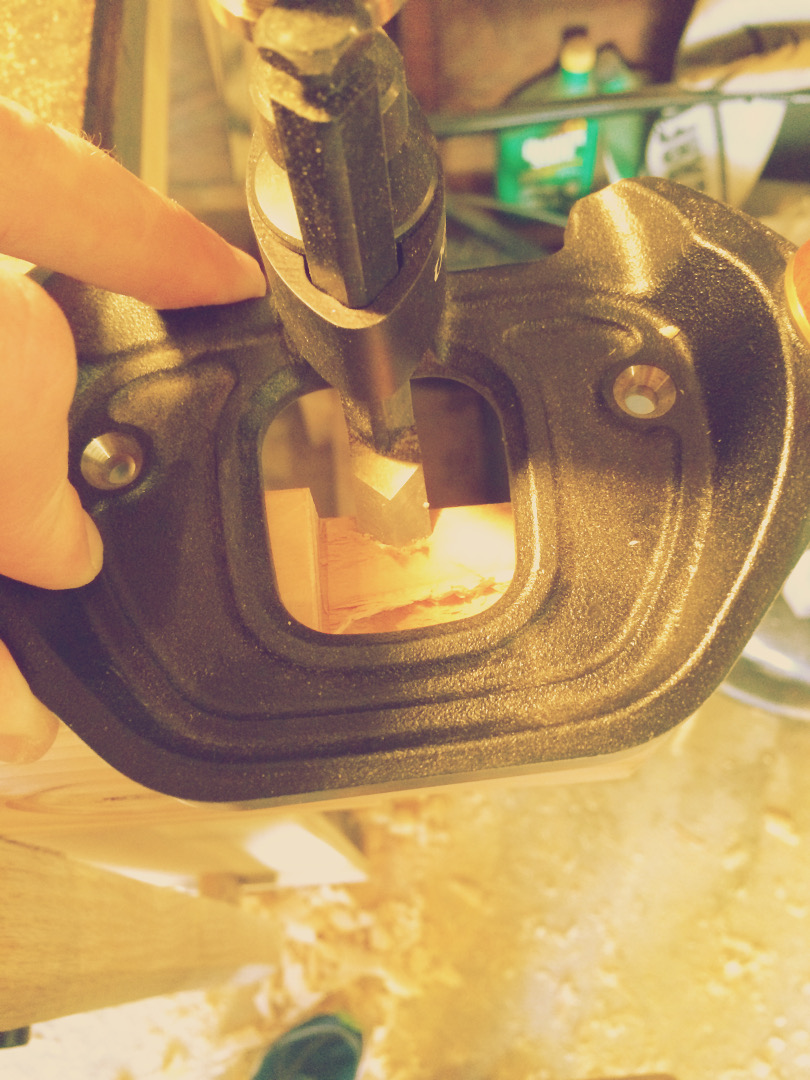
Router Trimming
Now I go ahead and glue the legs to the top, using the angled cut off pieces so my clamps have a nice parallel clamping surface. Isn’t it nice to finally be able to glue up in the garage again and not have to worry about the below freezing temperatures!
Legs Glued
Legs Glued
Legs Done
On to the short stretchers! These go on the inside of each leg pair, roughly a foot down from the top. I clamped them in place, then knifed a line to cut to.
Stretchers Marked
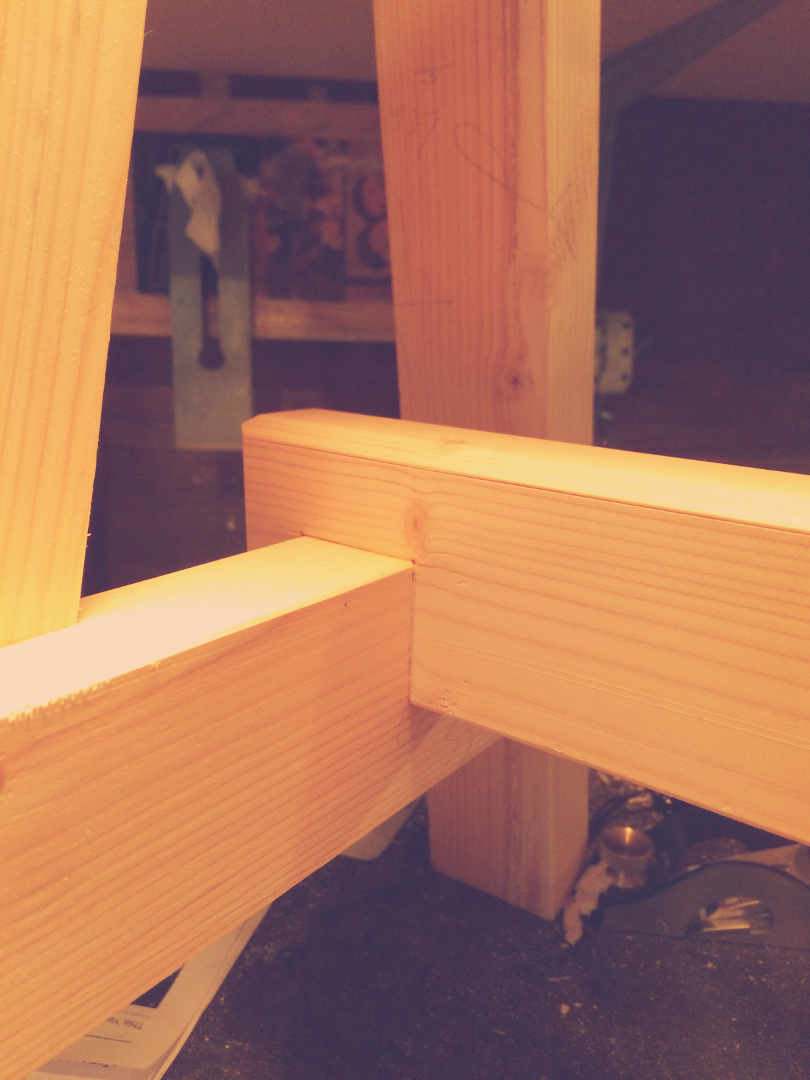
Same notch cutting procedure as before:
Stretchers Cut
And simply glued them in place.

Stretchers
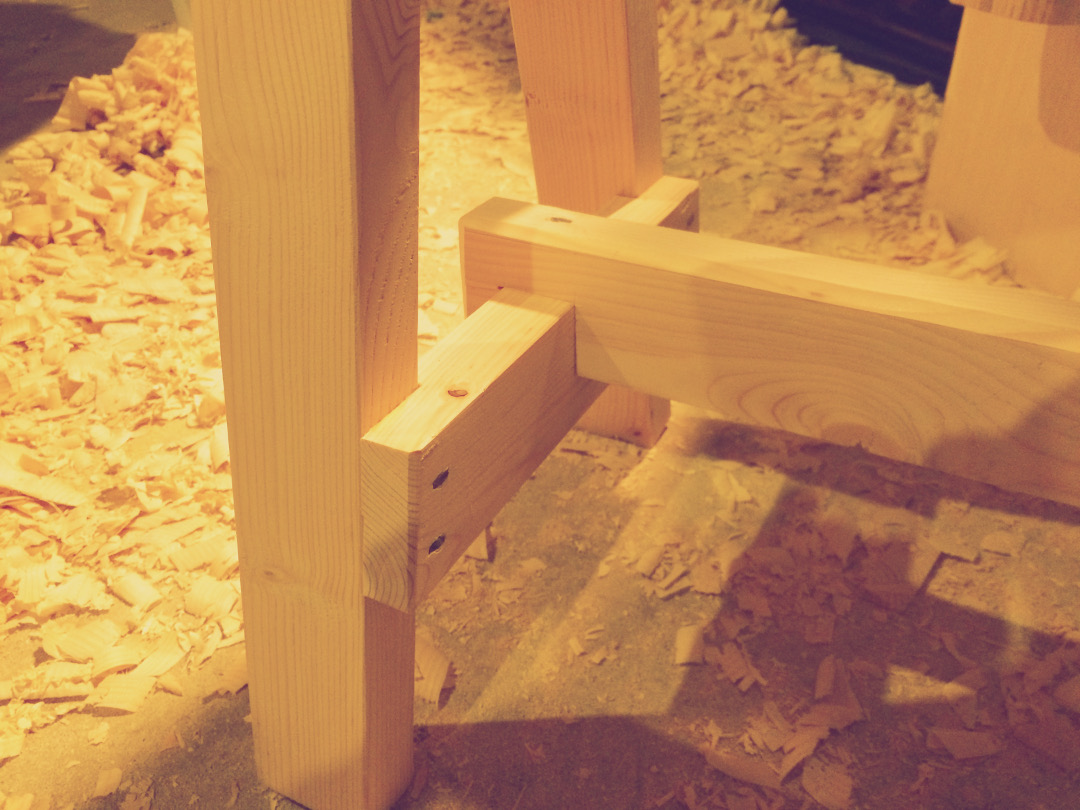
The long stretcher was done in the same manner, with the notches fitting over the short stretchers. Same procedure as before: clamp, knife, cut, glue. Before glueing I planed some bevels on the long stretcher. Looks cool that way!
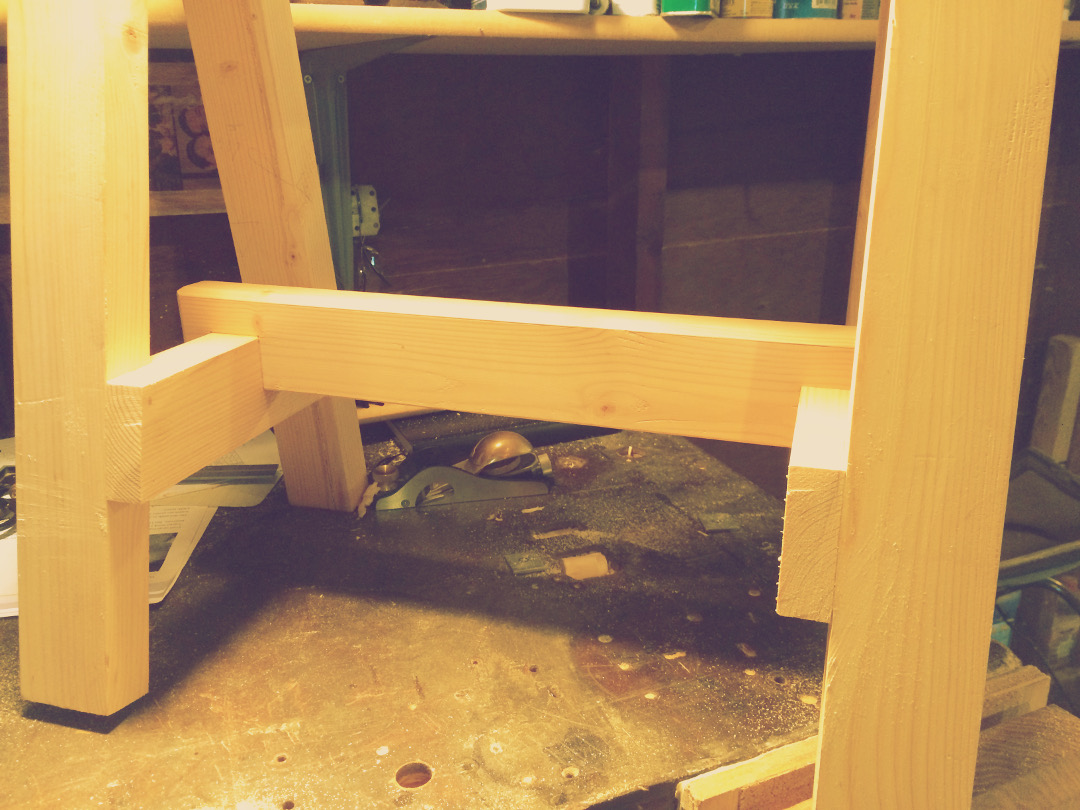
Stretchers
Complete
Stretchers
I went ahead and flush trimmed while the glue was drying, but you may want to wait for this if your using nails. I had just a little split when nailing because there wasn’t quite enough length.
Top Flush Trimmed
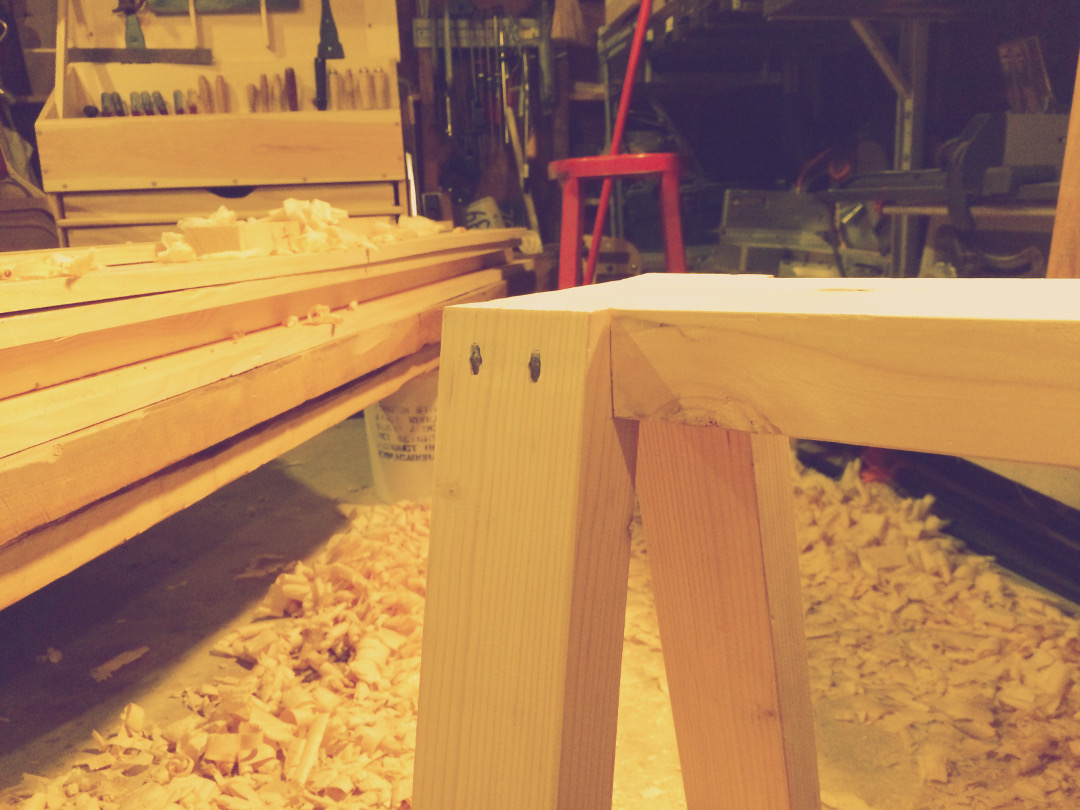
I used 6d cut nails, because I agree with Chris, they just look cool. You can certainly use normal nails or screws too. The nails need pilot holes drilled so they don’t split the wood. I used a 3/16″ hole about 1″ deep, then a 1/8″ hole about an inch past that. Seemed to work well, but you may want to practice on another piece first, just in case.
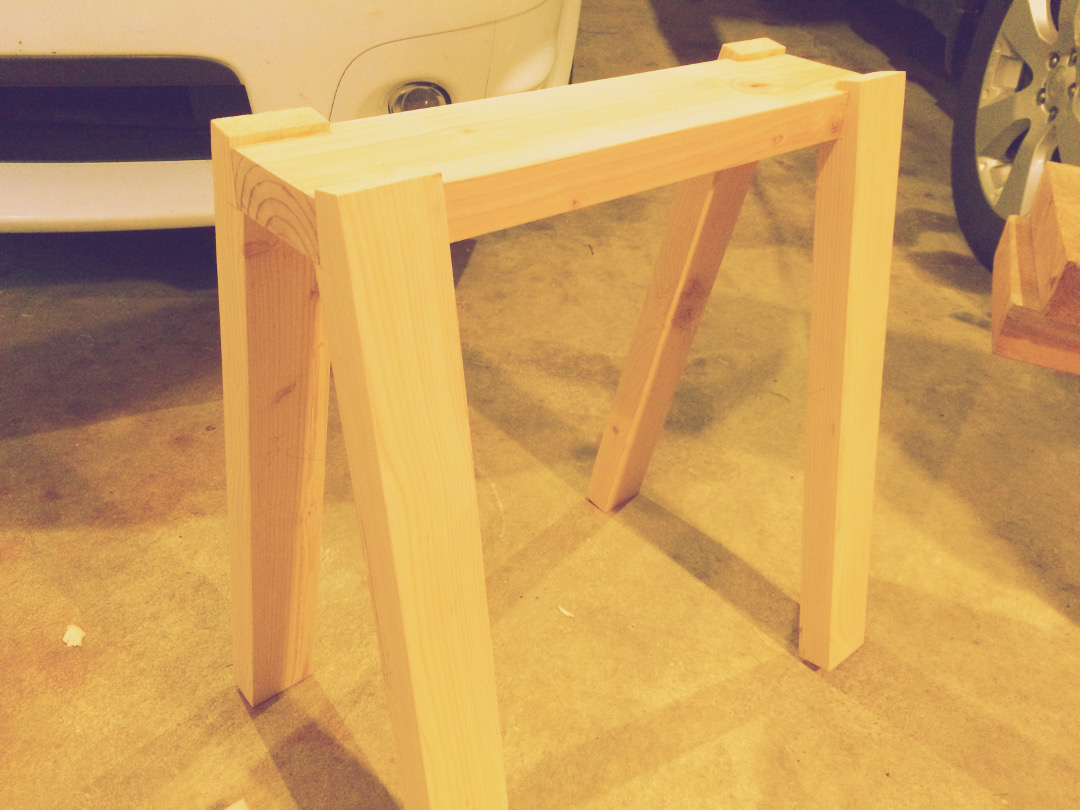
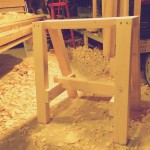
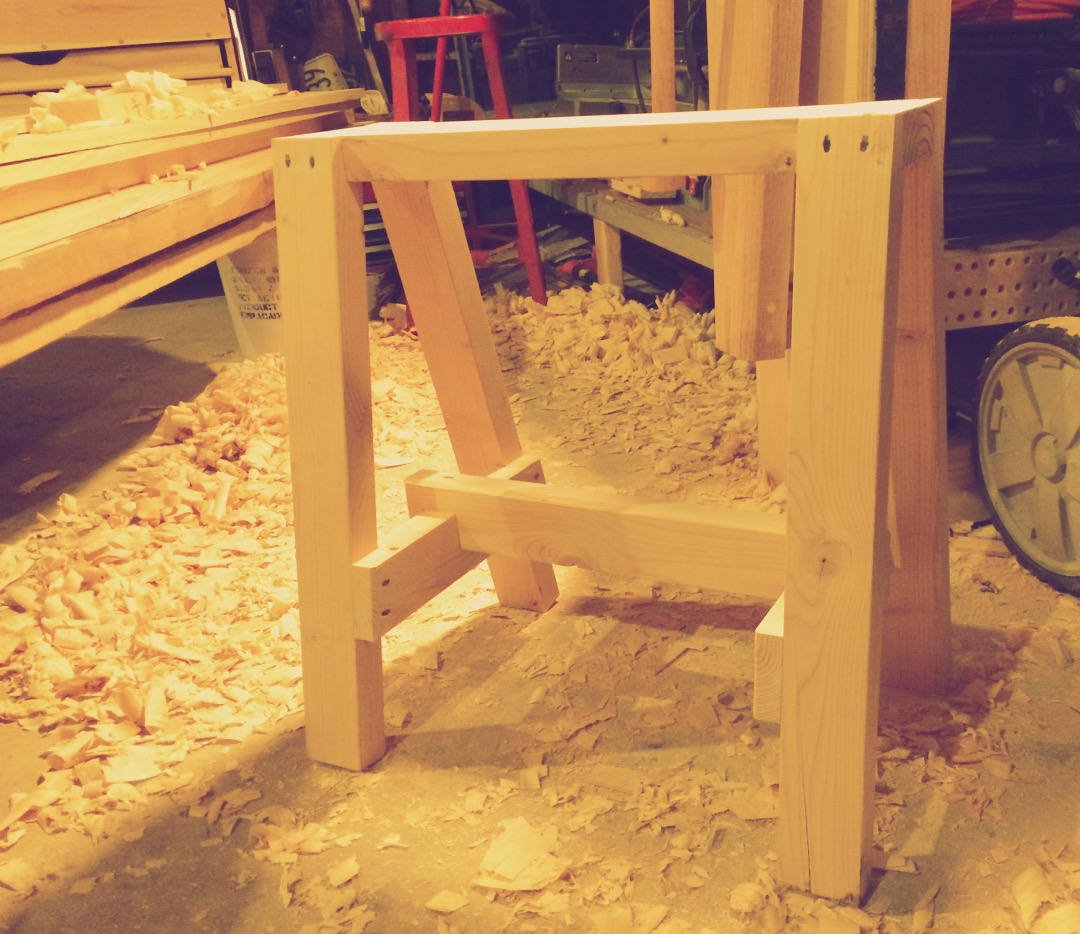
Finally, the completed $7.17 sawbench!
-
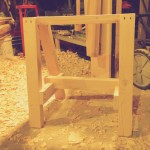
- Complete
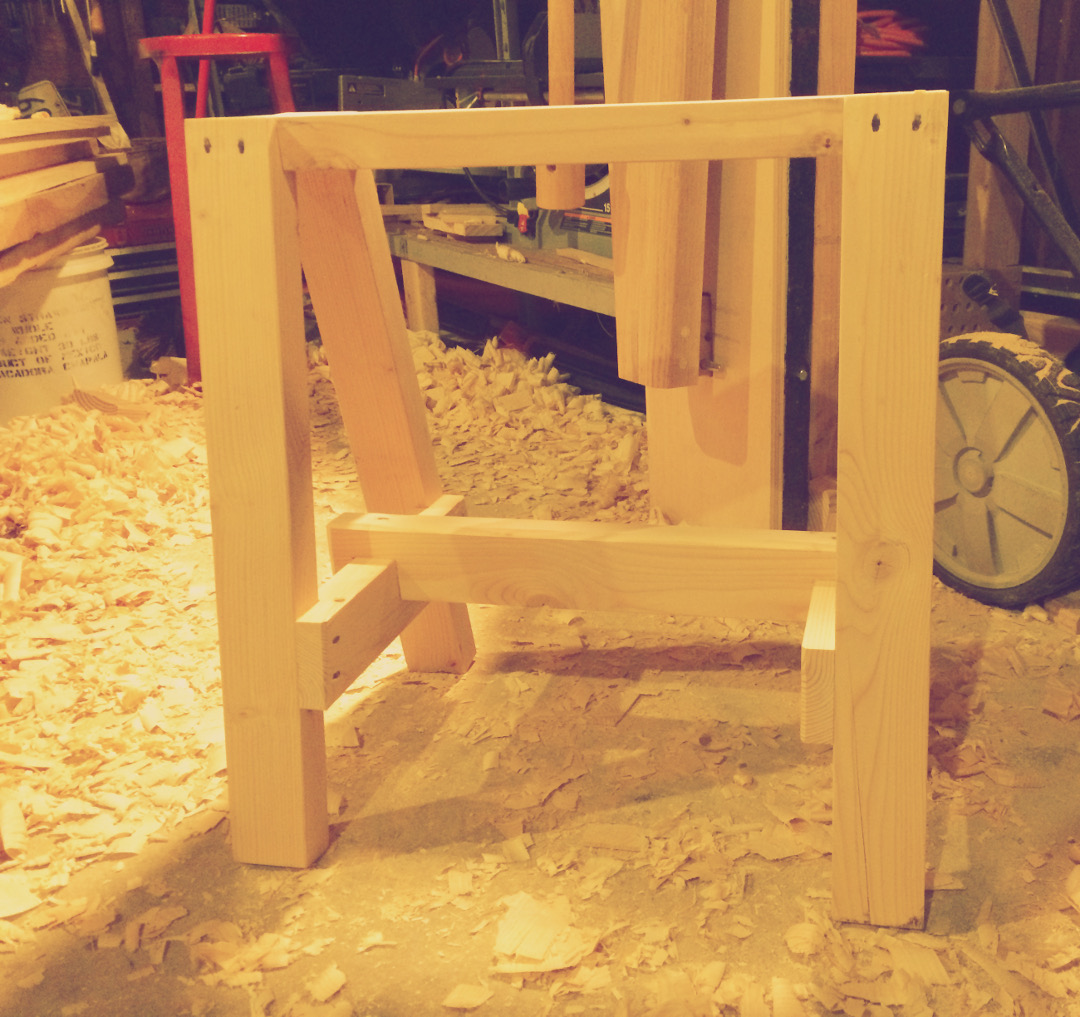
-
- Complete
-
- Sawbench Complete
-
- Complete
This was a really fun, quick little project. It should really come in handy when making the larger sawyer’s bench too.


[…] smaller of the two is what I call the $7.17 sawbench and the full build can be seen here. This is based on Chris Schwarz’s $5.87 sawbench. The larger of the two is what I call […]