Stackable Sawbenches – Sawyer’s Bench…
The second of the stackable sawbenches was a bit delayed, but that’s what happens with an infant!
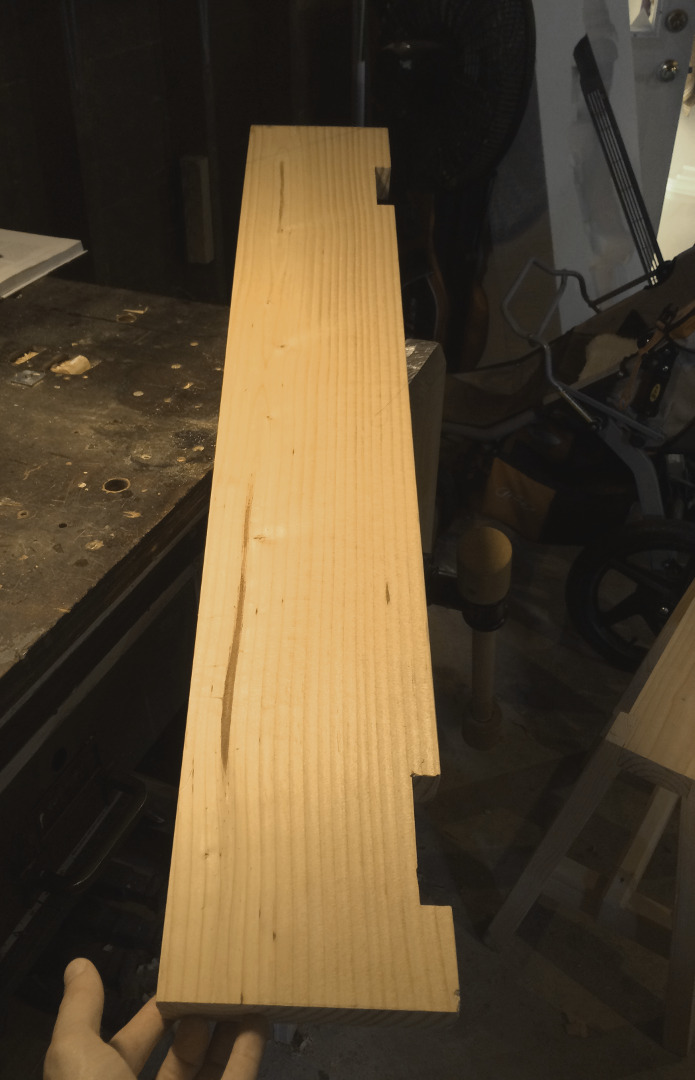
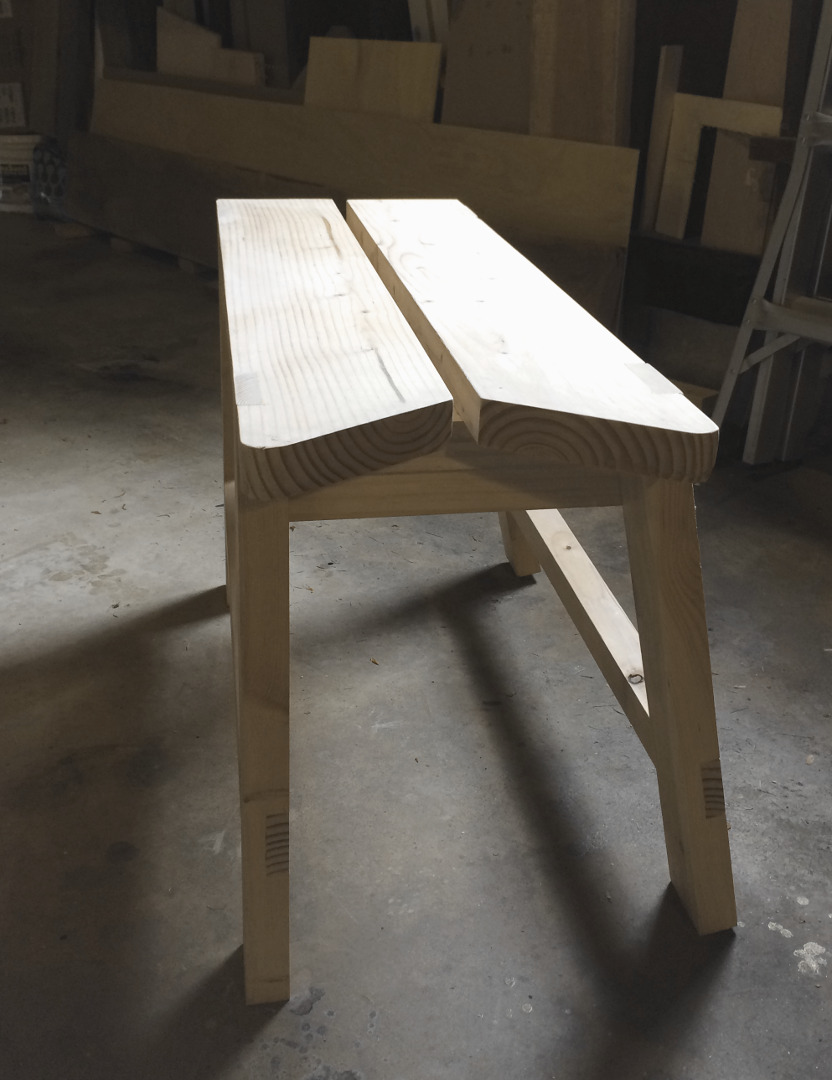
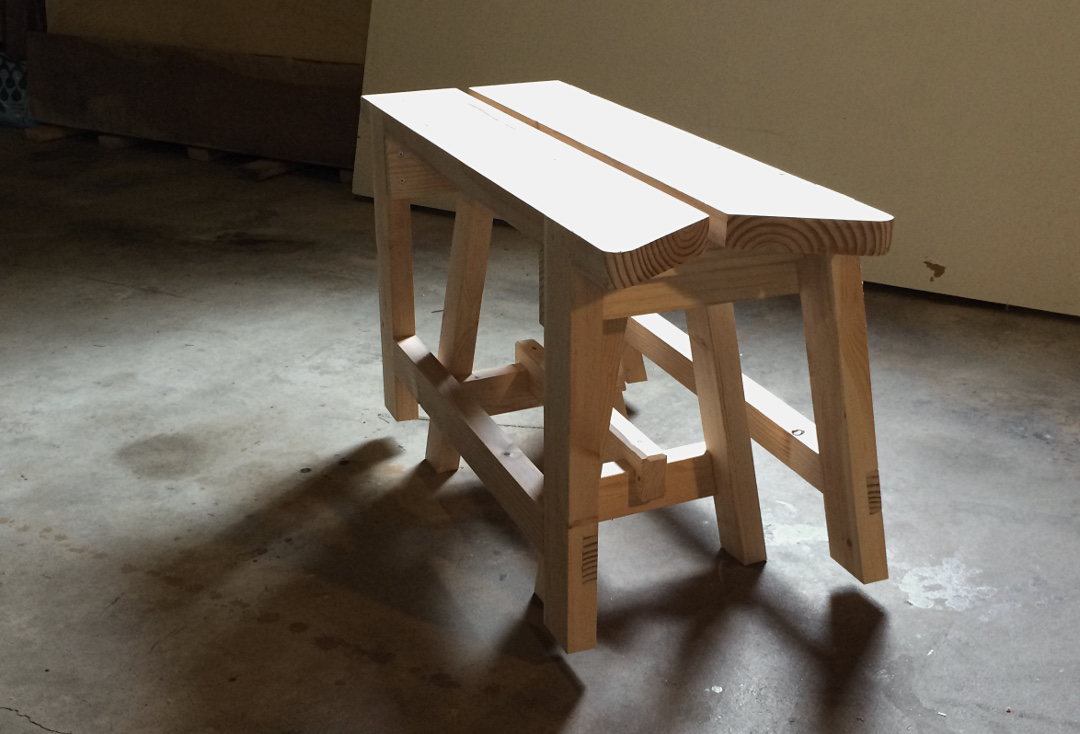
As I mentioned in the Design phase, the second and larger of the two sawbenches is based on the sawyer’s bench in Tom Fidgen’s Unplugged Woodshop book. This design is much more feature packed than the $7.17 sawbench, with the ripping notch and slot, reference fence, and vertical legs on one side, but the construction is still relatively simple. Again, to keep the costs down, I’m using dimensional lumber, both douglas fir and southern yellow pine. All total, the cost was less than $20 for 2 2″ x 8″ x 8′, and 1 1″ x 4″ x 6′. The first step, rough cutting, which means… I get to use my new sawbench!
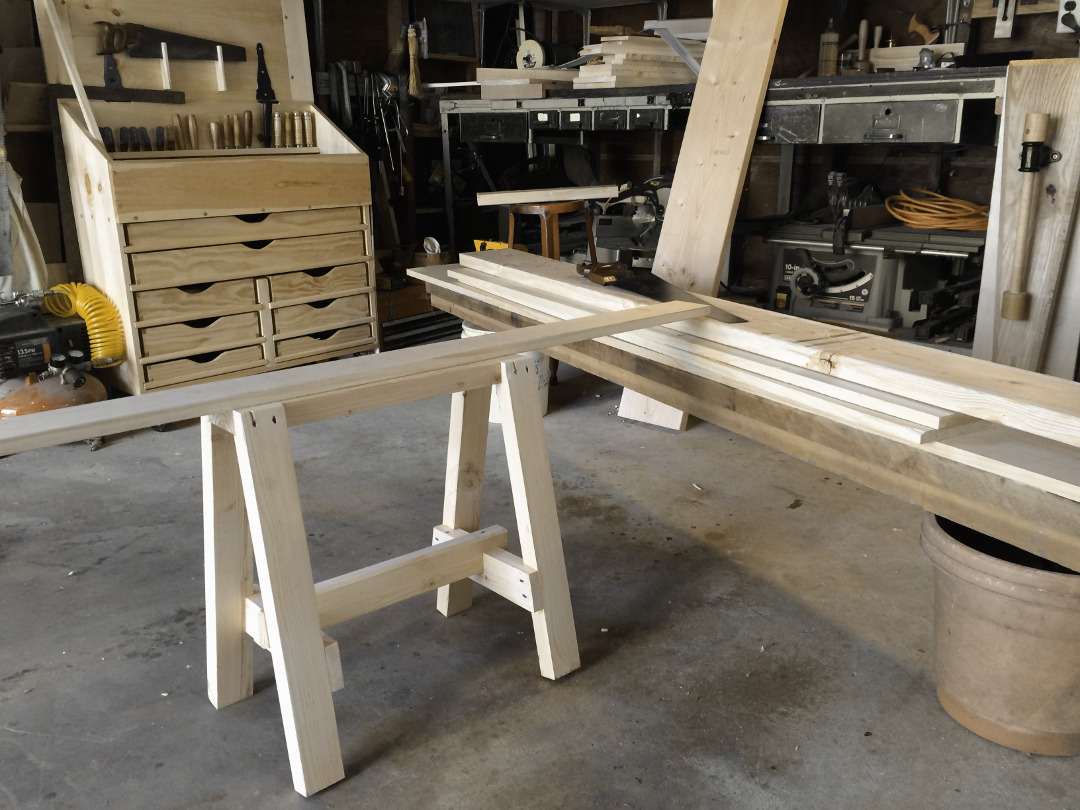
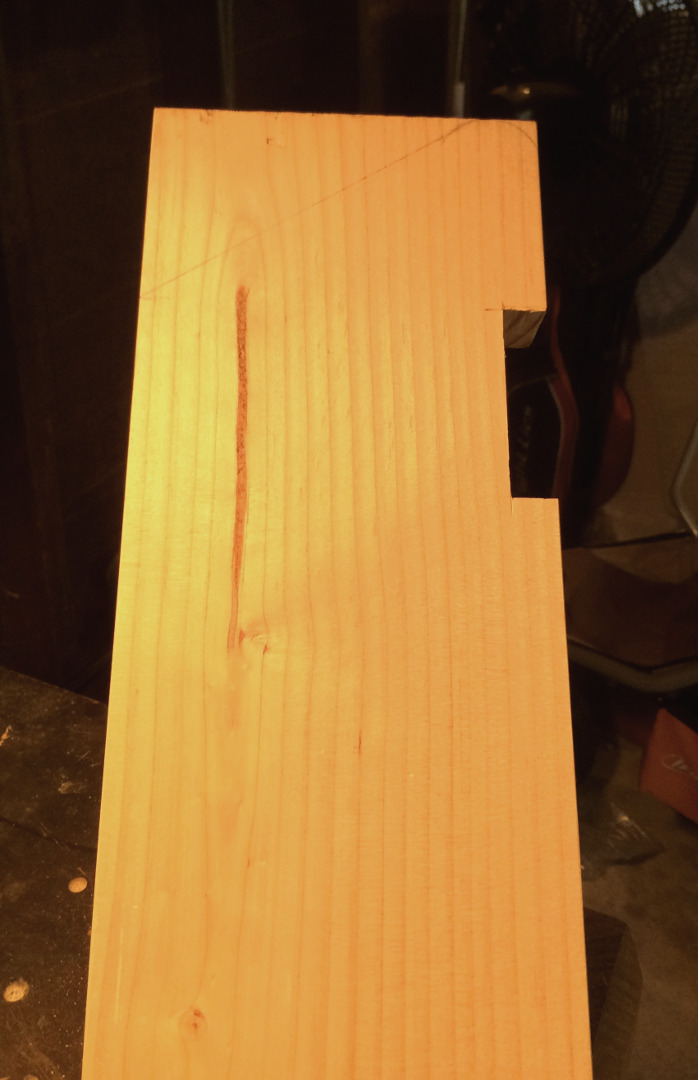
Sawyer Bench Rough Cut
Worked like a charm and soo much easier than sawing on the workbench.
Sawyer Bench Rough Cut
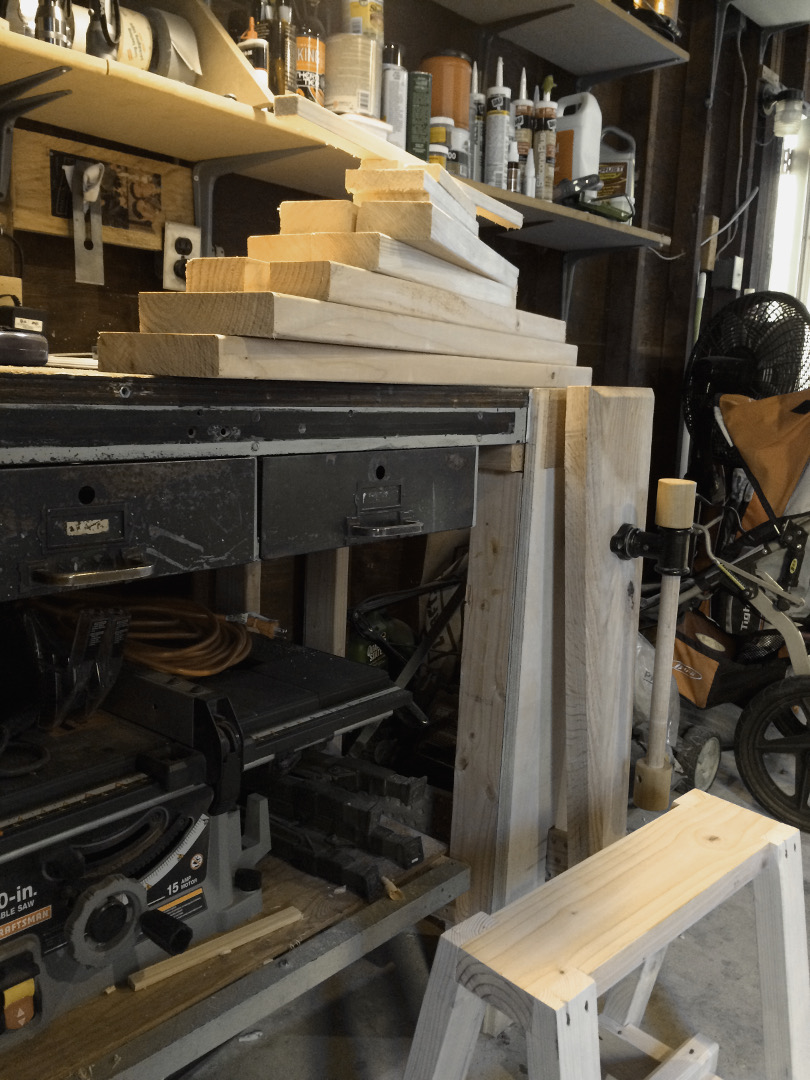
Once everything was cut, I trimmed to size and 4 squared everything. I didn’t worry too much about the length of the pieces because I’ll be flush cutting everything to exact size when it’s all assembled.

Sawyer Bench Rough Cut
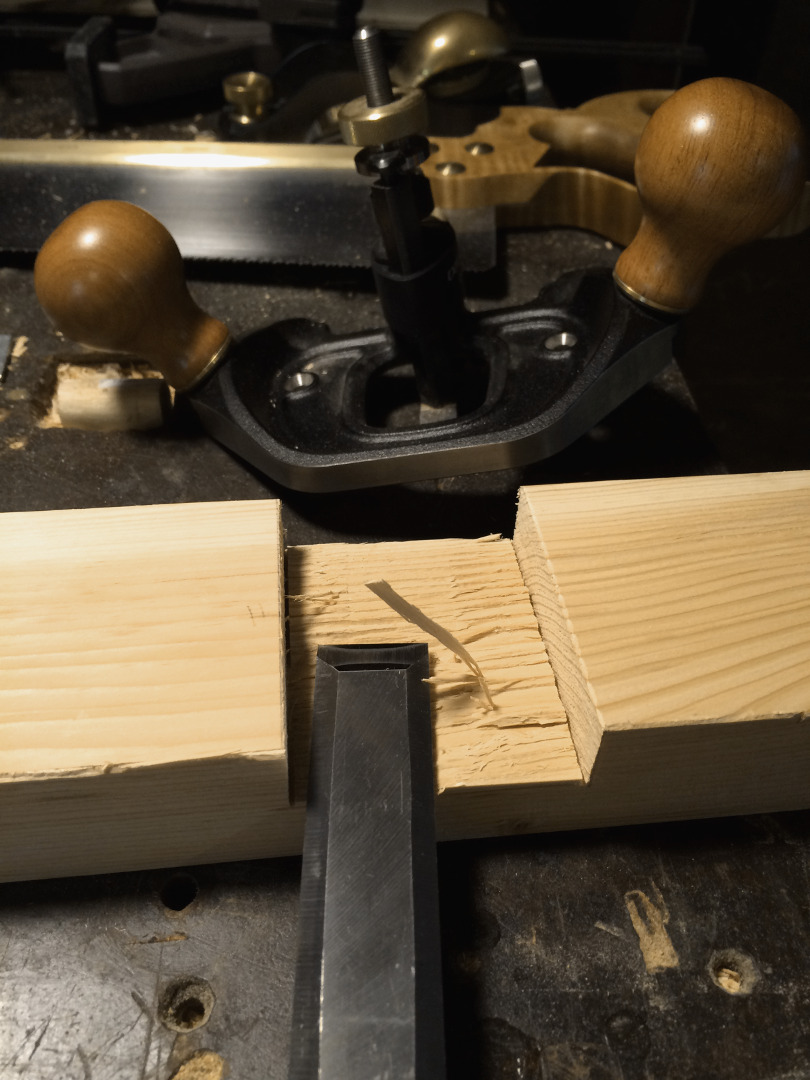
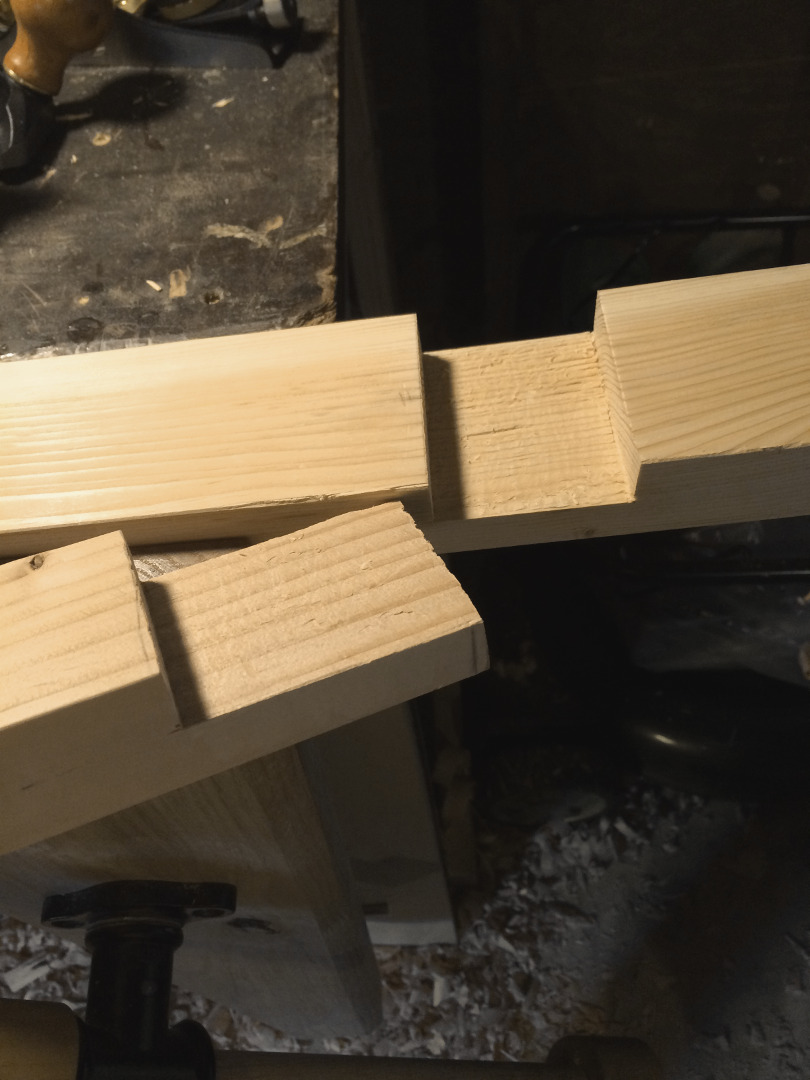
The first joinery step is cutting the half lap joints for the leg/stretcher joint.

Sawyer Bench Legs
I used the actual stretchers to mark the joint (no measuring!) and a marking gauge to to mark half the depth. I made a knife wall and used the tenon saw to cut down to the gauge line and chiseled out the waste.
Sawyer Bench Legs
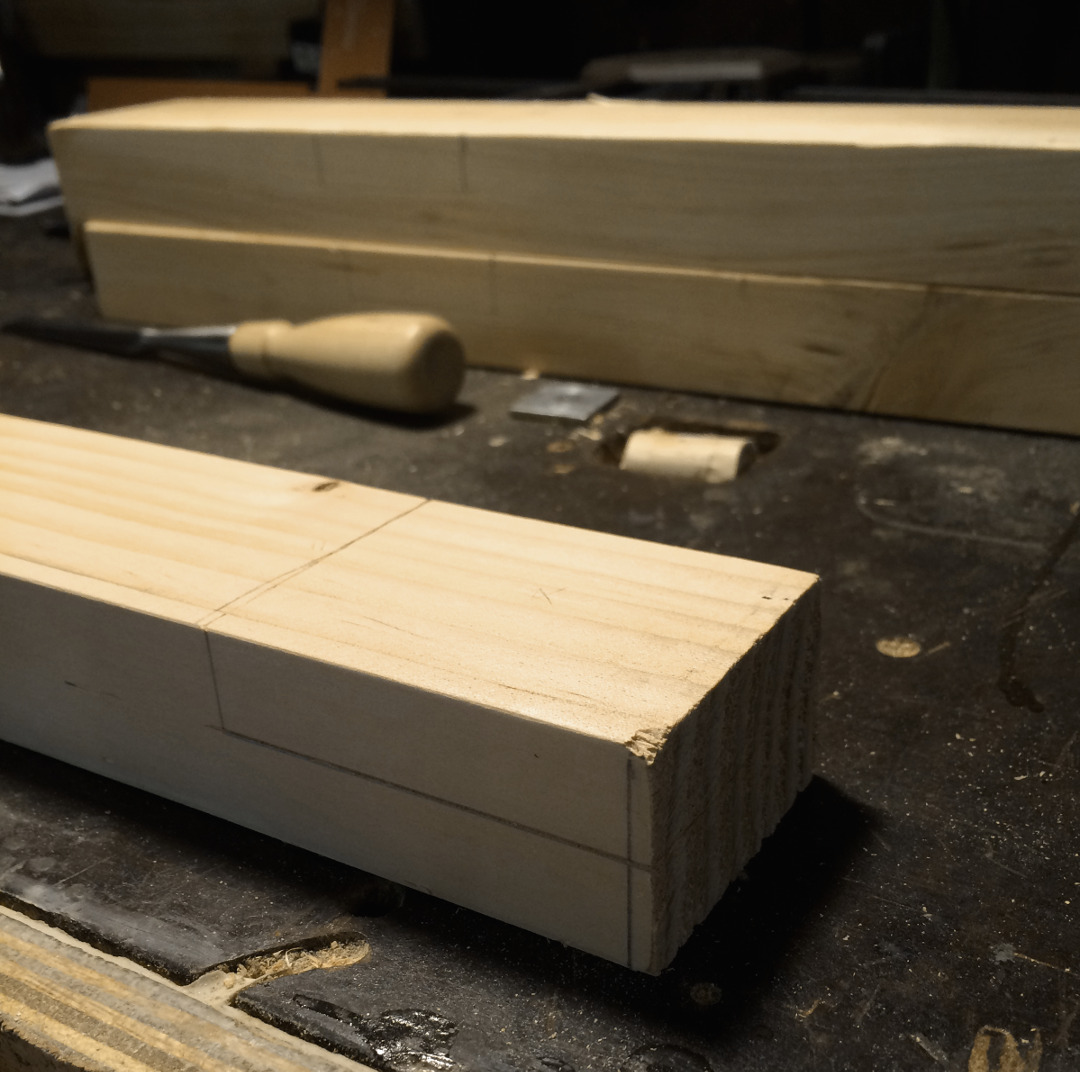
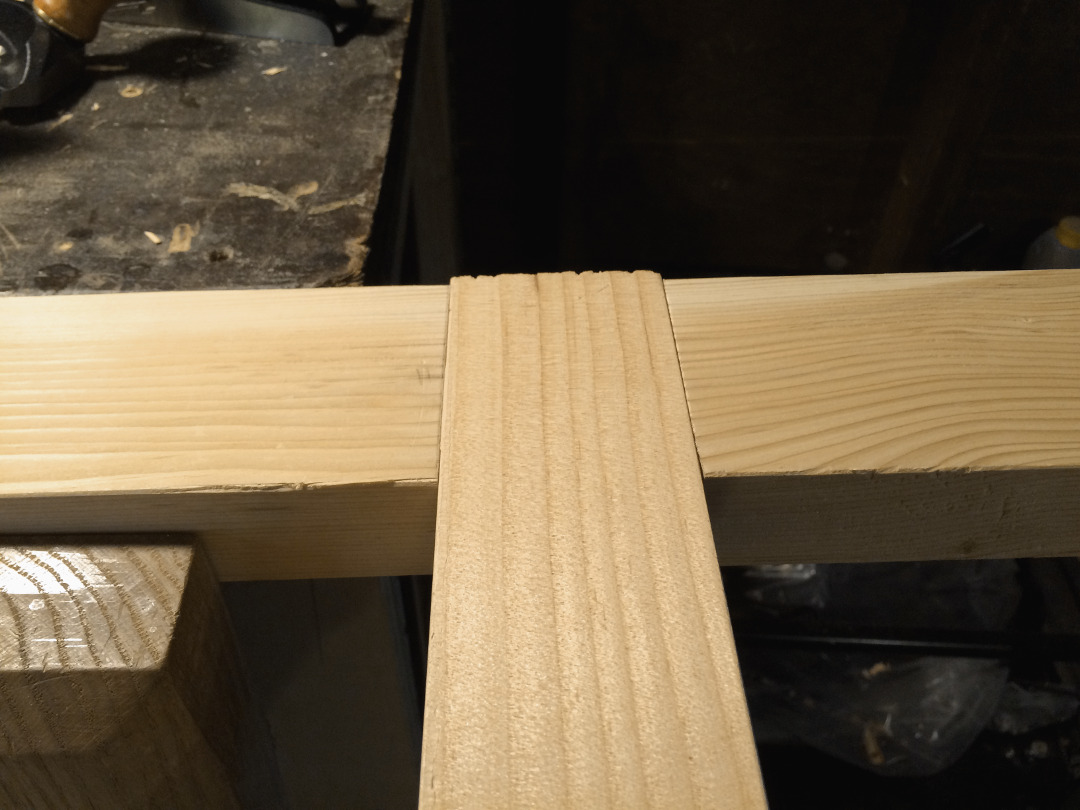
To clean everything up I used the router plane and shoulder plane. The half lap in the stretcher was much easier and was just using the tenon saw to cut half a tenon.
Sawyer Bench Legs
Sawyer Bench Legs
After finessing everything with the shoulder/router plane combo I had a nice tight friction fit.
Sawyer Bench Legs
The tops of the legs have the same basic design as the $7.17 sawbench, so I won’t go over that in too much detail. The only difference is that only one side is angled at 10 degrees, the other is vertical. Remember to save the angled off-cuts for clamping later.
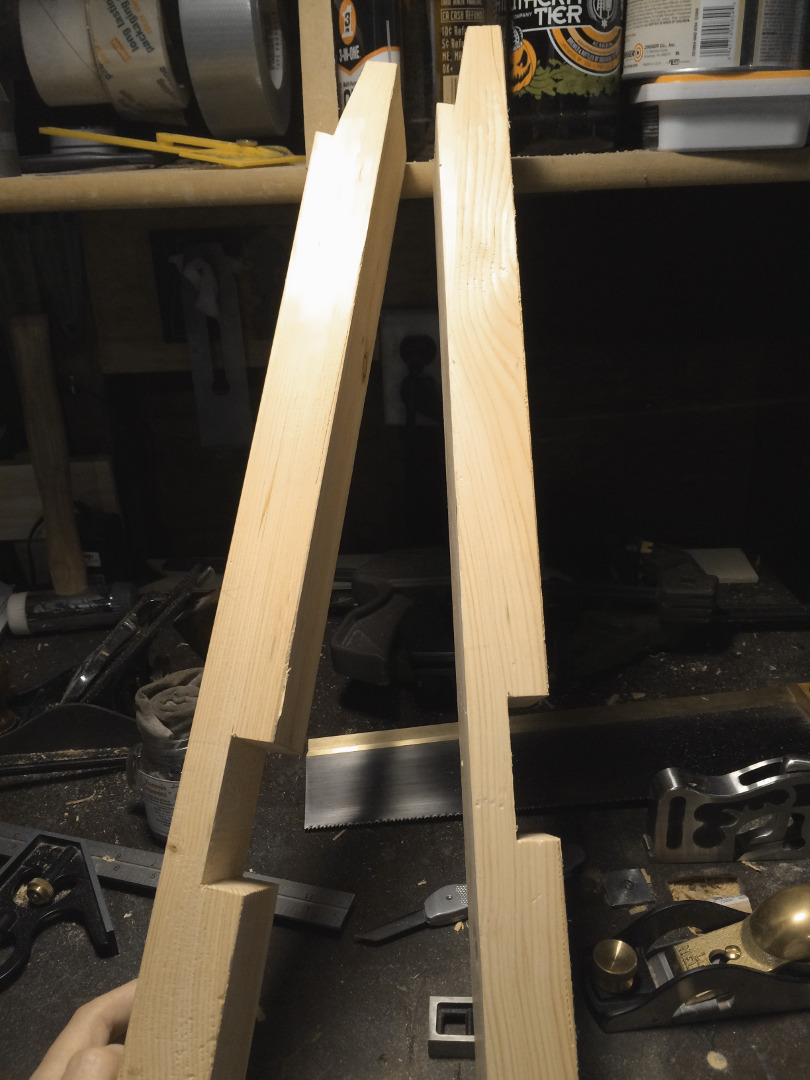
Sawyer Bench Legs
Once the joinery on the legs were cut I glued up the leg sub assemblies.
Sawyer Bench Legs
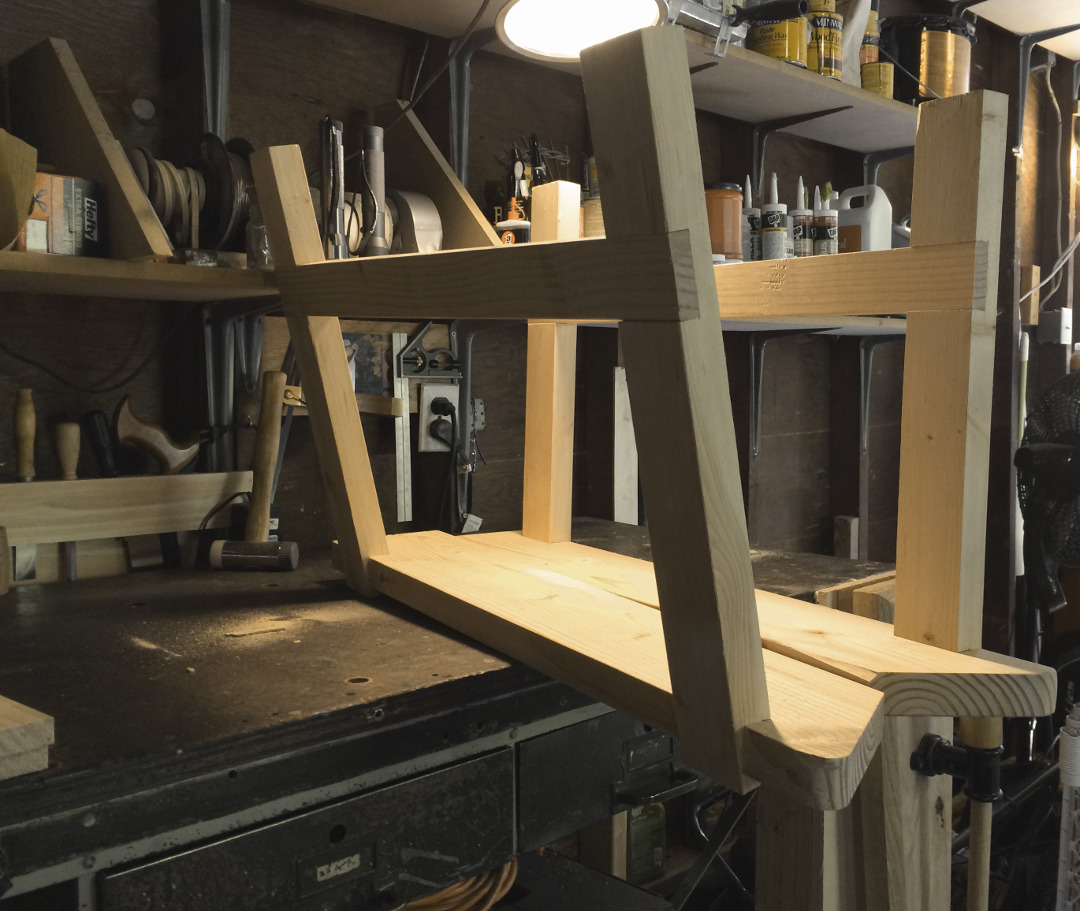
Now, I used the completed leg assemblies to mark the notches in the two top pieces, again, no measuring.
Sawyer Bench Top Notches
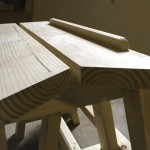
While the top was unattached it was a good time to mark and cut the v-notch shape as well. Nothing special on the layout, I just grabbed a bottle to mark the circular shape and angled it down to what I thought looked good. After cutting one side I used that as a template for the other side of the top.
Sawyer Bench Top Notches
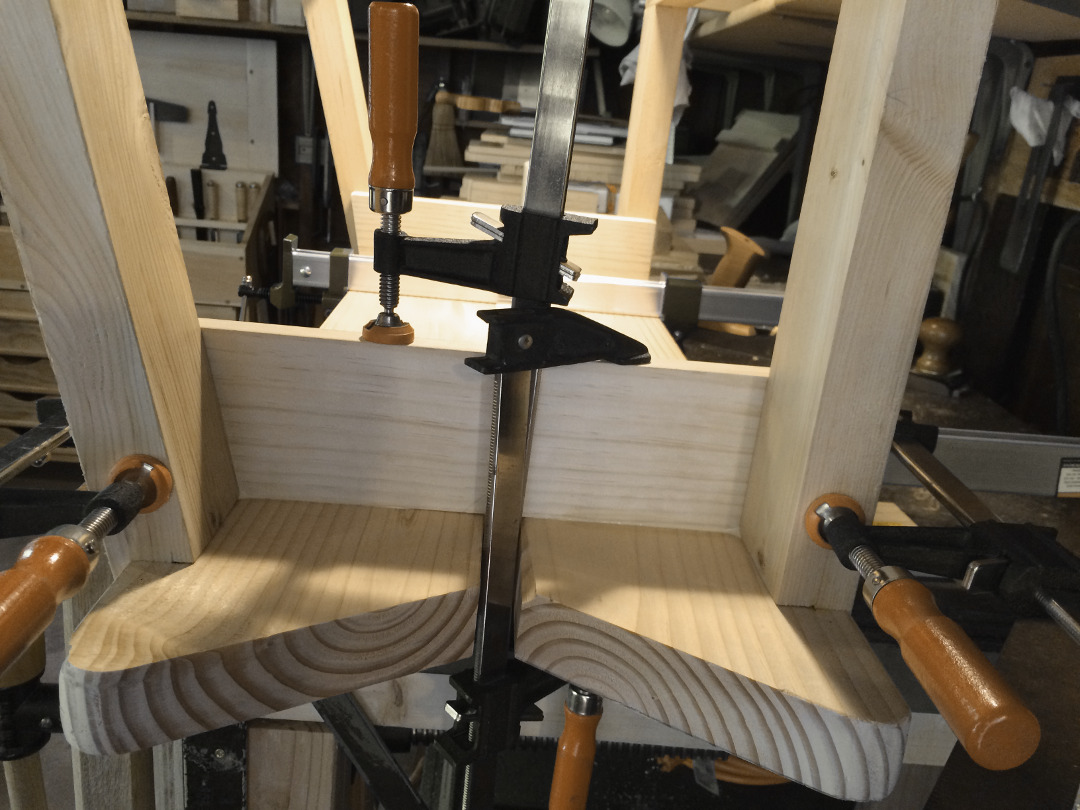
And a test fit on the top/leg sub assemblies.
Sawyer Bench Top Sub Assembly
Sawyer Bench Top Notches
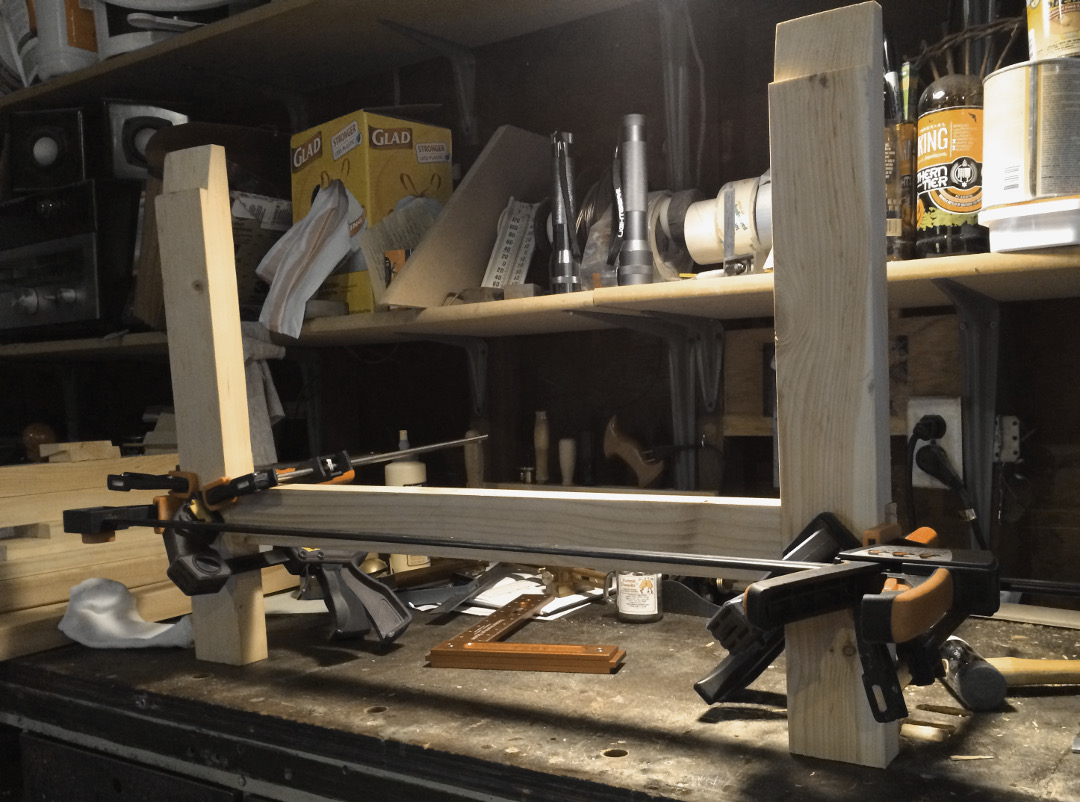
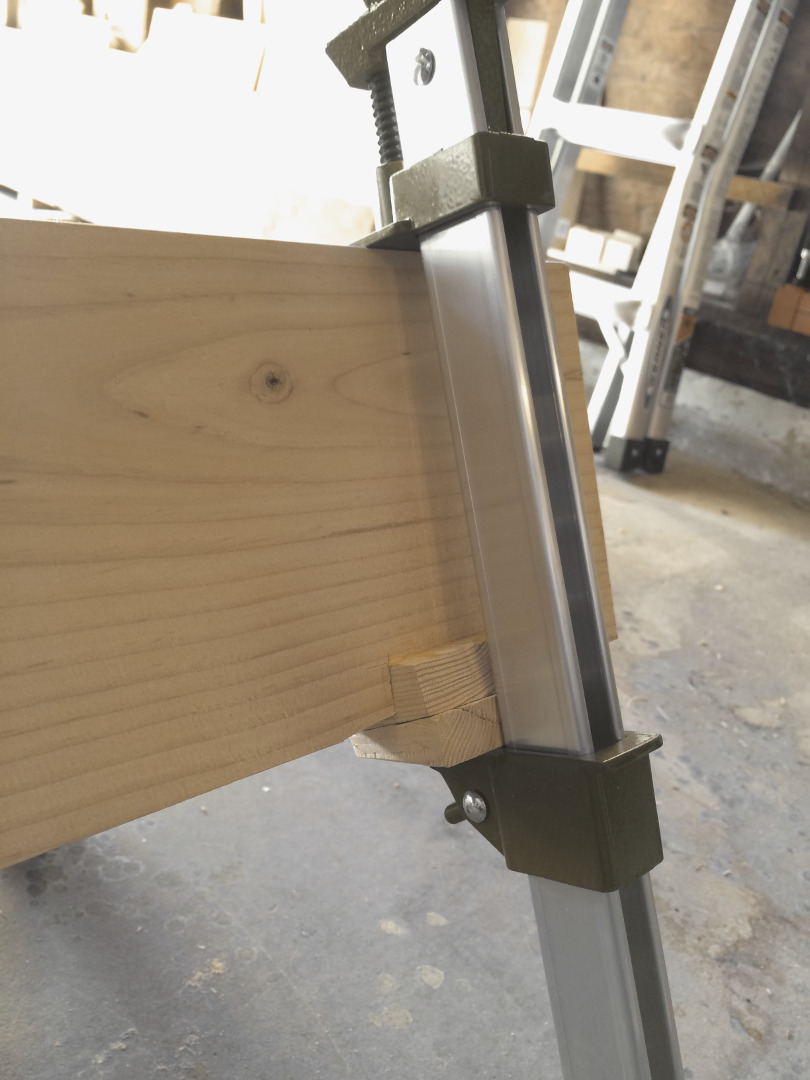
After some more fine tuning I went ahead and glued the leg assemblies to the two top pieces. Just like on the little guy, the angled off cuts are used to create a parallel clamping surface for the clamps.
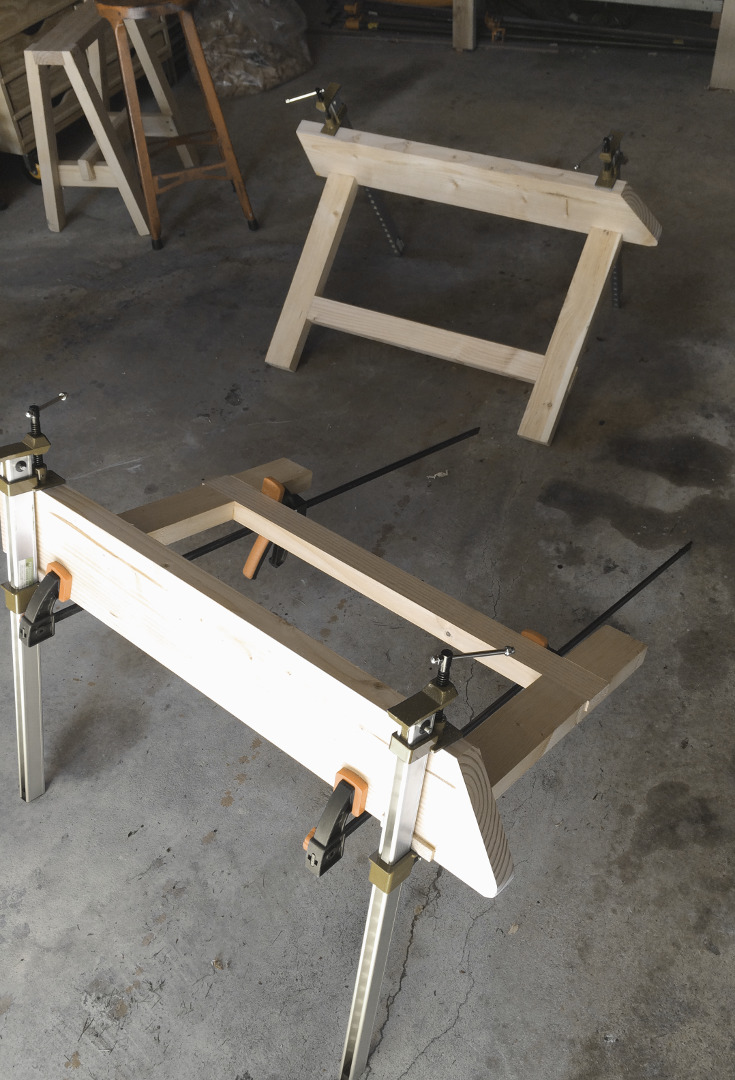
Sawyer Bench Top Sub Assembly
Sawyer Bench Top Fit
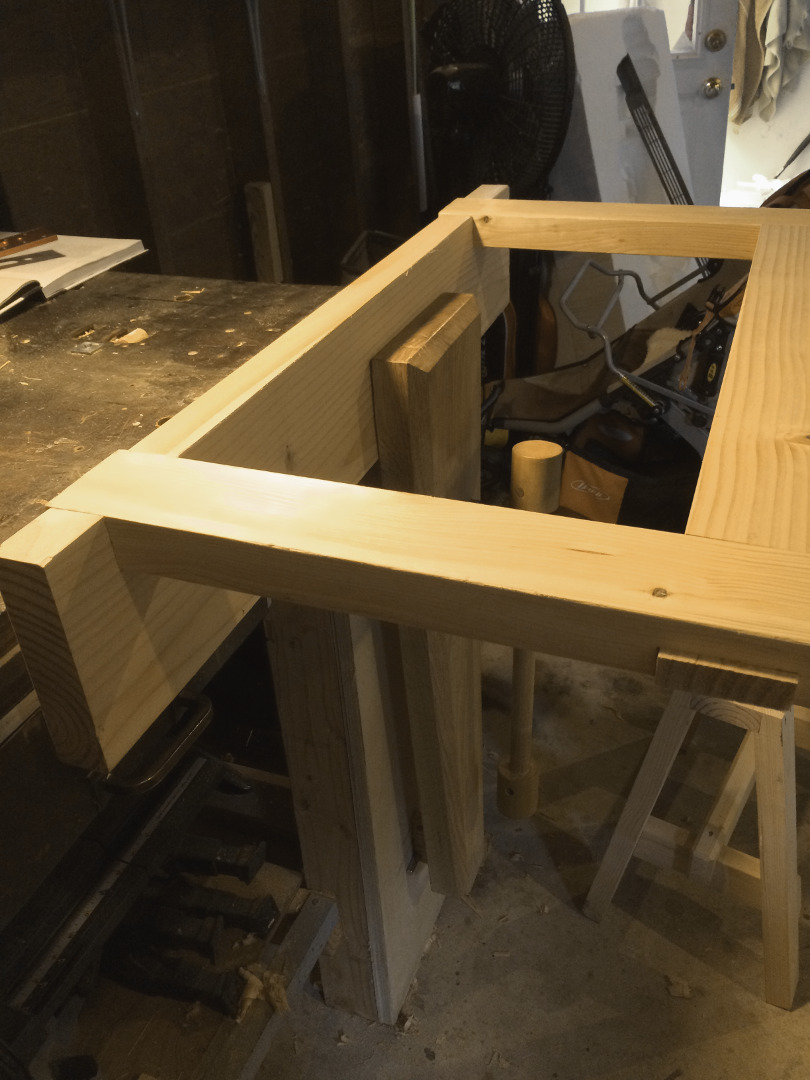
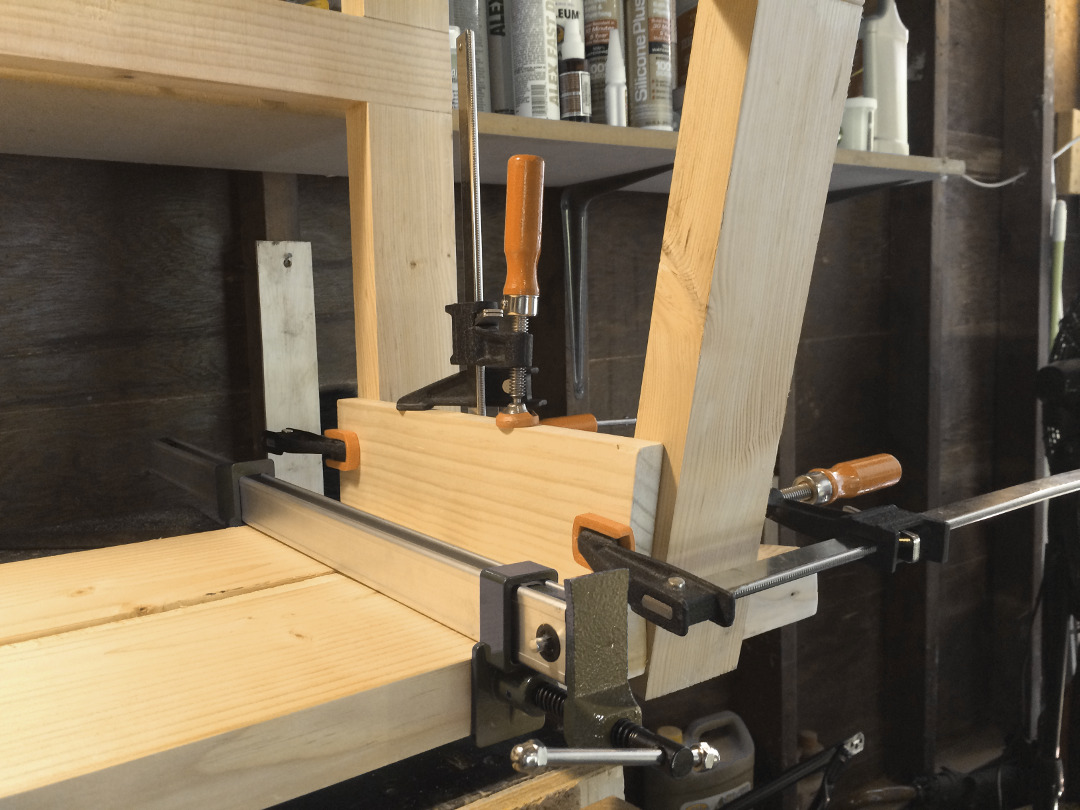
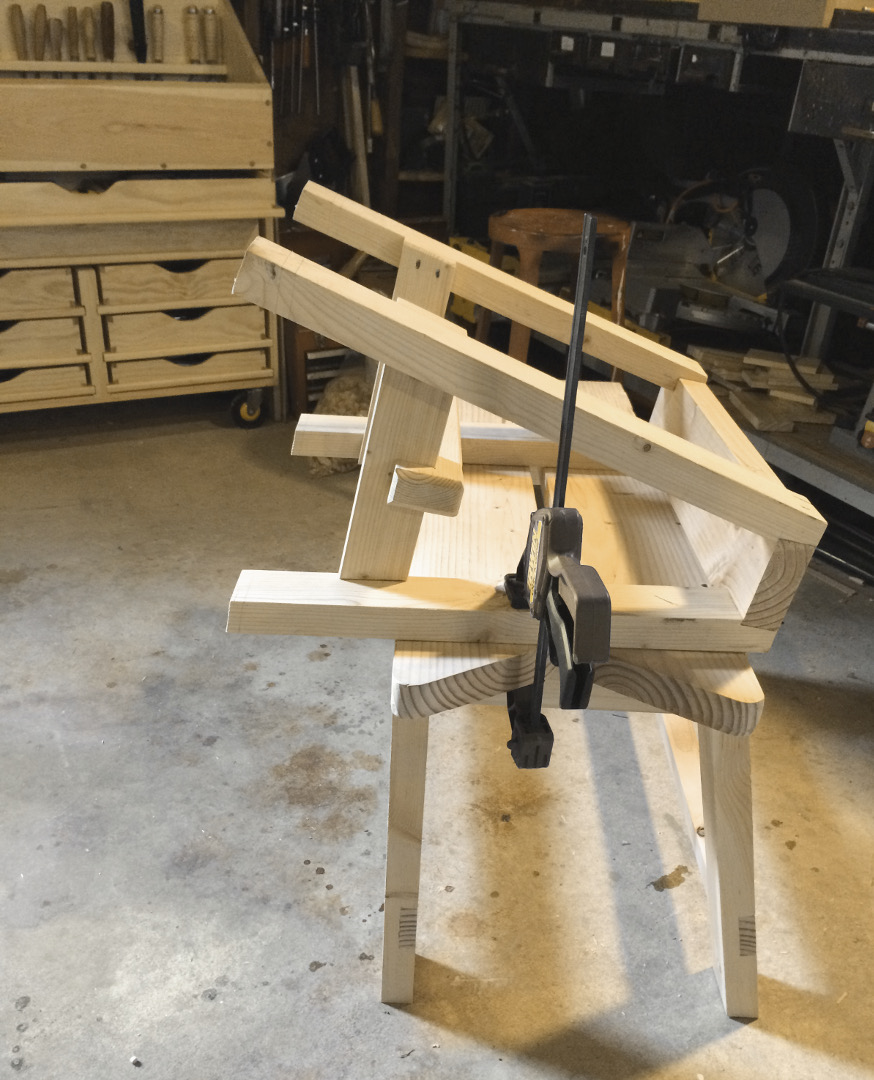
To keep these leg assemblies together the design calls for aprons and cleats attached underneath to each leg. I cut these to fit by laying out the two assemblies on the bench (the ripping slot width is about 3/4″, I used a clamp width to measure).
Sawyer Bench Top Fit
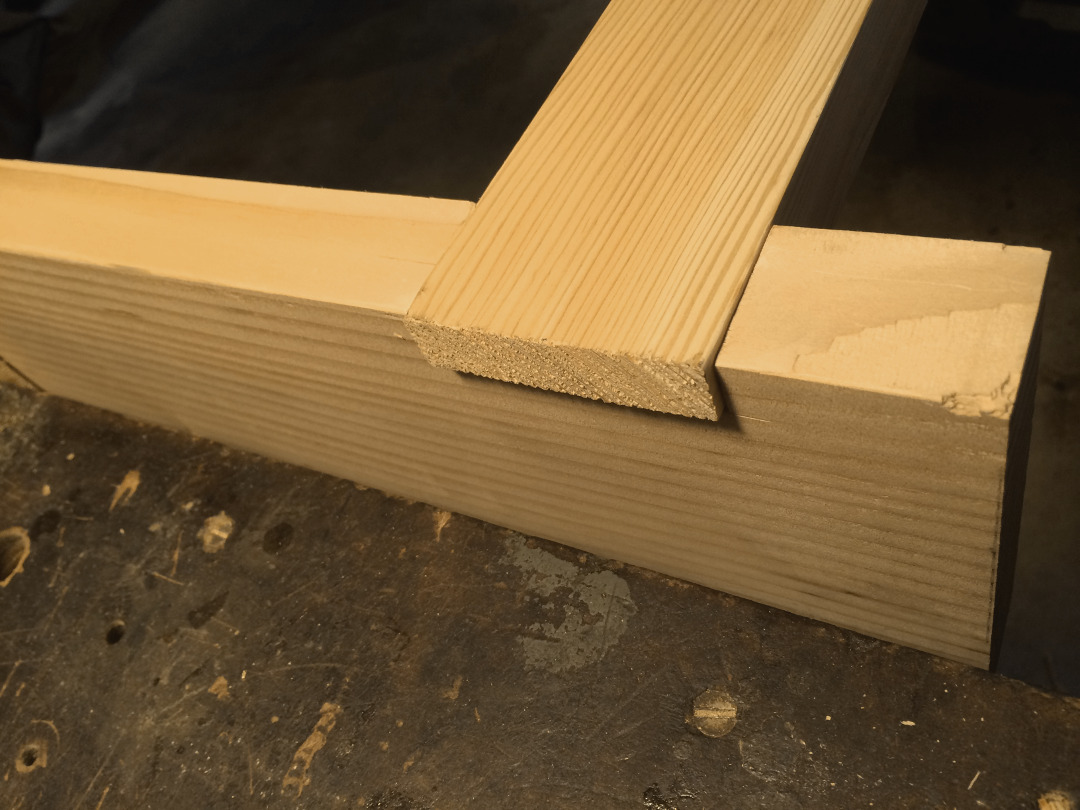
I clamped the aprons to the legs, marked and cut, then glued them in place. To keep the spacing in the top I just used a few scrap pieces of 3/4″ stock clamped in between.
Sawyer Bench Aprons
Sawyer Bench Aprons
The cleats fit in between the pair of legs, and again I just clamped them in place, marked the cut, then glued them in place.
Sawyer Bench Top Fit

Sawyer Bench Top Fit
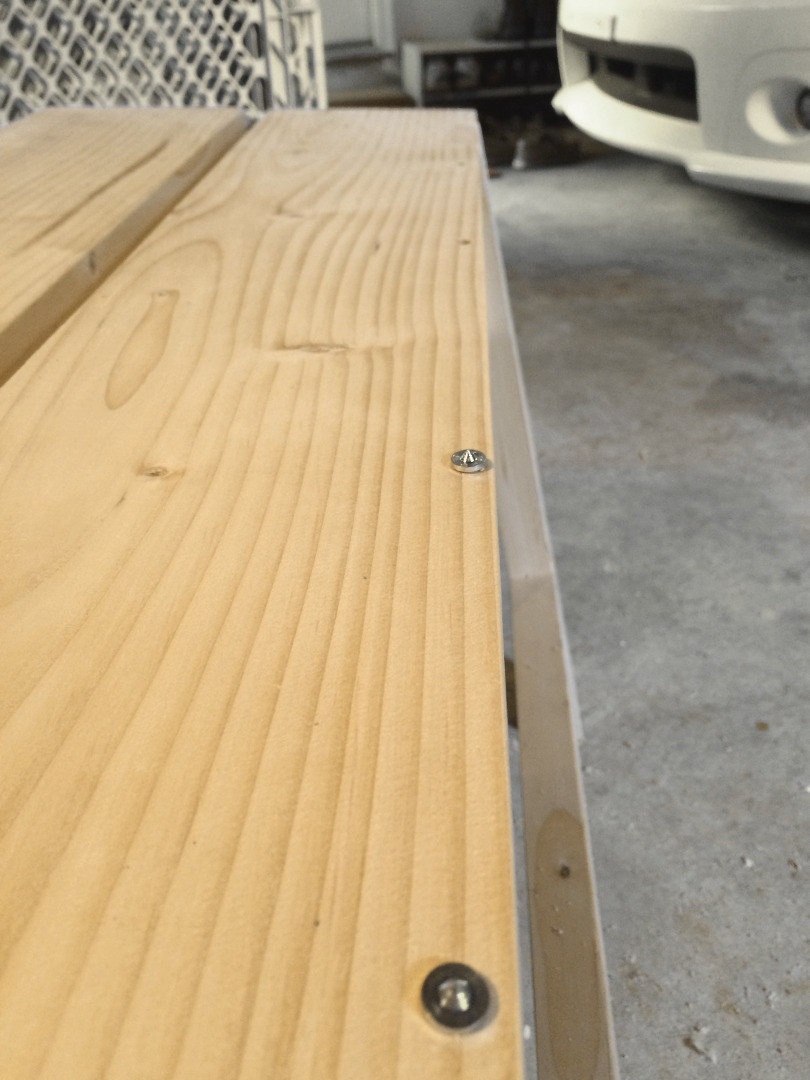
The final piece was the removable reference fence on one side of the top. I drilled a few holes on the top angled side, then used dowel centers to transfer these holes to the fence piece. I’m using 1/4″ dowels.
Sawyer Bench Dowel Centers
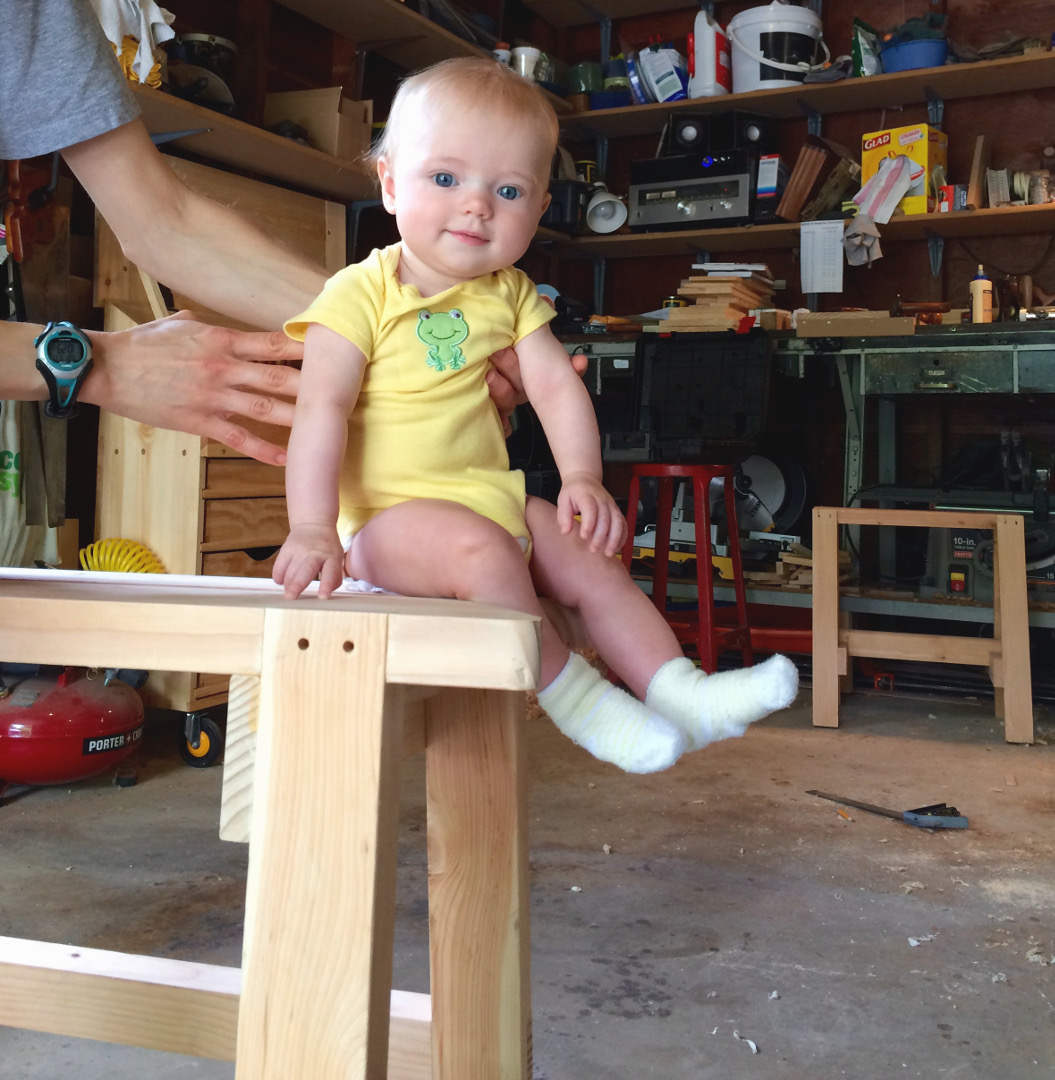
To add some strength (and looks!) I decided to match the original design and add pegs to all the joints. So, while I was drilling holes I went ahead and drilled these as well. I don’t have any close-up pictures, but you can see the holes here, along with my daughter testing it out!
Sawbenches Complete
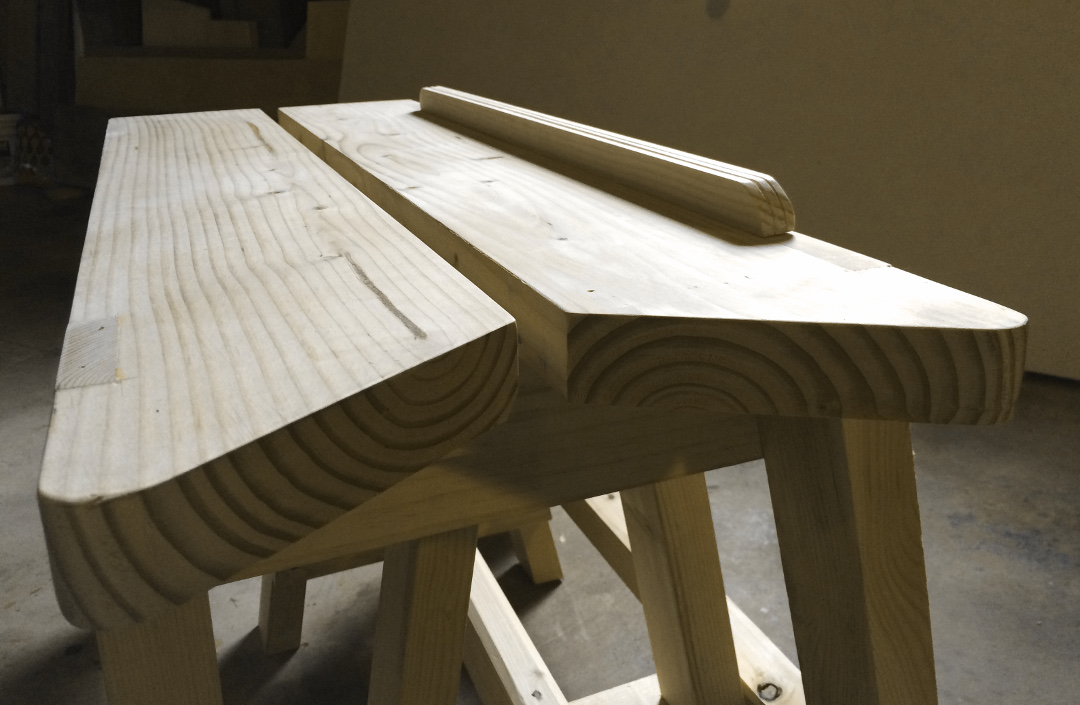
To give the fence a little decoration I scratched a small bead in it.

Sawyer Bench Bead
This was the first time using the Veritas Beading tool for me and it took some getting used to. The results turned out nice, just a bit tricky to get the hang of.
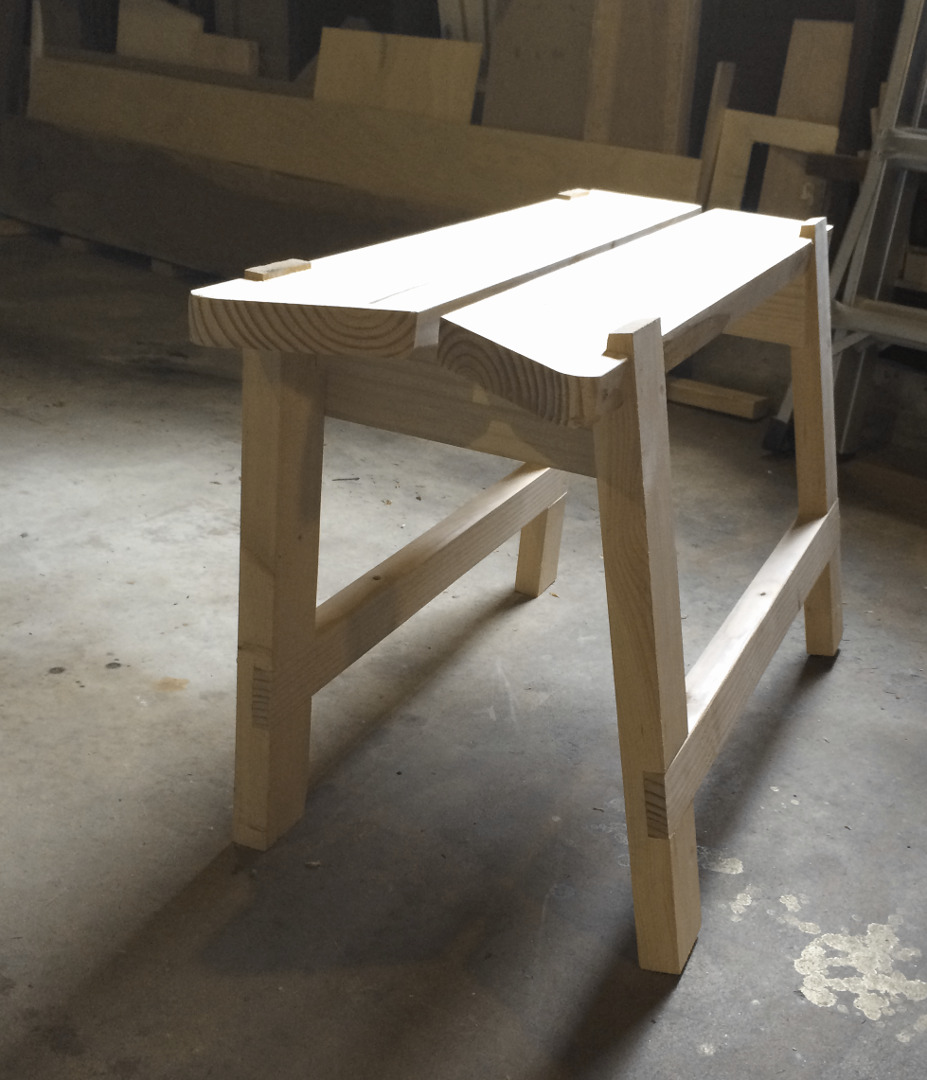
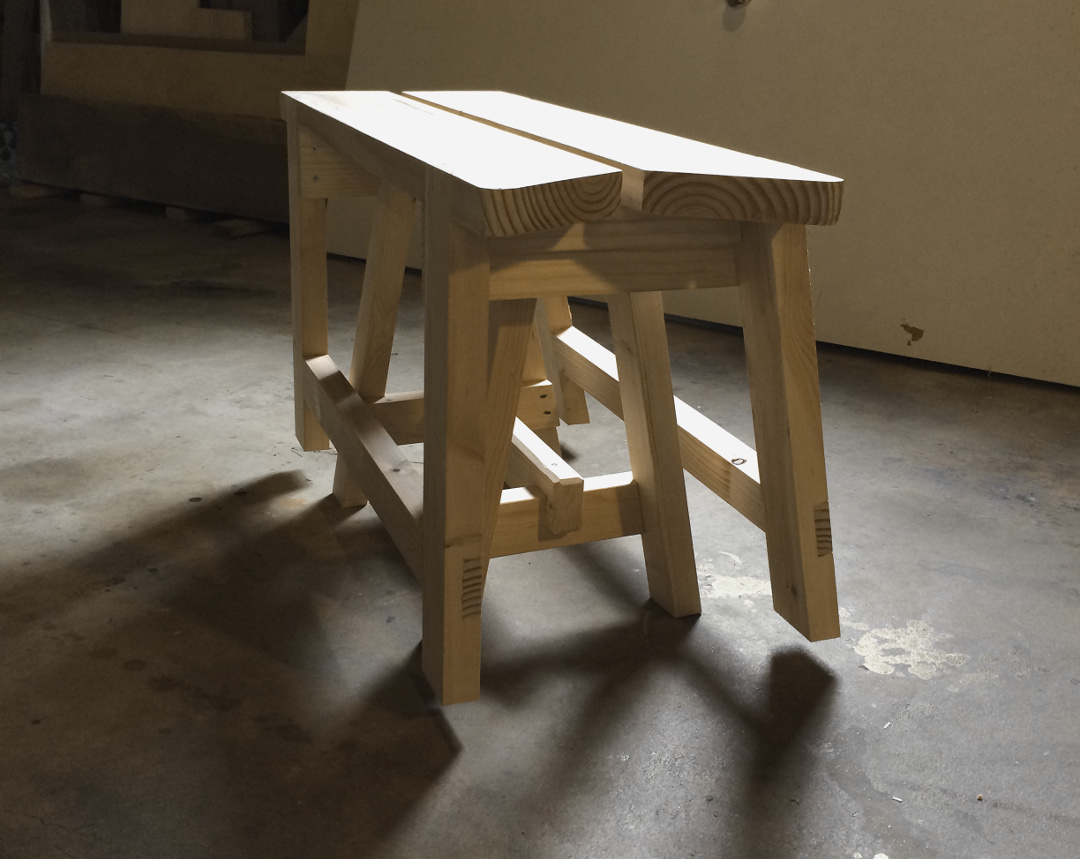
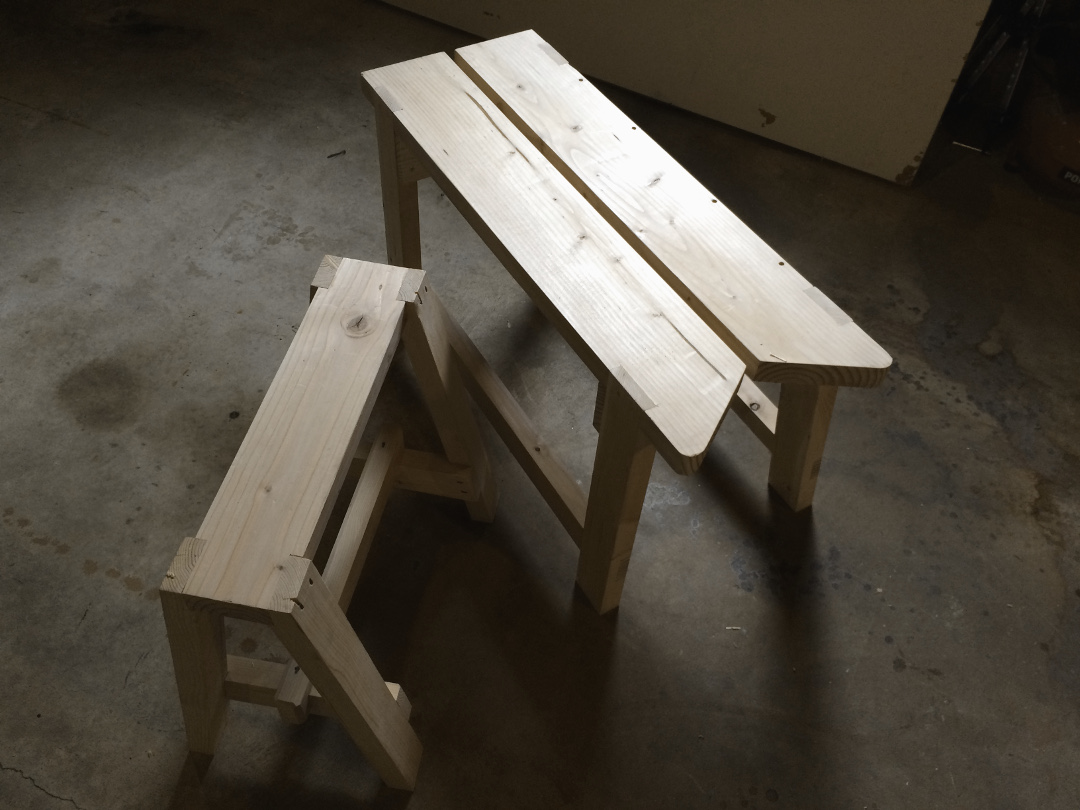
Finally, I flush cut all the proud ends. It’s looking like a sawbench now!
Sawyer Bench Flush Cut
At this point, I had two perfectly use-able sawbenches. However, I waited until this point to level them, just to make sure they were identical heights. Chris Schwarz wrote up a nice description of doing this here and I followed the exact same process. I even used their mates to make the cuts. I’m on the short side, so my sawbench height is just under 19″.
Sawbenches Leveling
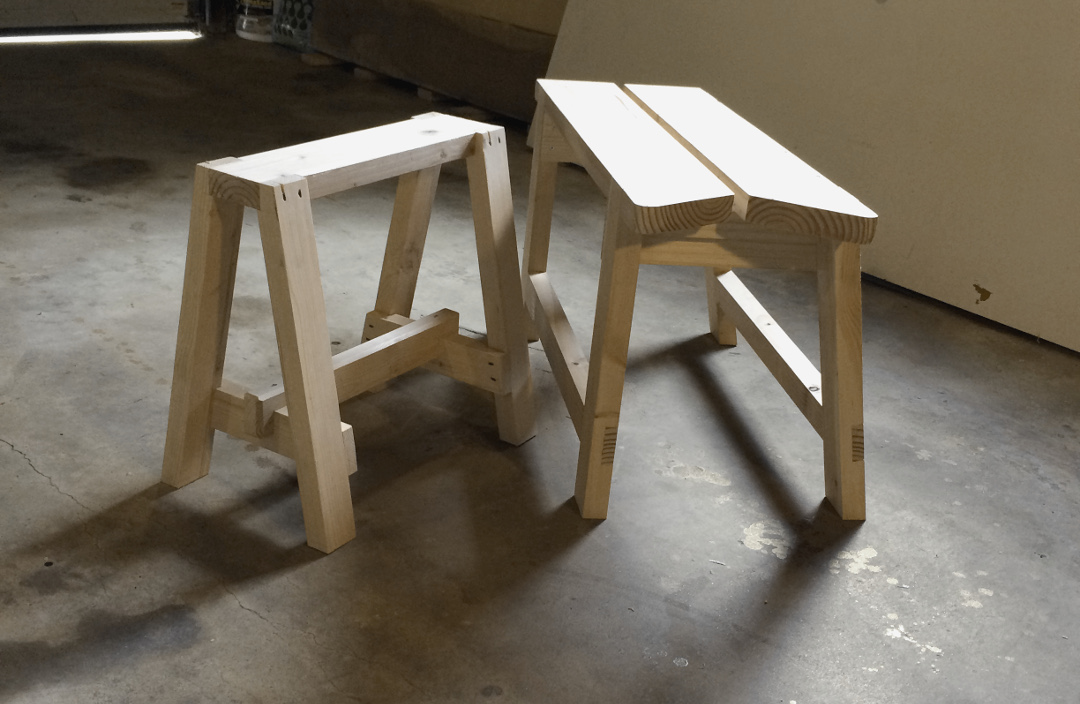
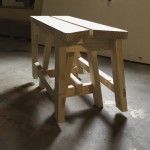
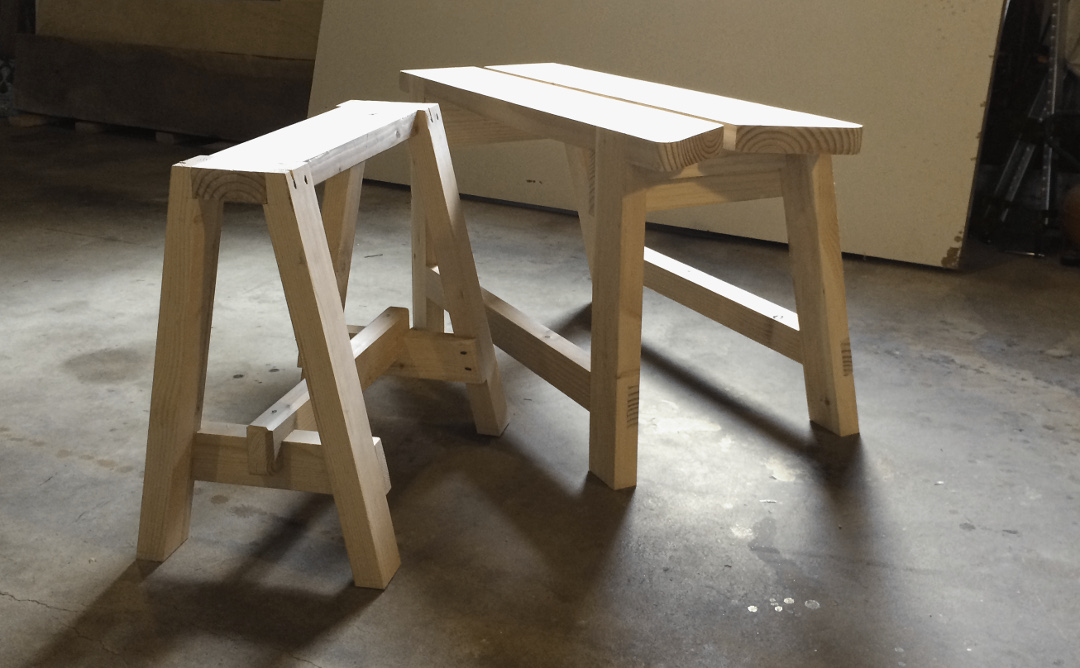
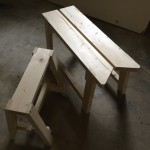
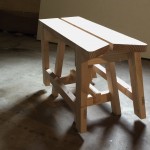
And that’s it! Two completed sawbenches that are stackable. They are much different designs, but compliment each other nicely. Stacked, even with the top bench’s feet not on the ground, it’s still stable enough to sit on. I’ll do another post on the completed pair and what I like/don’t like about each one, but here is the pair!
-
- Sawbenches Complete
-
- Sawbenches Complete Stacked
-

- Sawbenches Complete
-
- Sawbenches Complete
-
- Sawbenches Complete Stacked
-
- Sawbenches Complete Stacked


Leave a Reply